Your beautiful gravel driveway can transform into a rutted, uneven mess faster than you’d expect—especially if you skip one crucial step. Proper gravel driveway compaction isn’t just a nice-to-have; it’s the foundation of a durable, long-lasting surface that can handle daily traffic, weather changes, and the test of time.
Why Gravel Driveway Compaction Changes Everything
Think of compaction as the secret ingredient that turns loose stones into a solid, cohesive surface. Without it, your driveway becomes a shifting landscape where gravel migrates, potholes appear, and your car struggles for traction. Compacting gravel driveway layers creates density and stability by pressing particles together, eliminating air pockets, and locking stones into place.
When you compact properly, you’re creating a surface that resists erosion, drains water efficiently, and maintains its shape season after season. The difference between a compacted and non-compacted driveway is like comparing a well-baked cake to one that’s still batter—structure matters. Plus, a well-compacted base prevents the sinking and shifting that leads to costly repairs down the road.
The ‘why’ behind compaction goes deeper than aesthetics. Every time a vehicle rolls over loose gravel, the weight pushes stones downward and outward, creating ruts and weak spots. Compaction pre-emptively solves this by creating a dense matrix where stones support each other, distributing weight evenly across the surface.
Choosing the Right Gravel for Maximum Compaction
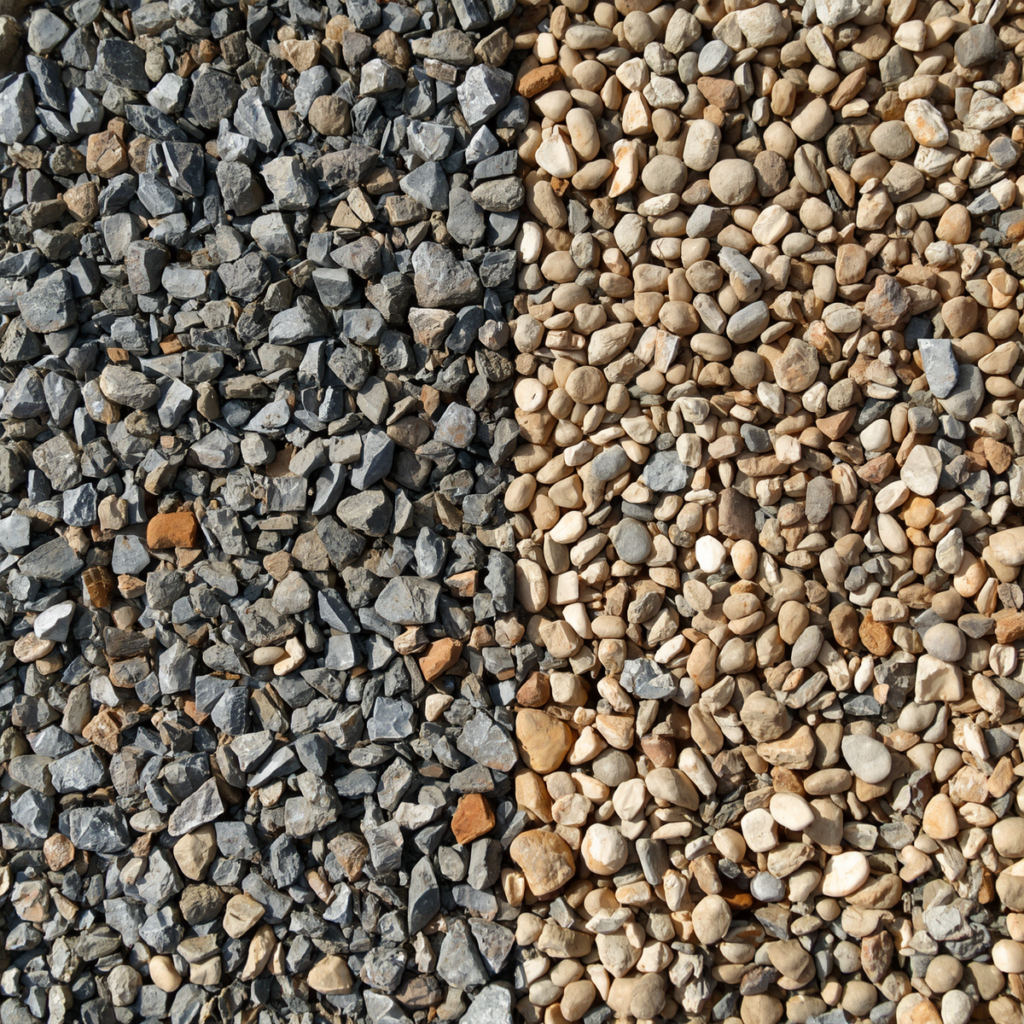
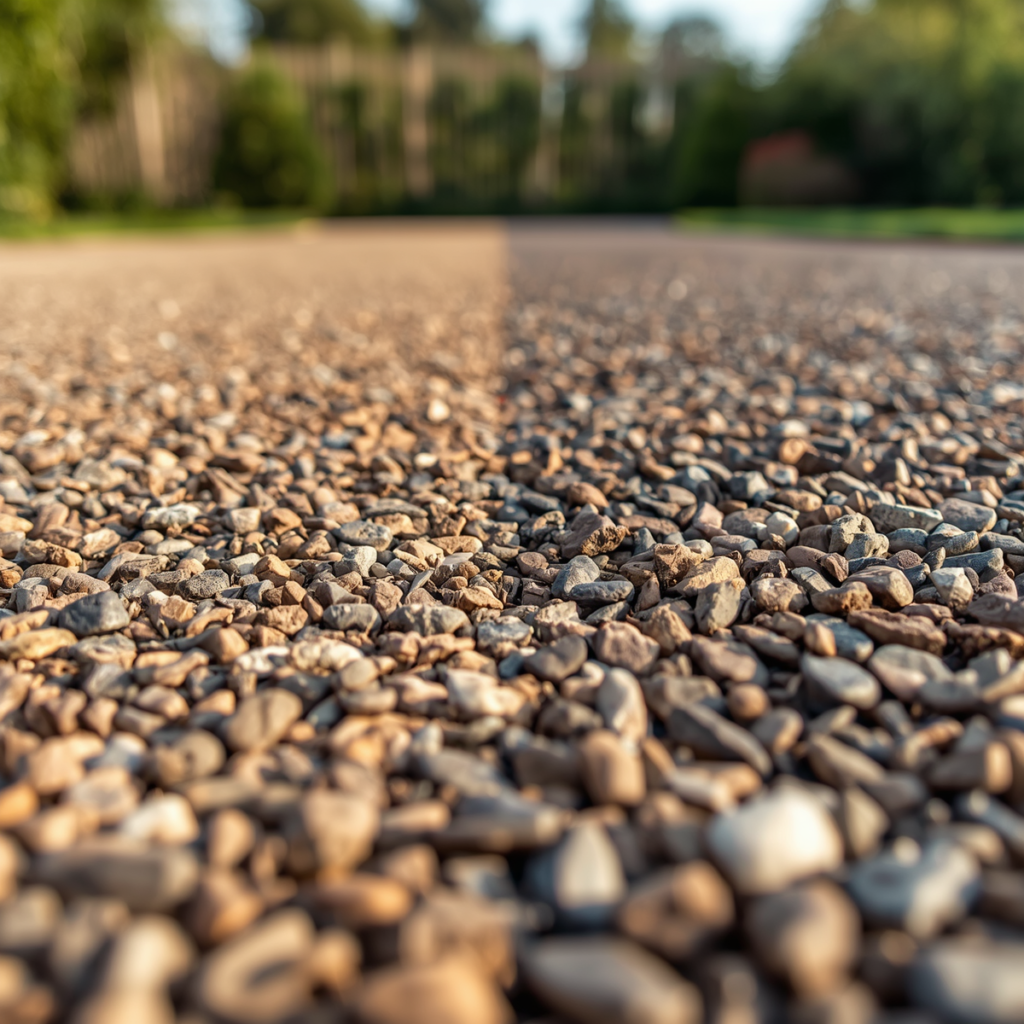
Not all gravel is created equal when it comes to compaction success. The best compacting gravel for driveways features angular edges rather than smooth, rounded stones. Angular gravel—such as crushed limestone, granite, or trap rock—locks together beautifully when compressed, creating a stable surface that resists movement.
For your base layer, opt for larger stones (around 3 to 4 inches) mixed with smaller particles and stone dust. This combination, often called ‘crusher run’ or ‘road base,’ fills gaps between larger stones and compacts into a nearly solid surface. The stone dust acts like mortar, binding everything together when moisture is added during compaction.
Your top layer should consist of smaller gravel (about 1/2 to 3/4 inch) that’s still angular enough to interlock. Pea gravel might look charming, but its rounded shape makes it terrible for compaction—it rolls and shifts under pressure instead of locking into place. If you’re curious about which specific gravel types work best for different climates and uses, material selection can make or break your project.
Essential Equipment for Compacting Gravel Driveways
The right tools transform gravel compaction from guesswork into precision work. For most residential driveways, you’ll need a plate compactor (also called a vibrating plate) or a roller compactor, depending on your project size and budget.
Plate compactors work beautifully for small to medium driveways. These machines use vibration to settle and compress gravel layers, typically weighing between 90 and 200 pounds. They’re maneuverable, relatively affordable to rent, and perfect for DIY projects. Look for models with at least 5,000 pounds of compaction force for effective results.
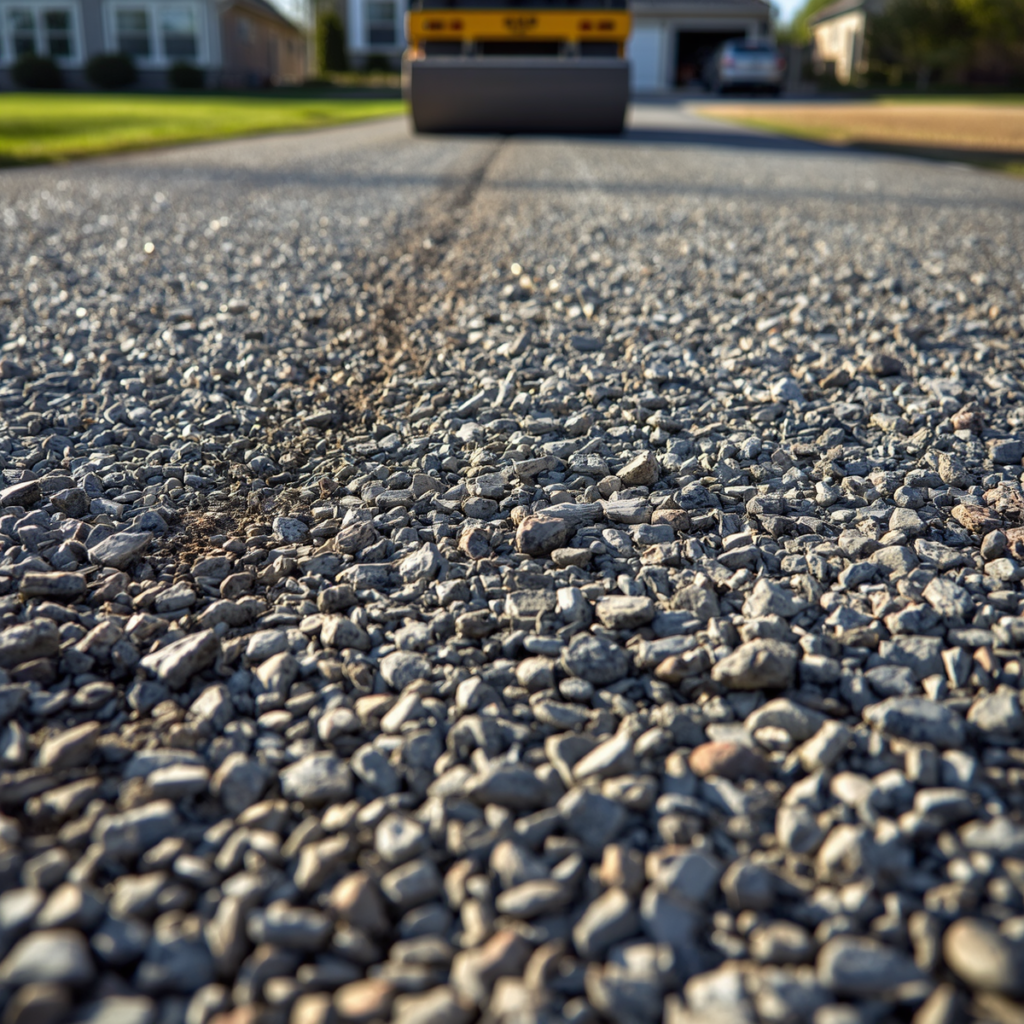
Roller compactors—either walk-behind or ride-on models—excel at larger areas. They use weight and drum rotation to compress materials evenly. A walk-behind roller works well for most residential projects, while ride-on rollers make sense for extensive driveways or commercial applications. According to experts at OMC Power Equipment, choosing compaction equipment based on surface area and material type ensures you get professional-quality results without over-investing in machinery.
Don’t overlook smaller tools that make a difference. A landscape rake helps spread gravel evenly before compaction, while a sturdy wheelbarrow simplifies material transport. A garden hose with adjustable spray settings lets you control moisture levels precisely—a detail that matters more than you might think.
How to Compact Gravel Driveway Layers Like a Pro
Success in gravel compaction for driveway base preparation comes down to methodical layering and patience. Rushing through steps or skipping layers creates weak spots that haunt you later.
Step 1: Prepare Your Base
Start by excavating your driveway area to a depth of 8 to 12 inches, depending on soil conditions and expected traffic. Remove all organic matter, roots, and debris. If you’re dealing with clay-heavy or unstable soil, consider adding a geotextile fabric layer to prevent mixing between soil and gravel while allowing water drainage.
Grade your excavated area with a slight crown in the center (about 2% slope) so water runs off to the sides. Poor drainage is the enemy of any driveway, causing erosion and undermining your compaction efforts.
Step 2: Master the Moisture Sweet Spot
Here’s where many DIYers stumble: optimal moisture levels during compaction make or break your results. Your gravel should be damp enough that it clumps slightly when squeezed but doesn’t drip water. Think of it as the consistency of a wrung-out sponge.
Too dry, and particles won’t bind together; too wet, and you’ll create a muddy mess that won’t compact properly. Lightly mist your gravel layer with a garden hose before compacting, adding water gradually. In hot, dry weather, you may need to mist multiple times during the compaction process as moisture evaporates.
Step 3: Compact in Thin Layers
Never attempt to compact more than 4 inches of gravel at once. Spread your base layer evenly, rake it smooth, add moisture, then make multiple passes with your compactor. Overlap each pass by about 6 inches to ensure complete coverage without gaps.
For a standard driveway, plan on at least three passes over each area. You’ll know you’ve compacted sufficiently when the surface feels firm underfoot and doesn’t shift when you walk on it. The equipment guidance from TMG Industrial emphasizes that proper compaction technique with the right machinery creates driveways that withstand heavy use for years.
Step 4: Build Your Middle and Top Layers
Once your base layer is solid, repeat the process with progressively smaller gravel. Your middle layer (about 3 to 4 inches of material) bridges the gap between the chunky base and finer top surface. Compact it thoroughly using the same moisture and multiple-pass approach.
Your top layer—typically 2 to 3 inches of smaller gravel—creates the finished driving surface. This layer benefits from slightly more compaction passes since it’s what faces daily wear and tear. Some professionals recommend five to seven passes for the top layer to achieve maximum density.
Troubleshooting Common Compaction Challenges
Even with careful planning, you might encounter hiccups. If your gravel keeps shifting despite multiple compactor passes, you’re likely dealing with stones that are too round or a layer that’s too thick. Stop, rake the area thinner, and try again with better moisture control.
Soft spots that won’t firm up often indicate poor subgrade preparation or excessive moisture. Let the area dry slightly, or if the problem persists, you may need to excavate deeper and address drainage issues with your soil base.
Uneven compaction creates high and low spots that collect water. Use a long straightedge or string line to check your grade regularly during compaction. Add or remove material as needed before making final passes.
Maintaining Your Compacted Gravel Driveway
Your work doesn’t end when compaction finishes. Regular maintenance preserves that perfect surface and extends your driveway’s lifespan significantly. Plan to rake your driveway every few months to redistribute gravel that naturally migrates with use.
Address potholes and low spots immediately by adding fresh gravel and re-compacting those areas. The longer you wait, the worse they become. In fact, consistent care makes all the difference—check out these practical strategies for keeping your gravel driveway in pristine condition year-round.
Every two to three years, consider adding a fresh top layer of gravel and compacting it. This refreshes the surface and compensates for material that’s broken down or migrated over time. Spring is ideal for this maintenance, giving your driveway a fresh start after winter weather.
Edge restraints—such as landscape timbers, metal edging, or Belgian blocks—prevent gravel from spreading into surrounding lawn areas. Installing these borders after compaction maintains your driveway’s shape and reduces the amount of material you’ll need to replace over time.
Environmental Considerations and Sustainable Practices
Thoughtful gravel driveway installation can actually benefit your property’s ecology. Unlike asphalt or concrete, properly compacted gravel allows water to percolate through to the ground below, reducing runoff and helping recharge groundwater supplies.
Choose locally sourced gravel when possible to minimize transportation emissions and support regional quarries. Many areas offer recycled concrete aggregate as an eco-friendly alternative to virgin stone—it compacts beautifully and gives construction waste a second life.
Consider the long-term environmental impact of your maintenance routine too. Avoid using chemical dust suppressants that can leach into soil and groundwater. Instead, proper compaction and periodic watering during dry spells naturally minimize dust without introducing harmful substances.
When to Call in Professional Help
While many homeowners successfully tackle gravel driveway compaction as a DIY project, some situations warrant professional expertise. If your driveway exceeds 1,000 square feet, involves significant grading challenges, or requires heavy equipment you’re uncomfortable operating, hiring experienced contractors makes sense.
Professionals bring efficiency, specialized equipment, and the knowledge to handle unexpected soil conditions. They can also identify drainage issues you might miss and ensure proper crown and slope for optimal water management. The investment often pays off in reduced long-term maintenance and a driveway that performs beautifully from day one.
If you’re planning a complete driveway installation from scratch, understanding when DIY makes sense versus when to hire help can save both money and frustration.
Your Path to a Perfect Gravel Driveway
Creating a beautifully compacted gravel driveway isn’t magic—it’s methodical attention to detail, the right materials, and proper technique. From selecting angular gravel that locks together to mastering moisture levels and making multiple compactor passes, each step builds toward a durable surface that serves you well for years.
Remember that compaction isn’t a one-and-done task. Regular maintenance, prompt repairs, and occasional top layer refreshes keep your investment looking great and performing even better. With the knowledge you’ve gained here, you’re equipped to create a driveway that handles everything from daily commutes to winter weather without missing a beat. The effort you invest now in proper compaction saves you countless hours and dollars in repairs later—and that’s a foundation worth building on.