Starting your sewing journey can feel overwhelming, especially when you’re faced with complex patterns and intricate techniques. The good news? You don’t need years of experience to create beautiful, wearable clothing. With the right easy beginner sewing projects clothing enthusiasts can tackle, you’ll build confidence while developing practical skills that last a lifetime.
This guide focuses on genuinely achievable projects designed specifically for beginners. Unlike other resources that suggest overly complicated “beginner” patterns, we’ll walk you through simple clothing items with clear instructions, troubleshooting tips, and realistic expectations. Whether you’ve never threaded a needle or you’re dusting off an old sewing machine, these projects will help you create wearable garments you’ll be proud to show off.
Essential Sewing Supplies
Before diving into your first project, you’ll need to gather some basic supplies. Don’t worry about investing in expensive equipment right away—start with the essentials and build your collection as you progress.
Basic Sewing Machine Requirements
A simple, reliable sewing machine is your most important investment. Look for a machine with basic straight and zigzag stitches, adjustable stitch length, and a reverse function. Many beginner-friendly machines cost between $100-$300 and include everything you need to get started. Understanding your machine’s basics is crucial, so take time to review resources like this comprehensive guide on sewing machine basics and care before starting your first project.
Essential Tools and Notions
- Fabric scissors: Invest in quality shears used exclusively for fabric
- Pins and pin cushion: Glass-head pins are easier to see and handle
- Measuring tape: Flexible tape for taking body measurements
- Seam ripper: Your best friend when mistakes happen
- Hand sewing needles: For finishing touches and repairs
- Thread: Start with neutral colors like white, black, and gray
- Iron and ironing board: Pressing seams makes a professional difference
- Fabric marking tools: Chalk or disappearing ink pens
Choosing Beginner-Friendly Fabrics
Fabric choice can make or break a beginner project. Stick with woven cotton fabrics for your first few projects—they’re forgiving, easy to work with, and don’t stretch unpredictably. Avoid slippery fabrics like satin, stretchy knits, or anything too thick or too sheer until you’ve built more confidence. When selecting materials, it’s helpful to understand the characteristics of different textiles, which you can explore in detail at this guide to types of fabric.
Simple Clothing Projects to Start With
Now that you’re equipped with the right supplies, let’s explore the best easy beginner sewing projects clothing makers recommend for building foundational skills.
1. Simple Elastic Waist Skirt
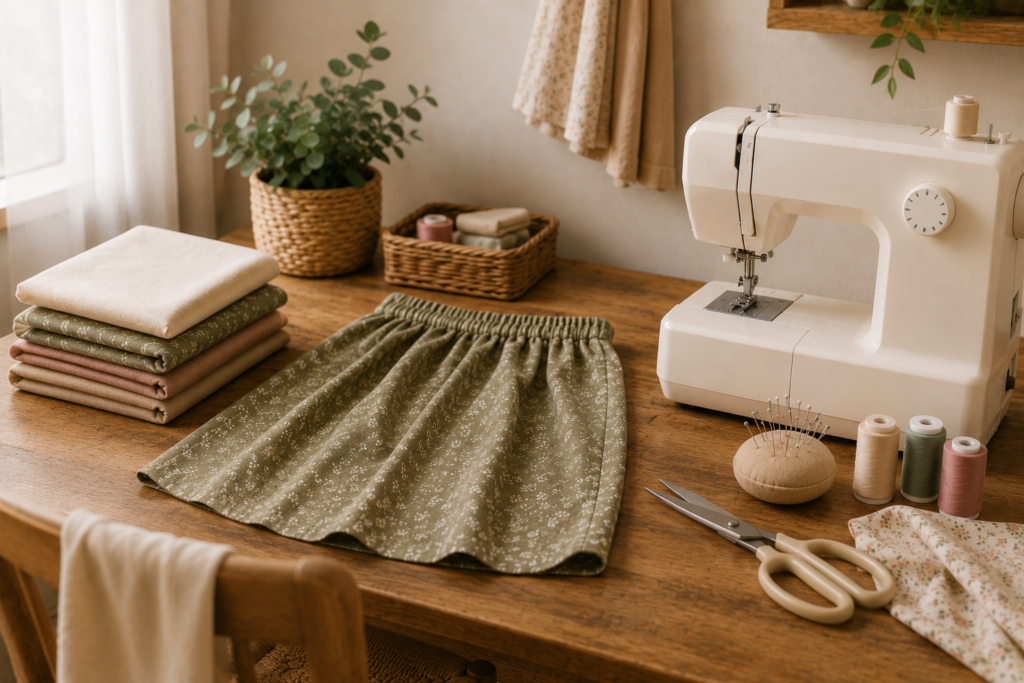
An elastic waist skirt is perhaps the most forgiving first clothing project. You’ll practice sewing straight seams, creating a hem, and inserting elastic—all fundamental techniques. Choose a lightweight cotton fabric in a fun print, and you’ll have a comfortable skirt perfect for warm weather.
Skills learned: Straight seams, hemming, elastic casing, gathering fabric
Estimated time: 2-3 hours
Fabric needed: 1.5-2 yards depending on length and size
2. Drawstring Pajama Pants
Pajama pants offer a practical introduction to garment construction without the pressure of creating something for public wear. The relaxed fit means precise measurements aren’t critical, and you’ll learn to work with a crotch seam—an important technique for future projects. Choose soft cotton or flannel for maximum comfort.
Skills learned: Pattern layout, curved seams, waistband construction, drawstring channels
Estimated time: 3-4 hours
Fabric needed: 2-3 yards depending on length and size
3. Basic T-Shirt or Tank Top
Once you’re comfortable with DIY clothing alterations your sewing machine’s basic functions, a simple knit top is an excellent next step. Start with a basic pattern and knit fabric with some stretch recovery. You’ll need to learn a zigzag stitch or use a stretch needle to accommodate the fabric’s give.
Skills learned: Working with knit fabrics, neckline finishing, sleeve attachment (for t-shirts)
Estimated time: 3-5 hours
Fabric needed: 1.5-2 yards
4. Simple Wrap Skirt or Dress
Wrap-style garments eliminate the need for zippers or buttons, making them ideal for beginners. These versatile pieces can be dressed up or down, and the wrap design is naturally forgiving of minor fitting issues.
Skills learned: Bias tape application, tie construction, continuous seams
Estimated time: 4-5 hours
Fabric needed: 2-3 yards for skirt, 3-4 yards for dress
5. Beach Cover-Up or Kimono
A loose-fitting cover-up or kimono-style jacket requires minimal fitting and offers instant gratification. Many patterns use simple rectangles, eliminating complex pattern pieces while still creating a stylish, wearable garment.
Skills learned: French seams, continuous bias binding, working with lightweight fabrics
Estimated time: 2-4 hours
Fabric needed: 2-3 yards
Step-By-Step Sewing Instructions
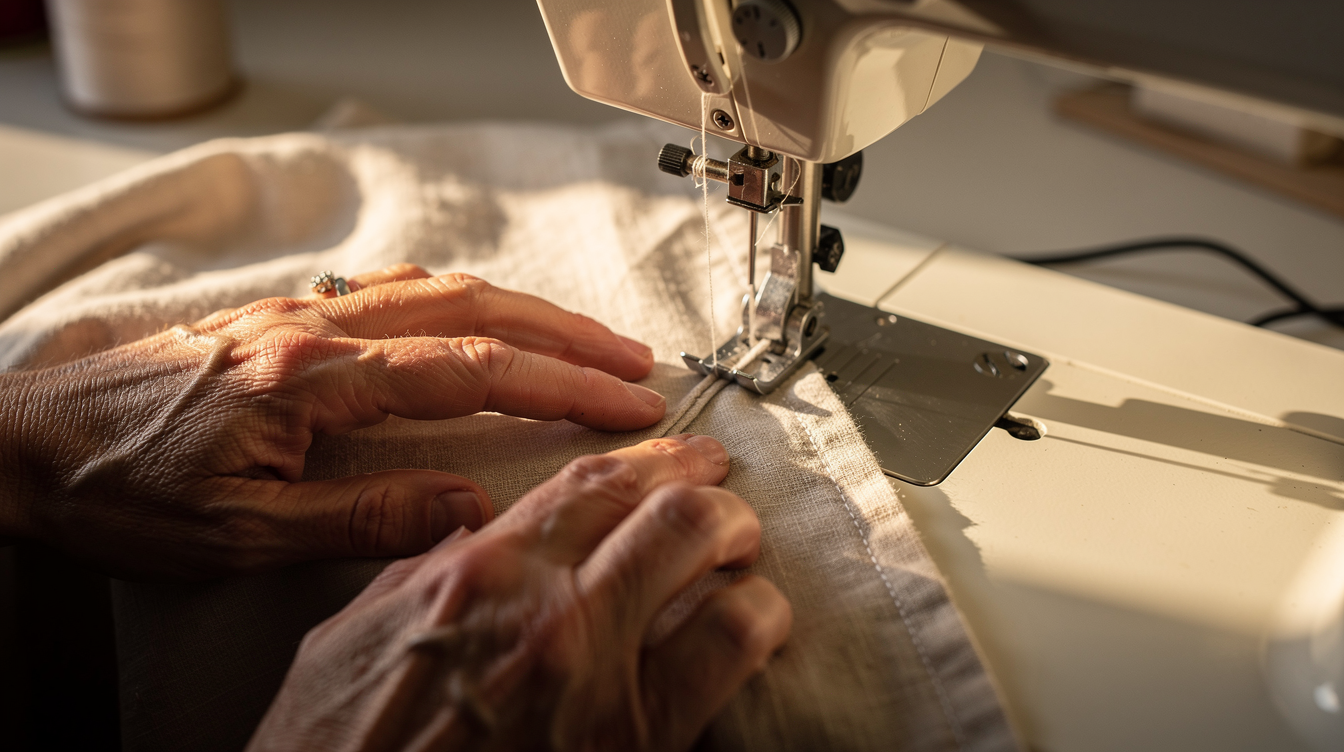
While specific instructions vary by project, these general steps apply to most beginner clothing projects. We’ll use the elastic waist skirt as our example since it incorporates many fundamental techniques.
Preparing Your Workspace
Set up your sewing area with good lighting and enough space to spread out fabric. Keep your essential tools within reach, and ensure your sewing machine is threaded correctly with a fresh needle appropriate for your fabric weight.
Step 1: Wash and Press Your Fabric
Always pre-wash your fabric to prevent shrinkage after your garment is complete. This step is especially important for cotton and linen. After washing, iron your fabric completely flat—working with wrinkled fabric leads to inaccurate cutting and frustrating results.
Step 2: Take Accurate Measurements
For an elastic waist skirt, you’ll need your waist measurement and desired length. Measure your natural waist where you want the skirt to sit, and measure from that point to where you want the hem to fall. Add 3 inches to the length for waistband casing and hem allowance.
Step 3: Cut Your Fabric
For a basic gathered skirt, cut a rectangle that’s 1.5 to 2 times your waist measurement for width (more gathering equals more fullness). The height should be your desired length plus 3 inches. Cut carefully with sharp scissors, following the fabric grain.
Step 4: Sew the Side Seam
Fold your fabric rectangle in half with right sides together, matching the shorter edges. Pin along this edge, then sew a straight seam using a 5/8-inch seam allowance. Remember to backstitch at the beginning and end by pressing the reverse button on your machine—this locks your stitches in place.
Troubleshooting tip: If your fabric shifts while sewing, pin more frequently or reduce your sewing speed.
Step 5: Create the Waistband Casing
At the top edge, fold down 1/4 inch and press, then fold down another 1 inch and press again. This creates a clean edge inside your casing. Sew along the bottom edge of this fold, leaving a 2-inch opening to insert elastic later. Make sure your stitching is straight and close to the folded edge.
Troubleshooting tip: Use your machine’s seam guide or place a piece of tape as a visual guide to keep your stitching straight.
Step 6: Insert the Elastic
Cut elastic 2-3 inches smaller than your waist measurement. Attach a safety pin to one end and thread it through the waistband casing. Be careful not to twist the elastic. Once through, overlap the elastic ends by 1 inch and sew them together securely using a zigzag stitch.
Troubleshooting tip: Pin the free end of elastic to the fabric before inserting to prevent it from slipping into the casing.
Step 7: Close the Casing and Hem
Sew the opening in your waistband closed. For the hem, fold up 1/4 inch and press, then fold up another 1 inch and press. Sew along the top edge of this fold to secure your hem.
Step 8: Final Pressing
Give your completed skirt a final press, being careful around the elastic waistband. Press seams flat and ensure your hem lies smoothly.
Common Beginner Issues and Solutions
Thread bunching underneath: Your upper thread tension may be too tight, or you haven’t threaded the machine correctly. Re-thread completely and adjust tension slightly.
Skipped stitches: Your needle may be dull or incorrect for your fabric type. Replace with a fresh, appropriate needle.
Fabric puckering: Your thread tension might be too tight, or you’re pulling the fabric as you sew. Let the feed dogs do the work.
Uneven seams: Slow down and use your machine’s seam guide. Practice makes perfect with upcycle old outfits straight stitching, so don’t get discouraged.
Tips to Improve Your Skills
Building sewing skills takes practice, patience, and a willingness to learn from mistakes. Here are proven strategies to accelerate your progress while avoiding common frustrations.
Master Your Machine
Spend time practicing on scrap fabric before starting each new project. Test different stitch lengths, practice your curves and corners, and get comfortable with your machine’s speed control. The better you know your machine, the more confident you’ll feel tackling new techniques.
Always Press as You Go
Professional-looking garments depend on good pressing techniques. Press seams open or to one side after sewing each seam, press darts flat, and press hems before stitching. This extra step takes time but transforms your finished product from homemade to handmade.
Measure Twice, Cut Once
This old adage exists for good reason. Double-check all measurements before cutting expensive fabric. Use quality measuring tools and ensure your fabric is lying flat without stretching when you measure and cut.
Start with Quality Patterns
Invest in patterns specifically designed for beginners. Look for patterns labeled “easy” or “beginner” from reputable companies. Read through the entire pattern before starting so you understand each step. Many modern patterns include helpful illustrations and detailed instructions.
Join a Sewing Community
Connect with other sewers through online forums, social media groups, or local sewing circles. These communities offer invaluable support, answer questions, provide inspiration, and celebrate your successes. Don’t be shy about asking for help—experienced sewers remember being beginners too.
Embrace Mistakes as Learning Opportunities
Every sewist, no matter how experienced, makes mistakes. That seam ripper in your toolkit will get plenty of use, and that’s perfectly normal. Each mistake teaches you something valuable about technique, fabric behavior, or pattern reading. Instead of getting frustrated, view errors as stepping stones to improvement.
Practice Specific Techniques
If a particular technique intimidates you, practice it repeatedly on scrap fabric before attempting it on your project. Want to master buttonholes? Practice on scraps until you’re confident. Struggling with zippers? Practice installations with DIY pet accessories scrap fabric and old zippers until it clicks.
Keep a Sewing Journal
Document your projects with notes about what worked, what didn’t, and what you’d do differently next time. Include fabric swatches, pattern information, and measurements. This reference becomes invaluable as you progress and want to recreate successful projects or avoid past mistakes.
Take Your Time
Rushing leads to mistakes, frustration, and poor results. Sewing should be enjoyable, not stressful. Break large projects into manageable sessions, and stop when you’re tired or frustrated. Fresh eyes and a rested mind produce better work.
Invest in Quality Basics
While you don’t need the most expensive equipment, certain quality tools make a significant difference. Sharp scissors that cut cleanly, a reliable seam ripper, and good lighting reduce frustration and improve results. Upgrade gradually as your budget allows.
Frequently Asked Questions
What is the easiest fabric to sew for beginners?
Medium-weight quilting cotton is the most beginner-friendly fabric. It’s stable, doesn’t stretch, handles well through the machine, and comes in endless colors and prints. It’s affordable enough for practice projects and forgiving of minor mistakes. Avoid slippery, stretchy, or very lightweight fabrics until you’ve built more experience. Other good beginner options include cotton broadcloth, chambray, and linen-cotton blends.
How long does it take to learn basic sewing for clothing?
Most beginners can complete simple clothing projects within 1-3 months of regular practice. If you dedicate a few hours weekly to sewing, you’ll master fundamental techniques like straight seams, hems, and basic garment construction relatively quickly. However, sewing is a lifelong learning journey—there’s always a new technique to master or skill to refine. Don’t rush the process; focus on building confidence with each project rather than racing to advanced techniques.
Can I sew clothing without a pattern?
Yes, several beginner-friendly garments can be made without commercial patterns. Simple items like elastic waist skirts, basic capes, and rectangular scarves can be created using basic measurements and geometric shapes. However, for most clothing with shaping and fit requirements, patterns provide essential guidance for beginners. As you gain experience, you’ll learn to draft simple patterns yourself or modify existing ones to suit your preferences.
What is a good first sewing machine for a beginner?
A reliable mechanical machine with basic stitches is ideal for beginners. Look for a machine offering straight stitch, zigzag stitch, adjustable stitch length and width, reverse function, and a few basic presser feet. Popular beginner-friendly brands include Singer, Brother, and Janome, with good entry-level machines ranging from $150-$300. Avoid computerized machines with excessive features you won’t use initially—they’re more expensive and potentially overwhelming. A simple, sturdy machine lets you focus on developing skills rather than navigating complex settings.
What are the most common sewing mistakes beginners make?
The most frequent beginner mistakes include: not pre-washing fabric (leading to shrinkage), skipping the practice step on scrap fabric, rushing through projects without reading instructions completely, using dull needles or incorrect needle types, failing to press seams as they work, not backstitching to secure seam ends, and getting discouraged too quickly. Another common error is choosing projects that are too ambitious for their skill level. Starting with genuinely simple projects builds confidence and skills systematically, setting you up for long-term success.
Start Sewing Today
Learning to sew clothing opens up a world of creative possibilities, practical skills, and personal satisfaction. The easy beginner sewing projects clothing enthusiasts recommend in this guide provide a solid foundation for your sewing journey. Remember that every experienced sewist started exactly where you are now—with that first uncertain stitch.
Start with one simple project, give yourself permission to learn at your own pace, and celebrate each completed garment, no matter how imperfect it might seem. Those first wobbly seams and uneven hems are badges of honor, proof that you’re developing a valuable skill that will serve you for years to come.
Gather your supplies, choose your first project, and take that exciting first step. Your handmade wardrobe awaits, and the satisfaction of wearing something you created yourself is truly incomparable. Happy sewing!
