Painting supplies for DIY projects are easiest to choose when they match the surface. The wrong painting supply is often not “bad”; it is simply matched to the wrong surface. A soft brush chosen for a broad background may feel slow. A thick paint used on flexible fabric may behave differently than expected. A beautiful color set may become frustrating if the label does not explain where it belongs.
The easiest way to build a painting kit is to start with the surface. Once you know what you are painting, you can choose a properly labeled water-based creative material, a few useful brush shapes, a stable palette, surface protection, and the correct cleanup plan.
This guide covers low-risk decorative craft projects. It excludes aerosol paints, solvent-based products, stripping chemicals, heated finishes, and unlabeled materials.
Quick Answer: For most beginner creative projects, begin with the intended surface, choose a water-based product labeled for that surface, add a small synthetic brush set, a washable palette, a reusable work mat or drop cloth, craft-only rinse cups, a cleanup cloth, an apron, and storage that keeps labels visible.
Start With the Surface, Not the Color Set
Before shopping, write the surface at the top of your list: paper, canvas, fabric, or a pre-finished decorative craft object. Then read the paint label for compatible surfaces, preparation, drying, cleanup, and any warnings.
A product marketed broadly as “multi-surface” still needs clear instructions. Do not assume that creative paint is suitable for skin, food-contact items, toys, or objects exposed to high heat. Those uses have different requirements.
The complete guide to DIY tools and craft supplies explains how this painting kit fits into the larger TakeDIY cluster.
The Core Painting Checklist
Properly labeled water-based creative paint
Choose a paint intended for the exact craft surface. For art materials sold in the United States, look for the statement “Conforms to ASTM D-4236” where applicable and read the full label. The statement relates to hazard-review and labeling requirements; it is not permission to ignore instructions or use a product in an unintended way.
An ACMI Approved Product seal can provide another useful signal for eligible creative materials. If a product carries cautionary labeling, read and follow it in full and make sure the intended user can understand and implement the instructions.
Three useful synthetic brush shapes
A small, differentiated set is easier to learn than a large bundle.
- Medium flat brush for broader areas and straight edges
- Small round brush for curves and general details
- Fine detail brush for controlled marks
Brush size should match the project. A tiny brush on a large background creates unnecessary work, while a very wide brush may overwhelm a small design.
A reusable palette
A washable palette gives each color a defined place and makes mixing easier to control. Choose stable wells and a surface compatible with the paint’s cleanup instructions.
Keep the palette for creative use only. Do not return an art container to food use.
Craft-only rinse cups
For water-based materials whose instructions call for water cleanup, use stable, clearly labeled containers. Keep drinks completely outside the creative area to prevent confusion.
Surface protection
A reusable work mat protects a compact area. A washable drop cloth covers a wider zone. Choose a size that stays flat and does not create folds or trip hazards.
If you need a gridded surface, compare formats in how to choose a cutting mat. That guide evaluates the mat only and does not recommend cutting equipment.
Cleanup cloths
Keep one cloth for small water spills and another, if needed, for final surface cleanup. Follow the paint and work-surface instructions. A product described as washable may still leave color on porous or delicate materials.
Apron and appropriate simple protection
A washable apron helps separate project mess from everyday clothing. Use clear protective eyewear or appropriate light-duty gloves only when the product label or task calls for them. Protection does not make an unsuitable product or activity safe.
For a fuller pre-project check, use the DIY safety equipment checklist.
Visible storage
Store materials upright when required, with the original labels readable and closures secure. Use a shallow bin or drawer that lets you see the colors without moving every container.
The craft supply storage ideas guide offers a small-space system based on visibility and frequency of use.
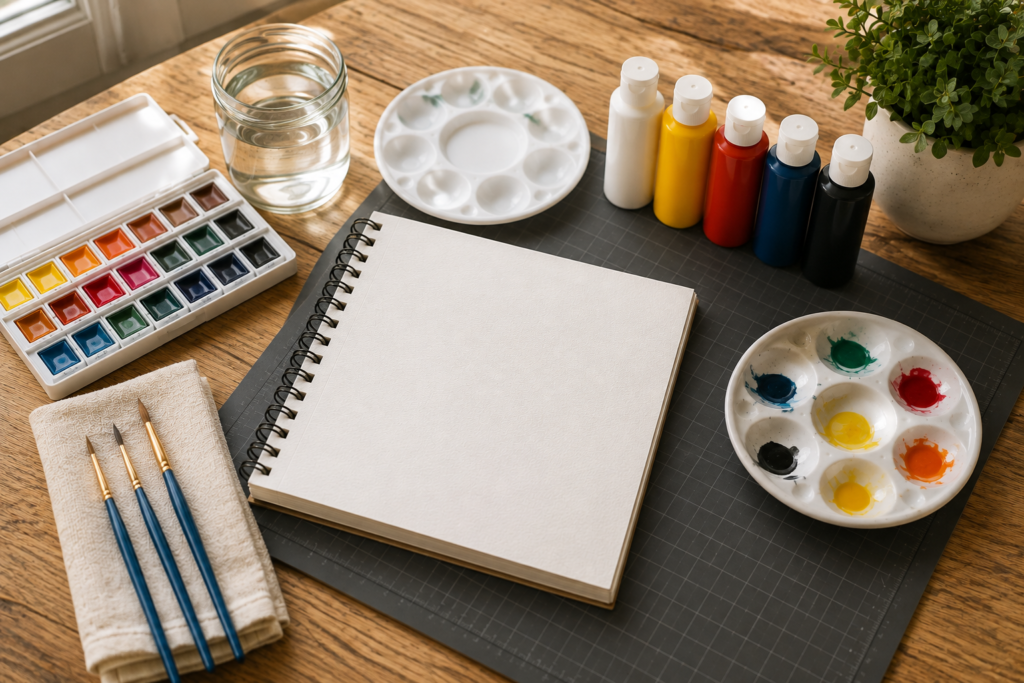
Painting Supplies for Paper and Card
Paper projects can range from quick gift tags to layered wall art. The main challenge is choosing a paint and paper that work together.
Shopping checklist:
- Paper or card intended for the chosen water-based medium
- Properly labeled paint
- A small flat brush and round brush
- Low-tack tape suitable for the paper, if the design requires temporary placement
- Reusable palette
- Compact work mat
- Clean sheet or folder for protecting finished pieces
Thin paper may buckle when it absorbs water. Rather than assuming every sheet will behave the same way, check the paper weight and medium compatibility described by the manufacturer. A practice piece lets you see how the combination behaves before you begin the final design.
Paper painting pairs naturally with creative DIY gift wrap because small painted motifs can inspire tags, wraps, and cards without requiring a large supply collection.
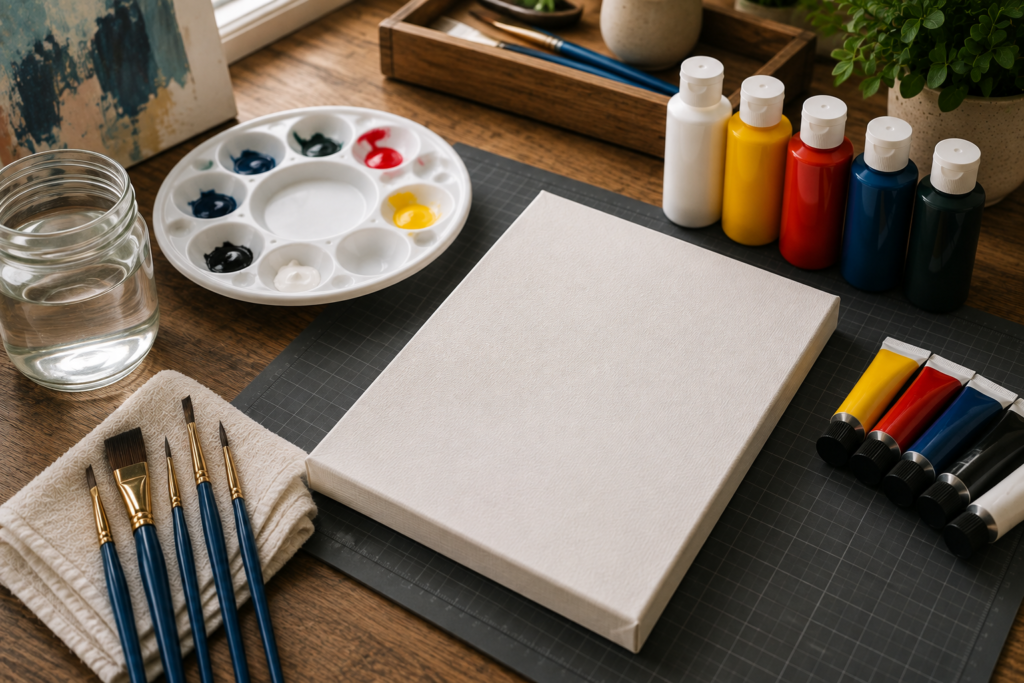
Painting Supplies for Canvas Panels
Canvas panels offer a defined surface and are easy to store, making them approachable for beginner wall decor. Check whether the panel is pre-primed for the paint you plan to use and whether any preparation is required by the manufacturer.
Shopping checklist:
- Appropriately prepared canvas panel
- Water-based creative paint labeled for canvas
- Medium flat brush for backgrounds
- Small round and detail brushes
- Palette and rinse cups
- Drop cloth or work mat
- Apron and cleanup cloth
- Flat drying location away from traffic
The finished size matters. A small panel can be completed with fewer colors and makes it easier to experiment before committing to a larger design.
For inspiration, see 20 DIY Wall Decor Ideas That Look Expensive, then adapt the concept to the materials and instructions you have actually verified.
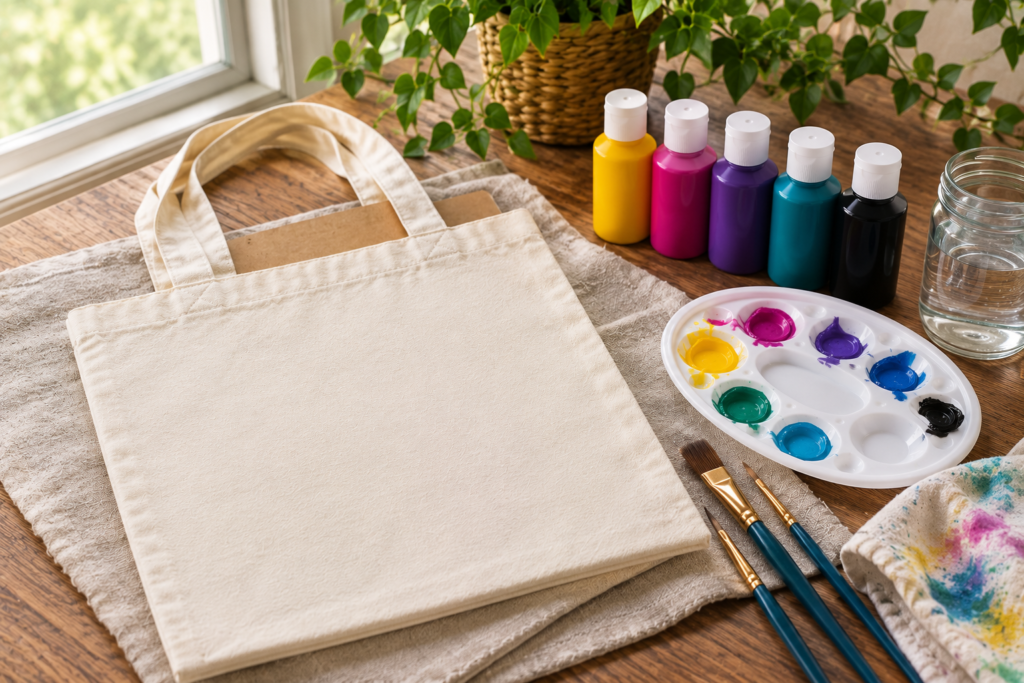
Painting Supplies for Fabric
Fabric moves, bends, and may be washed, so it requires a paint specifically labeled for textiles and instructions that match the fabric type. Do not substitute ordinary craft paint based only on color.
Shopping checklist:
- Fabric or a ready-made textile item compatible with the paint
- Textile paint with clear application and care directions
- Appropriate synthetic brushes or applicators
- Protective insert that prevents transfer between fabric layers
- Work mat and apron
- A flat area for the item to remain undisturbed as directed
Read every instruction before starting, including any setting or washing requirements. This guide does not provide heated-setting instructions. If the product requires heat or another process outside the low-risk scope of this article, use competent adult help and follow the manufacturer’s directions.
For textile-project inspiration, explore handmade tote bags and DIY clothing alterations, then select materials appropriate to the exact fabric and project.
Painting Pre-Finished Decorative Craft Objects
Small wooden, papier-mâché, or similar decorative blanks can be enjoyable when the item and paint are intended to work together. Choose smooth, ready-to-decorate consumer craft objects that do not require power tools, chemical stripping, or specialist surface treatment.
Shopping checklist:
- A ready-to-decorate object with material information
- Compatible water-based creative paint
- Small flat and round brushes
- Work mat and stable support
- Palette, rinse cup, and cleanup cloth
- Storage or display plan for the finished piece
Do not paint food-contact surfaces, electrical items, toys, skin, or objects exposed to high heat unless the product is specifically designed and labeled for that purpose.
Choose Brushes by Job
Instead of buying twenty brushes at once, match each shape to a repeated task.
Flat brushes
Useful for broader areas, simple blocks of color, and straight-edged decorative marks. Compare width, bristle alignment, and handle comfort.
Round brushes
Useful for curves, general details, and varied strokes. A medium-small round brush is often more flexible for a beginner than several extremely fine options.
Detail brushes
Useful when the design genuinely includes small marks. They should hold their shape and feel controllable. If most of your project is broad color, this is an occasional tool rather than the center of the set.
Foam applicators
Some properly labeled water-based projects use foam applicators for dabbing or even coverage. Check compatibility and whether the applicator is reusable or disposable.
Evaluate brush quality through clear construction details and recurring review patterns, not simply the number of pieces in the bundle.
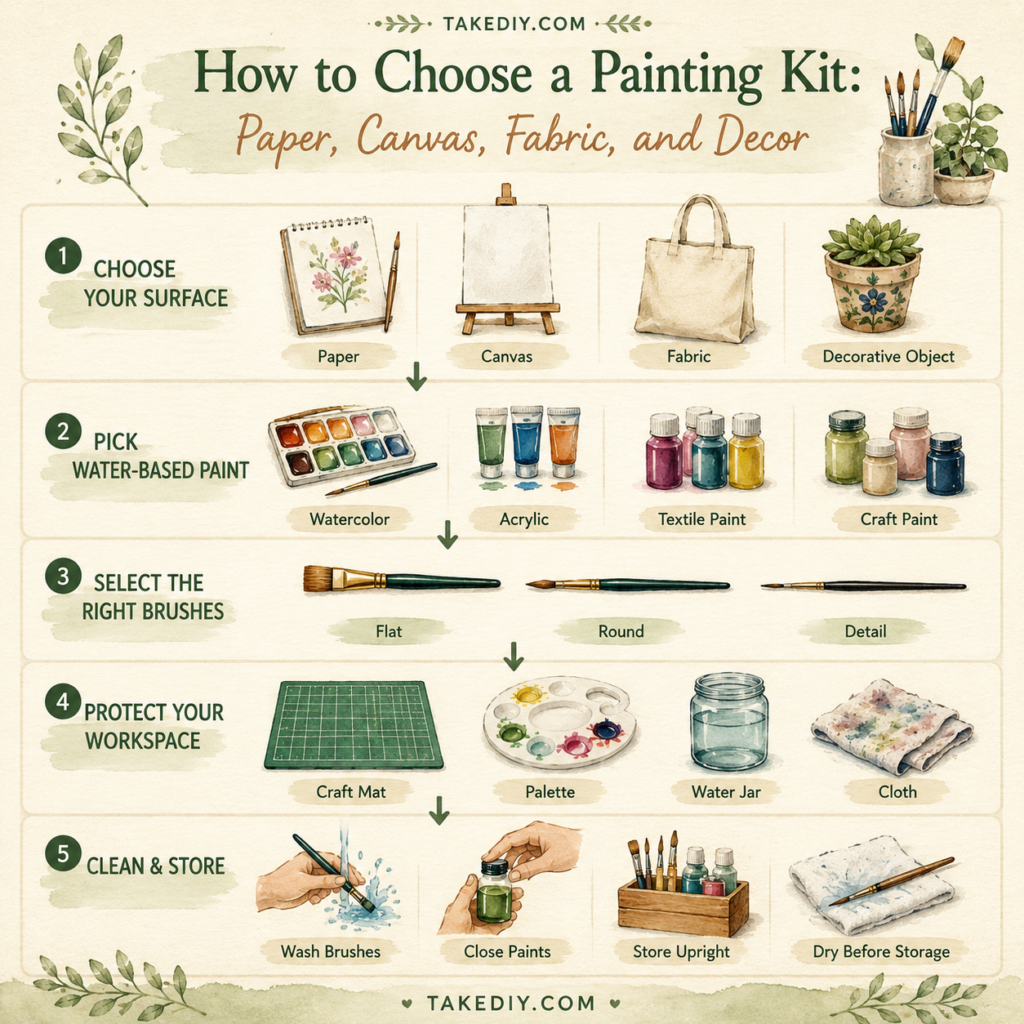
The Surface-First Decision Path
Use this sequence before every purchase:
- Name the exact surface.
- Choose a creative material labeled for that surface.
- Read the full label, warnings, drying, and cleanup instructions.
- Select two or three brush shapes suited to the design.
- Protect the table and surrounding area.
- Prepare craft-only water and cleanup supplies if appropriate.
- Plan where the project will remain undisturbed.
- Store the original container with its label intact.
If any step is unclear, pause and contact the manufacturer or choose a better-documented product.
How to Compare Amazon Product Candidates
Separate the shortlist into product families rather than creating one giant “painting kit” recommendation:
- Small synthetic brush set
- Reusable washable palette
- Reusable work mat or drop cloth
- Properly labeled water-based paint set for a defined surface
For each candidate, record:
- Exact contents and dimensions
- Intended surfaces
- Label and warning information visible in the listing
- ASTM D-4236 statement where applicable
- ACMI certification status if claimed
- Seller, variant, availability, and return policy
- Recent review patterns about leaking, dried materials, missing parts, bristle shedding, or unclear colors
- Date checked
Do not copy the retailer’s description into the article. Translate the specifications into a practical decision: who the product is for, which surface it supports, what it includes, and what the user must still provide.
Cleanup and Storage Habits That Protect the Kit
Read the product label before the session so you know the correct cleanup method in advance. Keep containers closed when they are not actively needed, and clean small ordinary spills promptly using the approved method.
After the project:
- Close and inspect every container
- Keep original labels attached and readable
- Let compatible brushes dry as directed
- Wash hands after the session
- Remove food and drinks from the area before, during, and after use
- Store materials away from heat and direct sunlight according to their labels
- Record an opening date when shelf life matters
Do not mix leftover materials back into original containers unless the manufacturer explicitly permits it.
Frequently Asked Questions
What painting supplies does a beginner really need?
Start with paint labeled for one chosen surface, a flat brush, a round brush, a small detail brush, a reusable palette, stable rinse cups when appropriate, surface protection, a cleanup cloth, and an apron. Add specialist products only when a real project requires them.
Is water-based paint always safe?
Water-based products can be a safer choice than solvent-based alternatives for many hobby projects, but “water-based” does not replace the label. Read the intended use, warnings, age guidance, ventilation, cleanup, and storage directions.
What does “Conforms to ASTM D-4236” mean?
For U.S. consumer art materials, it is a statement of conformance connected to chronic-hazard review and labeling requirements. It does not mean the product is suitable for every use, and it does not replace instructions or cautionary labeling.
Can ordinary craft paint be used on fabric?
Use a product specifically labeled for the fabric and expected care. A color that adheres initially may not behave correctly when the textile bends or is cleaned.
How many paintbrushes should a beginner buy?
Three clearly different shapes can be more useful than a large repetitive bundle. Begin with a medium flat, a small round, and a detail brush, then expand only after repeated projects reveal a need.
Build a Painting Kit Around What You Want to Make
A good beginner painting kit begins with a surface and ends with a cleanup plan. The colors sit in the middle—not at the beginning.
Choose properly labeled water-based materials, a few purposeful brush shapes, reusable support supplies, visible storage, and a workspace you can protect. That simple structure makes painting easier to start, easier to pause, and easier to repeat.
