Essential DIY tools for beginners do not require a crowded toolbox or a cart full of supplies. In fact, buying too much too early can make your first project harder because you have more objects to organize, more instructions to understand, and less clarity about what you genuinely need.
A smarter beginner kit is small, flexible, and built around the projects you want to make now. This guide to essential DIY tools for beginners focuses on planning, measuring, protecting your workspace, painting, simple fabric crafts, and organization. It deliberately leaves out power tools, exposed blades, heated equipment, strong chemicals, and specialist gear.Quick Answer: Begin with a pencil, two measuring tools, a protected work surface, a small set of brushes, simple cleanup supplies, basic personal protection, and one storage box. Add anything else only when a real project requires it.
Before You Buy Anything, Choose Your First Two Projects
The best starter kit is not the one with the most pieces. It is the one that supports two or three projects without filling your home with duplicates.
Write down the first two projects you realistically expect to complete. A beginner embroidery design, handmade tote bag, decorative gift wrap, or simple painted wall accent will not need the same supplies. Look at both material lists and circle the items they share. Those shared items form the core of your kit.
This approach also gives every purchase a job. Instead of buying a product because it appears on a generic “must-have” list, you can ask a better question: will this help me finish one of my next two projects?
For a broader overview of supplies by project type, visit the complete guide to DIY tools and craft supplies.
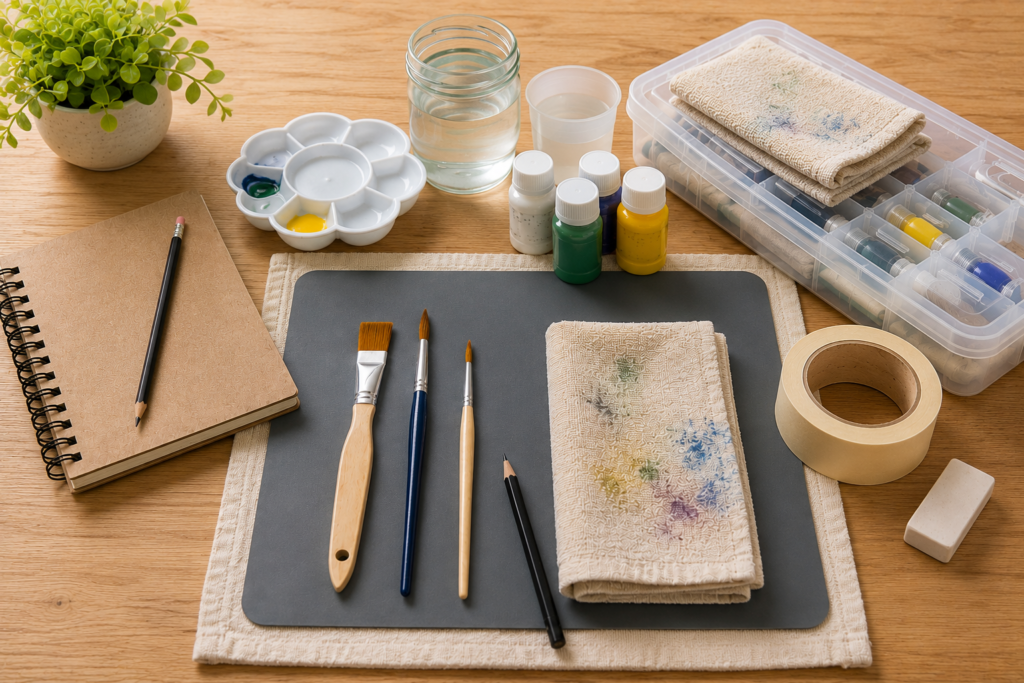
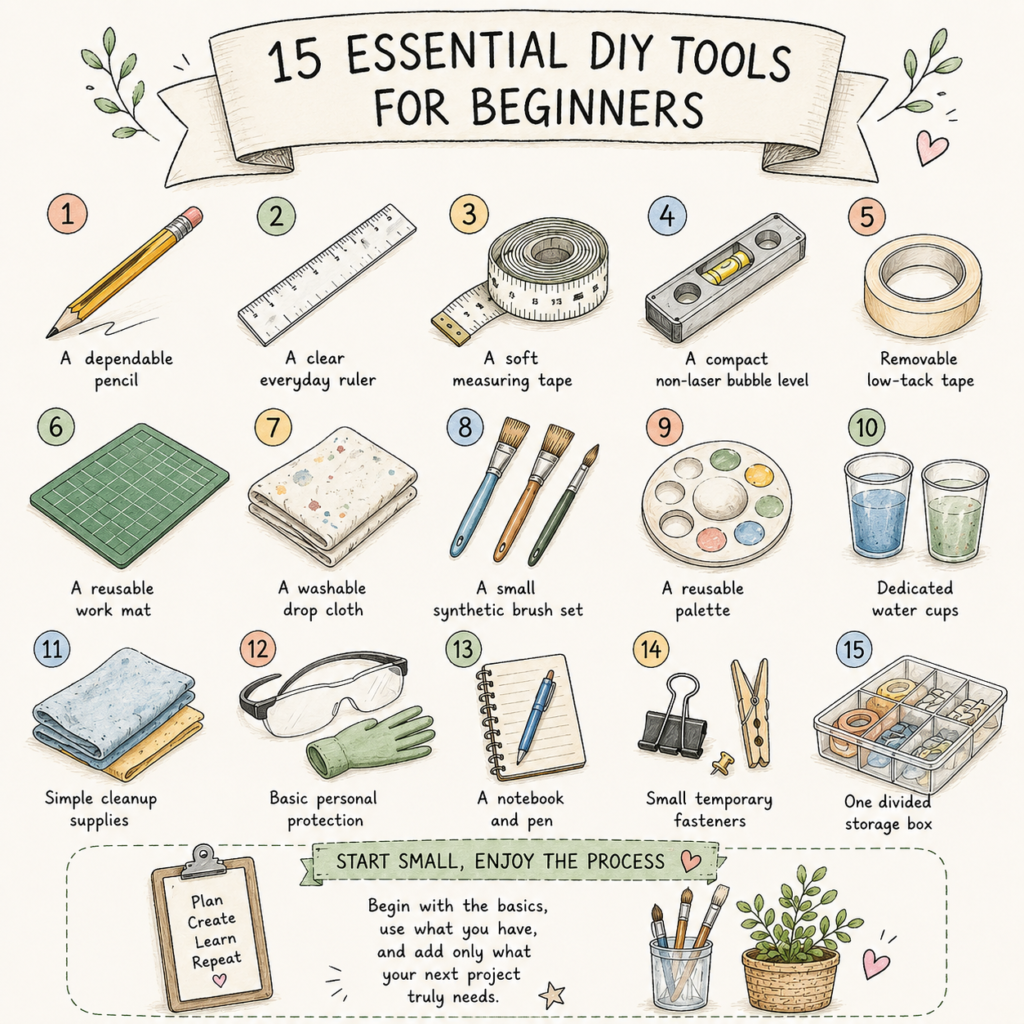
The 15 Beginner Essentials
1. A dependable pencil
A regular pencil is still one of the most useful planning tools. It lets you mark positions, sketch layouts, make notes, and change your mind before committing to a design. Choose one that feels comfortable and produces a visible but erasable line on paper.
Keep a small sharpener and eraser nearby. You do not need a large drawing set unless illustration is part of your chosen project.
2. A clear everyday ruler
A ruler helps with paper layouts, labels, spacing, and small decorative projects. Clear markings matter more than decorative color. If you regularly follow tutorials from different countries, a ruler showing both inches and centimeters can reduce conversion mistakes.
Check that the ruler lies flat and that the first measurement mark begins where you expect it to. Decorative rulers with unclear edges can be surprisingly frustrating.
3. A soft measuring tape
A flexible tape is useful for fabric, clothing alterations, curved objects, storage planning, and checking the size of finished pieces. Look for numbers that are easy to read and a tape that returns smoothly to its case if you choose a retractable model.
For clothing or fabric projects, a soft tape is usually more practical than trying to bend a rigid ruler around a curve.
4. A compact non-laser bubble level
If you are planning wall decor, a small traditional bubble level can help you check alignment before placing lightweight decorative items according to the product instructions. A compact model is easier to store than a large construction level.
This beginner guide does not recommend laser levels or installation equipment. For any wall task that requires drilling, electrical checks, heavy mounting, or specialist knowledge, use competent adult or professional help.
5. Removable low-tack tape
Low-tack tape can hold a paper plan temporarily, mark a boundary, group materials, or label a container. Select a tape intended for the surface you are using and test it in an inconspicuous area first, because even removable products can affect delicate finishes.
Avoid assuming that one tape is safe for every wall, paper, fabric, or painted surface.
6. A reusable work mat
A washable craft mat gives your project a defined zone and makes cleanup easier. It is useful even when no cutting is involved: it can protect a table from water-based paint, ink transfer, pencil marks, or scattered small pieces.
Choose a mat that fits fully on your table and can be stored flat. If you want a gridded model, the guide on how to choose a cutting mat explains size, grid, stability, and storage without recommending cutting tools.
7. A washable drop cloth
For projects that spread beyond a small mat, a reusable drop cloth protects a wider area. Look for a size that covers the active zone without creating loose folds or a trip hazard. A washable cloth is often more useful over time than repeatedly buying disposable covers.
Keep the surrounding floor clear and do not let the cloth block walkways.
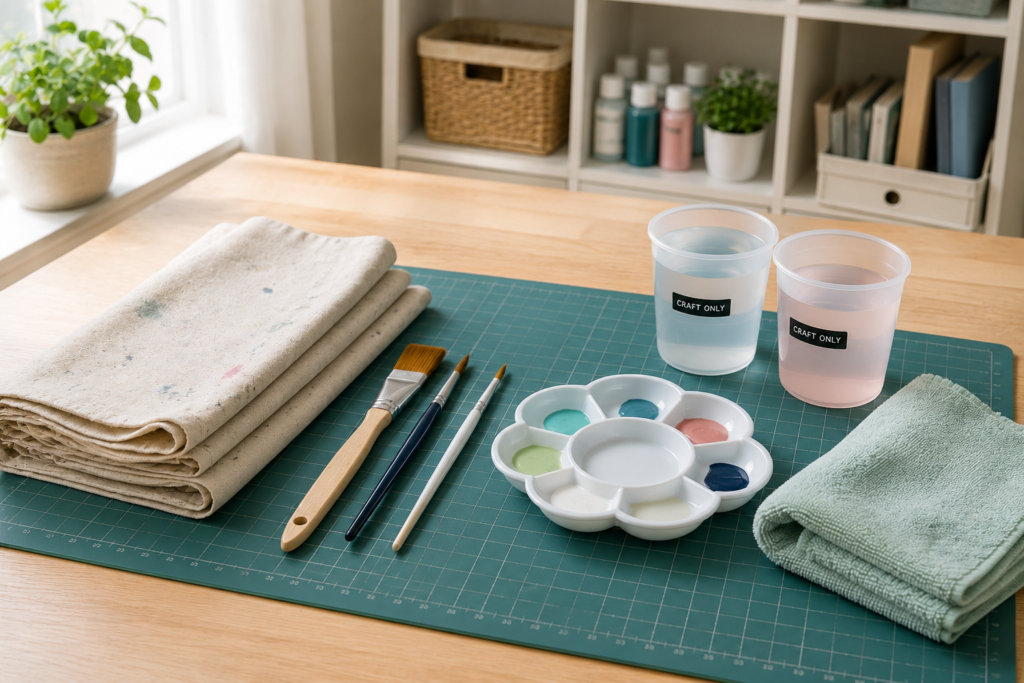
8. A small synthetic brush set
Beginners usually benefit more from a few clearly different brush shapes than from a giant bundle of near-duplicates. A small set with a medium flat brush, a smaller round brush, and a detail brush can cover many paper, canvas, and decorative craft projects.
Choose brushes according to the material and paint label. A larger set is worthwhile only after you know which shapes you repeatedly reach for.
9. A reusable palette
A washable palette keeps colors separate and makes mixing more controlled. A simple flat palette with several wells is easier to understand than an elaborate system. Check that it sits steadily on your work surface and is compatible with the water-based creative materials you plan to use.
Do not reuse a food container for art materials, and never return a craft container to food use.
10. Dedicated water cups
Use clearly identified craft-only cups for rinsing brushes when the product instructions call for water. Stable, wide-based containers are less likely to tip than tall narrow ones. Label them so nobody mistakes them for drinking cups.
Keep all food and drinks away from the work area, even when the materials are described as washable or non-toxic.
11. A lint-free cleanup cloth
A reusable cloth helps manage small water spills, wipe a washable palette, and clean an appropriate work surface according to the product instructions. Keep it with your craft supplies so it is not later used in the kitchen or bathroom.
Cleanup is part of the project, not an afterthought. Preparing the cloth before you begin is easier than searching for one while materials are open.
12. Clear protective eyewear
For activities whose product instructions call for eye protection, choose clear eyewear that fits securely and does not distort your view. It should be easy to inspect for scratches or damage before use.
Protective eyewear does not make an unsuitable or dangerous activity safe. This article is limited to low-risk creative projects and does not provide instructions for power tools, heated tools, exposed blades, aerosols, or hazardous substances.
13. A craft apron
An apron separates your project clothes from everyday clothing and gives you a visible reminder that you are in work mode. Choose a washable model that fits comfortably without loose straps hanging into the work area.
An apron is useful for organization and light splash protection, but it does not replace any protection specifically required on a product label.
14. Light-duty craft gloves, only when appropriate
Some labels or personal sensitivities may make lightweight gloves appropriate for a simple craft material. The glove must be compatible with the product and fit correctly. Remove damaged gloves and wash your hands after the project.
Gloves are not automatically helpful for every task, and they can introduce risks around moving equipment. Because this guide excludes moving and powered equipment, follow the material manufacturer’s directions and seek competent guidance whenever you are unsure.
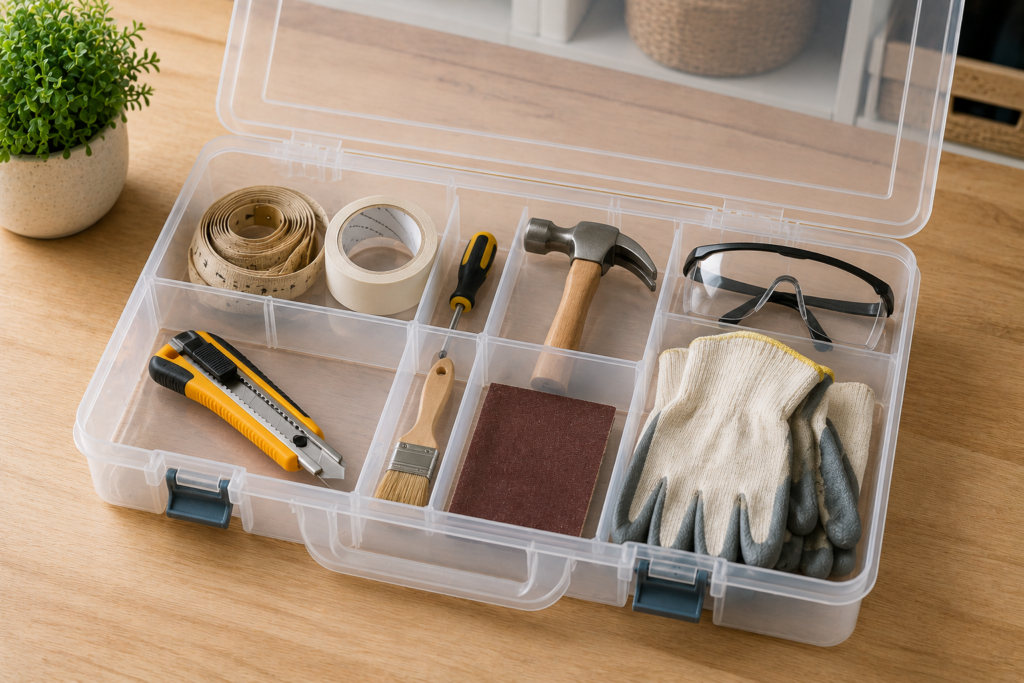
15. One divided storage box
A small organizer keeps pencils, tapes, brushes, labels, and other basics visible. Choose adjustable sections if your supplies vary in size. Before buying, measure both the storage location and your longest item.
One well-planned box is usually better than several mystery containers. If your collection is growing, use the craft supply storage ideas guide to build a system around visibility and frequency of use.
Three Starter-Kit Levels
Start-now kit
This is enough for planning and one low-mess project:
- Pencil, eraser, and ruler
- Soft measuring tape
- Reusable work mat
- Low-tack tape suitable for the chosen surface
- One small storage box
- The exact project materials listed in a TakeDIY guide
Try this level before buying bundles. It shows you whether you prefer paper, fabric, painting, or organization projects.
Add-next kit
Add these after completing a first project:
- Small synthetic brush set
- Reusable palette and labeled rinse cups
- Washable drop cloth
- Cleanup cloth
- Apron
These items create a flexible painting and decorative-project station without adding specialist equipment.
Project-specific additions
Only add these when the project or product instructions genuinely require them:
- Traditional compact bubble level for lightweight decor planning
- Clear protective eyewear
- Appropriate light-duty gloves
- A larger work mat or a second organizer
The order matters. Buying project-specific items last reduces duplicates and helps you compare products using real needs rather than imagined ones.
How to Judge Quality Without Relying on Hype
Product listings often use words such as premium, professional, heavy-duty, or complete. Those words are not useful unless the listing explains what they mean.
Look for evidence you can verify:
- Dimensions that fit your work and storage spaces
- Clear photos of measurement markings and included pieces
- Materials and care instructions
- A complete list of what is and is not included
- Recent review patterns about accuracy, durability, missing parts, or unclear instructions
- An identifiable brand or seller and a usable return policy
- Current availability in the size or variant you intend to recommend
Record the date you checked the listing. Product pages, variants, sellers, and availability can change.
What Not to Buy Yet
Delay any product that does not support a current project. That often includes enormous all-purpose kits, duplicate brush bundles, oversized storage, specialist measurement devices, and decorative organizers that do not fit your supplies.
This first TakeDIY cluster also leaves out power tools, heated tools, exposed cutting tools, resins, solvents, aerosol paints, and unlabeled materials. Those products require a different level of evaluation and are not needed for a useful beginner creative kit.
If a product needs a long safety explanation before it can be recommended, it does not belong in this starter list.
Turn the Kit Into a Finished Project
A starter kit becomes valuable only when you use it. Pick one small project, prepare the exact supplies, and put every optional item away. Completing something with a short list teaches you more than browsing another hundred products.
For a fabric-based first project, try DIY Embroidery for Beginners. For a decor-focused project, explore 20 DIY Wall Decor Ideas That Look Expensive. When you finish, note which items you used, which slowed you down, and which you wished you had. That becomes your evidence-based shopping list.
Frequently Asked Questions
How much should a beginner spend on DIY tools?
Set the budget around one or two chosen projects, not around a universal starter-kit price. Begin with the shared basics you do not already own, then add project-specific supplies only when required. This prevents a low-priced bundle from becoming expensive clutter.
Is a large all-in-one craft kit a good first purchase?
Only if the listing clearly identifies every item and most of them support the same project. A very large kit can hide duplicate or low-use pieces. A smaller, coherent kit with clear instructions is often easier for a beginner to finish.
Do I need professional-grade supplies?
No. You need supplies that are accurately described, suitable for the intended use, clearly labeled, and durable enough for your expected frequency. “Professional” is not a substitute for dimensions, materials, instructions, or reliable quality information.
Which measuring tool should I buy first?
A rigid ruler is best for paper and straight layouts; a soft tape is better for fabric, clothing, curves, and storage measurements. Because they solve different problems and take little space, many beginner kits benefit from both.
When should I upgrade my kit?
Upgrade after a repeated need appears. If three projects reveal that your brush loses bristles, your storage is too shallow, or your mat is too small, you have a clear reason to improve that item. Upgrade for a problem you can name, not for novelty.
Build Small, Finish More
The most useful beginner toolkit is not the biggest one. It is a compact collection you understand, can store easily, and can use across several real projects. Start with planning, measurement, surface protection, a few painting basics, simple personal protection when appropriate, and visible storage.
Finish two projects before expanding. By then, your next purchase will be based on experience—and that is the beginning of a genuinely useful DIY kit.

1 comment
[…] How to Choose a Cutting Mat: Size, Grid,… Best Craft Kits for Beginners: 7 Types Worth… 15 Essential DIY Tools for Beginners You’ll Actually… DIY Eco Friendly Home Cleaning Solutions for Safe,… How to Make Natural Home Air Freshener […]