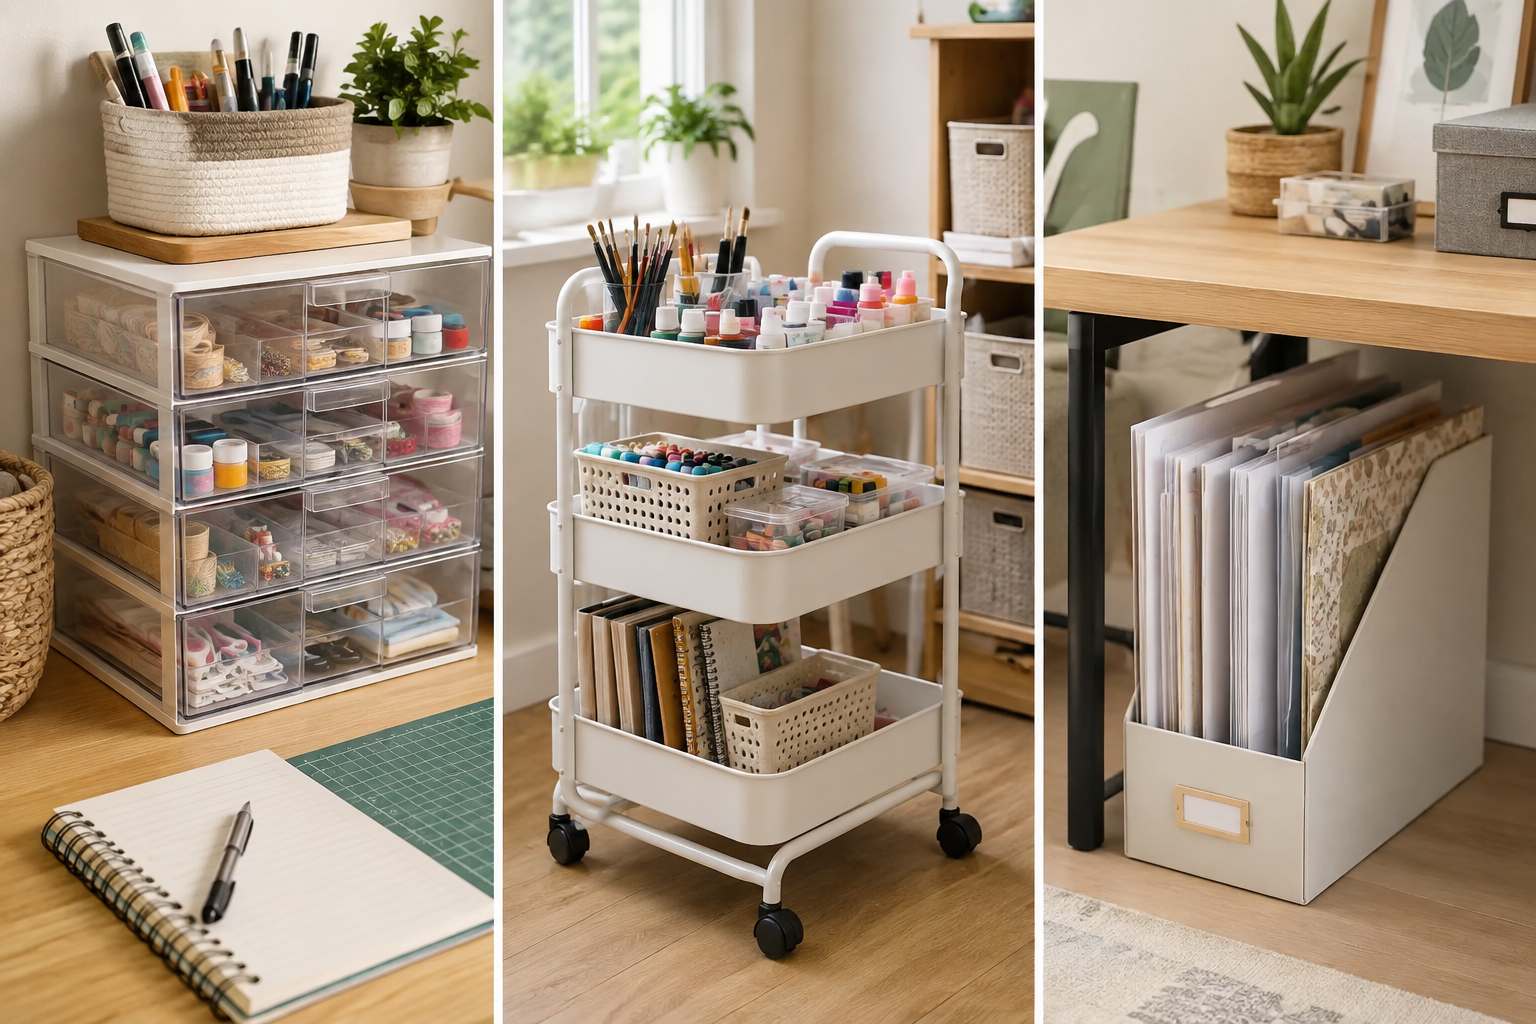
Craft supply storage ideas often solve a simple problem: supplies disappear into deep boxes, unfinished projects mix with new materials, and the table becomes the only place where anything can be found.
A useful storage system should answer three questions in seconds: what do I own, where does this project belong, and what needs to be replaced? You do not need a dedicated craft room to achieve that. You need visible categories, containers sized to the contents, and a reset routine simple enough to repeat.
Quick Answer: Inventory before buying organizers. Keep daily supplies visible, active projects together, backups farther away, and small pieces in shallow divided containers. Measure every shelf and item, label the front and top, and leave some empty capacity for easy return.
Begin With a 20-Minute Inventory
Do not start by shopping for matching boxes. Start by seeing what you have.
Create four temporary groups:
- Use often
- Current project
- Backup or seasonal
- Donate, recycle, or dispose of according to local and product guidance
Keep original labels with paints and other creative materials. Do not combine unidentified leftovers in one container. If a material is expired, damaged, leaking, recalled, or impossible to identify, follow the manufacturer’s and local disposal guidance rather than improvising.
Measure the longest, tallest, and widest items in each group. Then measure the shelf, drawer, closet, or corner where storage can live. These numbers prevent the most common organizing mistake: buying containers that fit the room but not the supplies.
For the broader cluster, see the complete guide to DIY tools and craft supplies.
1. A Clear Everyday-Supplies Box
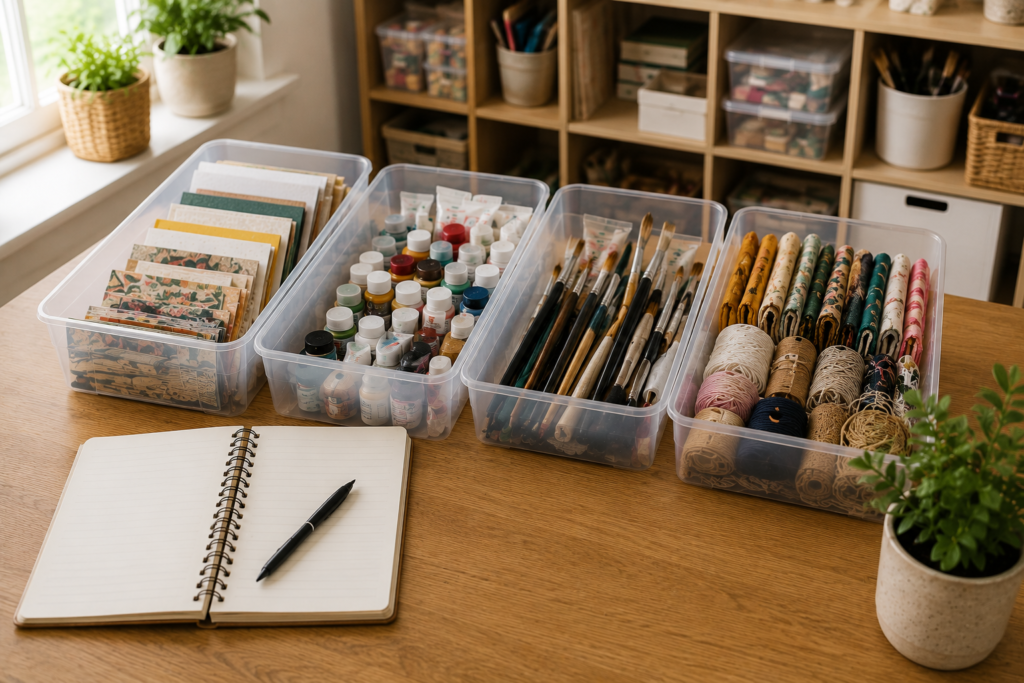
Create one compact box for the tools you reach for across several projects: pencil, ruler, soft measuring tape, removable tape, labels, and a small brush set. A clear lid or transparent sides help you confirm the contents before opening it.
Choose adjustable dividers if the item sizes vary. The box should be light enough to move comfortably and shallow enough that small tools do not disappear beneath one another.
Build the contents with 15 essential DIY tools for beginners.
2. One Tray for the Active Project
An active-project tray keeps all current materials together without turning them into permanent clutter. When the session ends, the entire project can move from the dining table to a shelf.
Use a tray or shallow lidded box large enough for the work in progress, instructions, and the exact materials required. Do not mix three unfinished projects in the same container. A simple label with the project name and next action makes restarting easier.
3. Shallow Drawers for Small Supplies
Small items are easier to see in shallow drawers than in deep bins. Assign each drawer a real category—labels, tapes, embroidery thread, paper accents, or brush care—instead of creating a growing “miscellaneous” drawer.
Check the internal drawer dimensions, not only the outside cabinet size. Drawer stops, handles, and wall thickness can reduce usable space.
4. Removable Drawer Dividers
Dividers turn an ordinary desk drawer into a flexible organizer. Adjustable pieces are useful when your categories change, but they should remain stable when the drawer opens.
Before buying a set, measure the drawer height and check the adjustment range. A divider that is slightly too tall or too short will not perform as intended.
5. Clear Stackable Boxes for Backup Materials
Stackable boxes can use vertical shelf space, but they work best for backup or occasional supplies rather than daily tools. If you need the bottom box every day, the stack becomes an obstacle.
Choose boxes whose weight and stacking method match the manufacturer’s instructions. Keep heavier compatible items lower and avoid unstable towers. Label both the front and top so the contents remain identifiable from different positions.
6. A Rolling Cart as a Mobile Craft Station
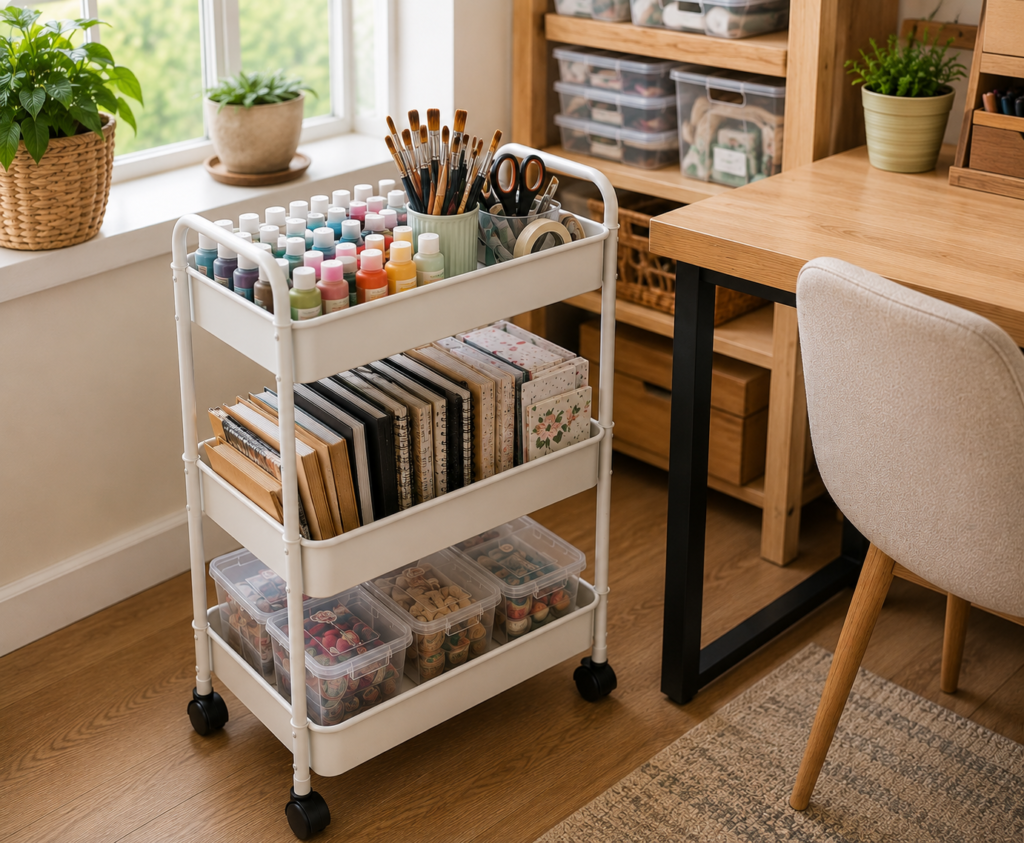
A compact rolling cart can move daily supplies between a closet and a work area. It is especially useful in a shared room where the table must be cleared after each session.
Compare:
- Overall footprint, including handles or wheels
- Shelf depth and edge height
- Stated weight capacity
- Wheel stability and locking features
- Assembly instructions
- Whether the cart fits through the intended path
Distribute weight according to the manufacturer’s directions and keep the route clear. A cart should move the supplies, not become a heavy obstacle.
7. Portable Caddies for Brushes and Markers
A handled caddy can organize brushes, markers, pencils, and similar upright supplies. Separate items by function rather than only by color, so the tool you need is easy to identify.
Check that the compartments are tall enough to support the items without hiding their labels. Keep closures on markers and store products in the orientation recommended by their manufacturers.
8. Flat Portfolio Storage for Paper and Mats
Paper, patterns, finished paintings, and craft mats often need flat support. A portfolio case, wide shelf, or shallow flat box protects edges and avoids folds.
Sort paper by size or intended use. Add a rigid labeled divider between categories rather than relying on a deep pile. Before closing the case, confirm that paintings and other materials are fully dry according to their instructions.
For choosing a compatible work surface, see how to choose a cutting mat.
9. Vertical File Holders for Paper Pads
Sturdy file holders can keep paper pads, pattern envelopes, and thin instruction folders visible from the side. This works best when each holder is fully supported on a shelf and not overloaded.
Label by format—plain paper, patterned paper, templates, or finished designs. Keep delicate paper in a protective folder rather than exposed at the edge.
10. Photo-Style Cases for Small Paper Elements
Compact lidded cases can separate stickers, tags, pre-cut paper pieces, and project notes. Select a product designed for storage, with secure closures and compartments large enough for the contents.
Group by project or use. A case labeled “gift wrap tags” is more actionable than one labeled “small things.”
This category pairs naturally with creative DIY gift wrap.
11. Thread and Yarn Bags With Visible Windows
Soft zippered bags can contain yarn, fabric pieces, or thread while remaining easy to move. A transparent panel or clear label pocket helps you identify the project without opening every bag.
Keep sharp accessories in their own secure container, not loose inside a soft bag. Store the bag in a dry location according to the material-care instructions.
12. Embroidery Project Pouches
Use one pouch per embroidery project for fabric, thread cards, pattern, and a secure needle case. The pouch should close completely and protect the pattern from bending.
Account for small accessories before putting the project away. The goal is a self-contained kit that can be restarted without searching.
For a suitable first project, visit DIY Embroidery for Beginners.
13. Lidded Paint Bins With Labels Facing Up
Store properly closed paints in a bin that keeps the original labels visible. Separate products by surface—paper and canvas, fabric, or decorative objects—so a color is not accidentally used for an unintended purpose.
Follow every product’s temperature and orientation guidance. Do not decant art materials into food containers, remove manufacturer labels, or store leaking and damaged products with usable supplies.
The DIY painting supplies checklist explains how to organize a small surface-first kit.
14. A Brush-Drying and Storage Zone
Brushes need a temporary drying place and a permanent storage place. They are not always the same.
Follow the brush and paint instructions for cleaning and drying. Once fully dry, store brushes so the bristles are not crushed. A divided caddy, brush roll, or shallow drawer can work depending on the shape and manufacturer guidance.
Label damaged or shedding brushes for replacement rather than letting them return to the active set.
15. An Over-the-Door Pocket Organizer
An organizer that hangs according to the manufacturer’s instructions can use the back of a suitable door without taking floor space. Clear pockets make lightweight supplies visible.
Check door clearance, hook fit, pocket dimensions, and stated capacity before purchase. Keep only lightweight, securely closed items in the pockets, and make sure the door continues to operate normally.
Avoid overloading the upper sections or storing materials that could leak.
16. A Narrow Freestanding Drawer Unit
A slim drawer unit can use the space beside a desk or inside a closet. It is a better choice than a deep cabinet when visibility matters.
Measure the full footprint and drawer extension. Confirm stability and follow all assembly or anti-tip instructions supplied by the manufacturer. Do not improvise wall installation; obtain competent help if anchoring is required.
Assign one drawer to each material family and keep the most frequently used safe supplies at a comfortable height.
17. A “Return Here” Basket
The most underrated organizer is an empty basket for supplies that belong elsewhere. During a fast cleanup, place stray safe items in the basket instead of forcing them into random drawers.
Empty the basket during a weekly reset. It prevents temporary disorder from becoming a permanent miscellaneous category.
The basket should not hold leaking products, unidentified materials, sharp accessories, or anything needing secure storage. Those items require immediate appropriate handling.
The Find-It-in-30-Seconds System
A storage system is working when another person—or your future self—can locate an item quickly.
Use four layers:
Zone
Give each broad activity a home: paper, painting, fabric, embroidery, active projects, or general tools.
Container
Choose a shape matched to the contents: flat for paper, shallow divided for small pieces, upright for appropriate brushes, and lidded for supplies that need containment.
Label
Label the front and, when useful, the top. Use specific action words such as “watercolor paper,” “current embroidery,” or “gift tags.”
Capacity
Leave enough empty space to return items without reorganizing the entire box. A container packed to its limit is difficult to maintain.
Test the system by choosing five items at random. If each can be found and returned within about thirty seconds, the labels and locations are doing their job.
How to Choose Storage Products for Amazon Affiliation
Compare products by use case, not appearance alone:
- Compact everyday box
- Clear stackable backup storage
- Shallow divided organizer
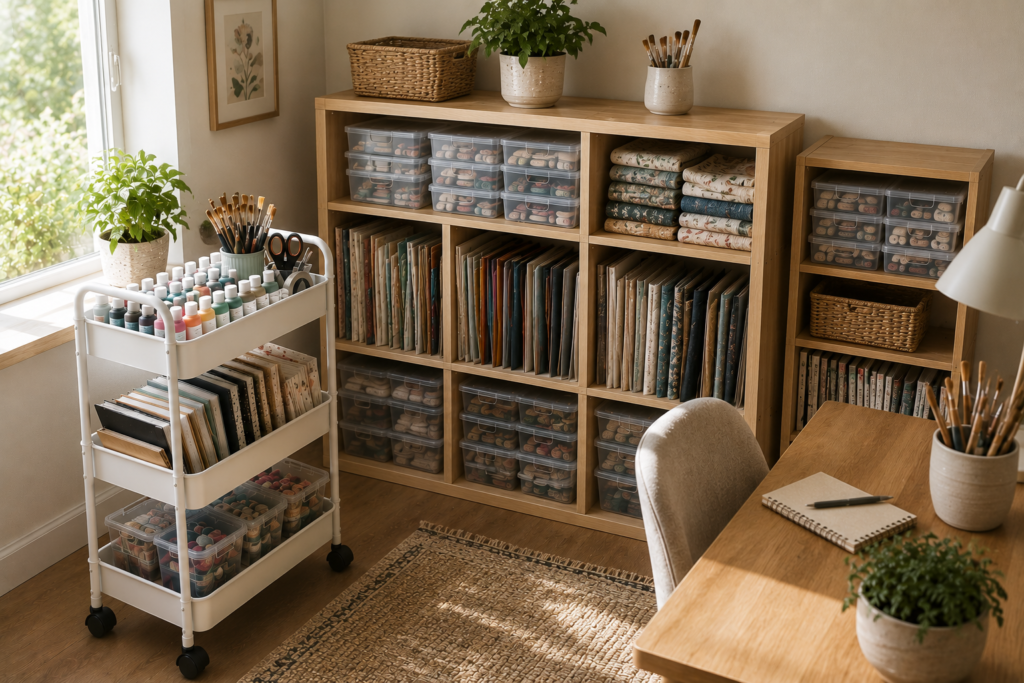
- Rolling cart
- Flat portfolio storage
- Lightweight over-the-door organizer
For each candidate, record:
- Exterior and interior dimensions
- Compartment sizes
- Stated capacity
- Closure and handle design
- Stability and assembly requirements
- Materials and cleaning instructions
- Seller, variant, availability, and return policy
- Recent review patterns about cracks, weak closures, missing pieces, wheel problems, or inaccurate dimensions
- Date checked
Photogenic storage that does not fit the supplies is not a useful recommendation. Add value by showing exactly which material family each option supports and what measurements the reader should take first.
Common Storage Mistakes
Buying matching containers before measuring
A consistent look is helpful only after the organizer fits the shelf and contents.
Hiding daily supplies in deep boxes
Keep the highest-use safe items visible and easy to return. Reserve deep storage for backups.
Creating a giant miscellaneous category
If “miscellaneous” grows, split it by action: labeling, measuring, cleanup, or current project.
Ignoring the active project
Unfinished work needs a real home. A project tray prevents it from mixing with unused materials.
Filling every centimeter
Leave expansion and handling space. Easy return is more important than theoretical maximum capacity.
Frequently Asked Questions
How do I organize craft supplies in one small room?
Keep the active project and daily tools in portable containers, use shallow drawers for small pieces, reserve higher or deeper storage for backups, and store paper or mats flat. Measure before buying and label the front of every container.
Are clear containers always better?
Clear containers improve visibility, but they still need labels and the correct shape. Some materials also have specific light or temperature storage requirements, so follow the product instructions.
What should go on a rolling cart?
Use it for lightweight, frequently used supplies that can be securely contained. Check shelf dimensions, cart capacity, wheel stability, and the route between storage and the work area.
How should I store craft paint?
Keep the original label attached, close the container, and follow the manufacturer’s orientation, temperature, and shelf-life instructions. Separate products by intended surface and inspect them before use.
How often should I reorganize?
Do a brief weekly return-basket reset and a larger review when a container becomes hard to close or a project type changes. The goal is maintenance, not constant redesign.
Create a System You Can Reset
Good craft storage is not a perfect room reveal. It is a system that lets creativity begin quickly and lets shared space return to normal afterward.
Inventory first, measure twice, choose containers by material, and label for action. When every active project has a tray and every common supply has a visible home, a small space can support a surprisingly rich creative practice without feeling crowded.
