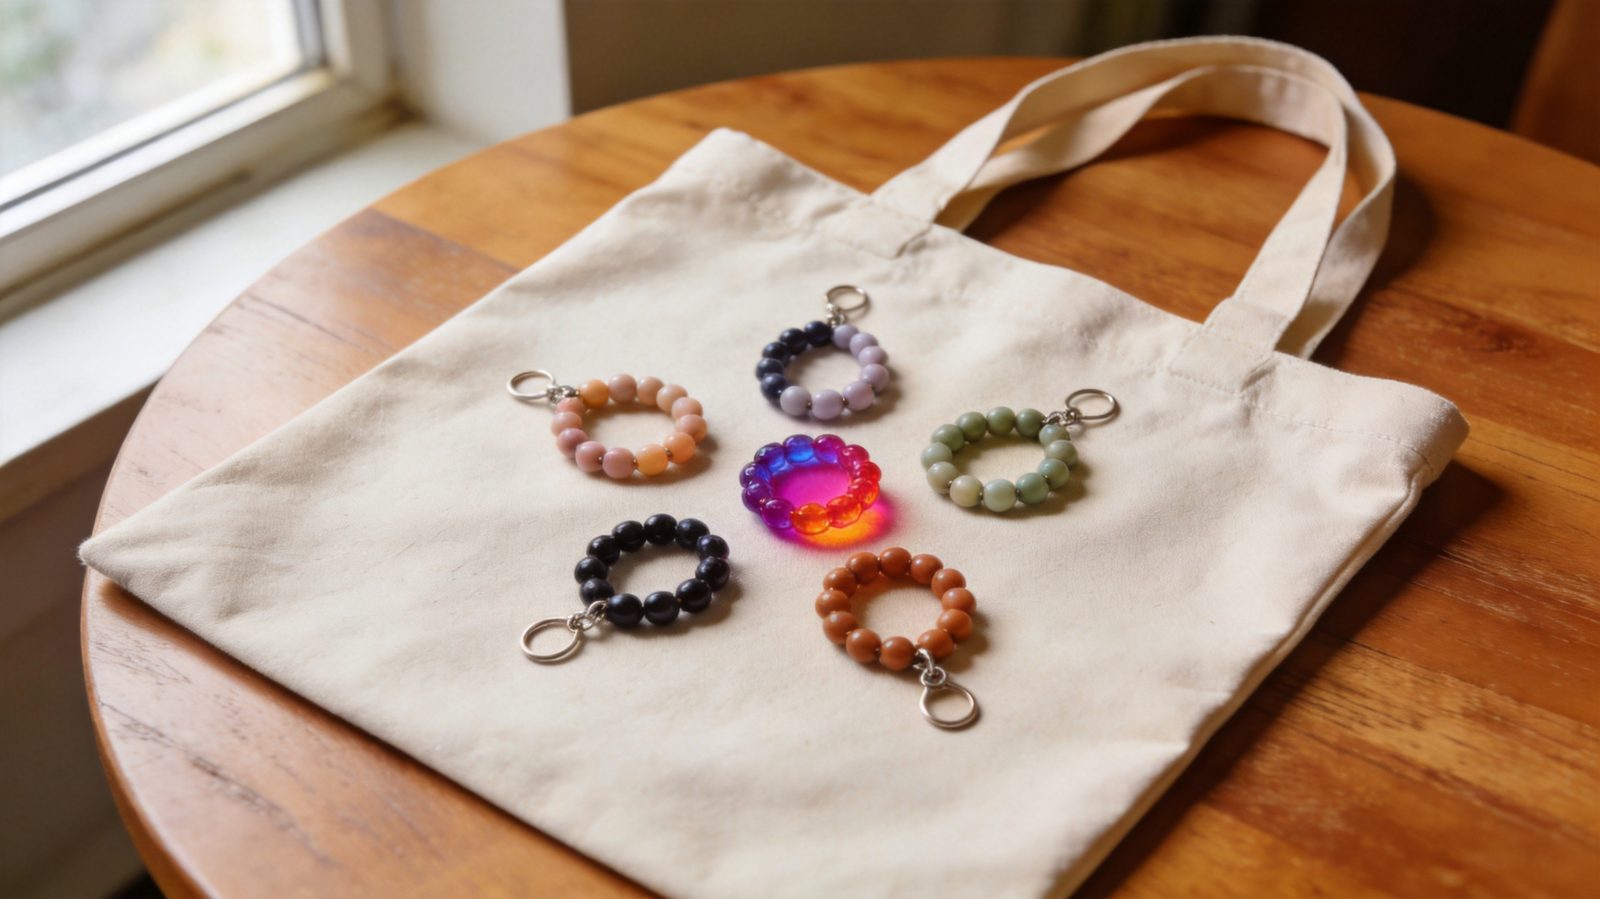
Quick answer: To make diy beaded bag charms, thread beads onto beading wire, crimp the wire to a jump ring at each end, and attach a lobster clasp. Close every jump ring sideways with two pliers so no gap remains. A charm takes about 30 to 45 minutes.
Making diy beaded bag charms is a small, satisfying project: you string beads, add a clasp, and clip the result onto a zipper, strap or keyring. Each charm below takes roughly 30 to 45 minutes and usually costs a few dollars in materials once you own basic pliers. This tutorial gives five color combinations with measurements, plus the hardware technique that keeps them attached.
Why Make Beaded Charms for Bags?
Beaded charms are a quick way to personalize a bag, because one charm uses only a small handful of beads and can be finished in a single sitting. They also clip on and off, so you can move one charm between a tote, a pencil case and a backpack.
This works as a beaded purse charm tutorial and a source of colorful diy bag accessories. The same method makes beaded zipper pull ideas if you shorten the strand, and beaded keychain clasp ideas if you swap in a split ring. If you want a ready-made starting point, a beginner craft kit can supply beads and tools together.
Safety note: Beads, crimps and clasps are small parts. Keep them away from children under 3 and from pets, and supervise older children. Finished charms are decorations, not toys, and should not be given to young children.
What Beads Clasps and Tools Do You Need?
You need beads, 0.015 to 0.019 inch (0.38 to 0.5 mm) nylon-coated beading wire, crimp tubes, jump rings, lobster clasps and two pairs of pliers. Wire of that thickness suits beads with holes of about 1 mm or larger.
- Beading wire, 0.019 in (0.5 mm), about 8 in (20 cm) per charm
- Crimp tubes sized for that wire; a 2 mm tube is a common match, so check the package
- Two 6 mm jump rings and one 10 to 12 mm lobster clasp per charm
- Beads in the quantities listed in the designs below
- Two pairs of flat or chain-nose pliers, a crimping tool if you have one, and flush cutters
- A bead mat or towel to stop beads rolling
Check the wire diameter printed on the spool before buying crimps, since a tube that is too large will not grip and one that is too small will not slide on. Beading guidance on stringing materials is explained in this bead stringing overview.
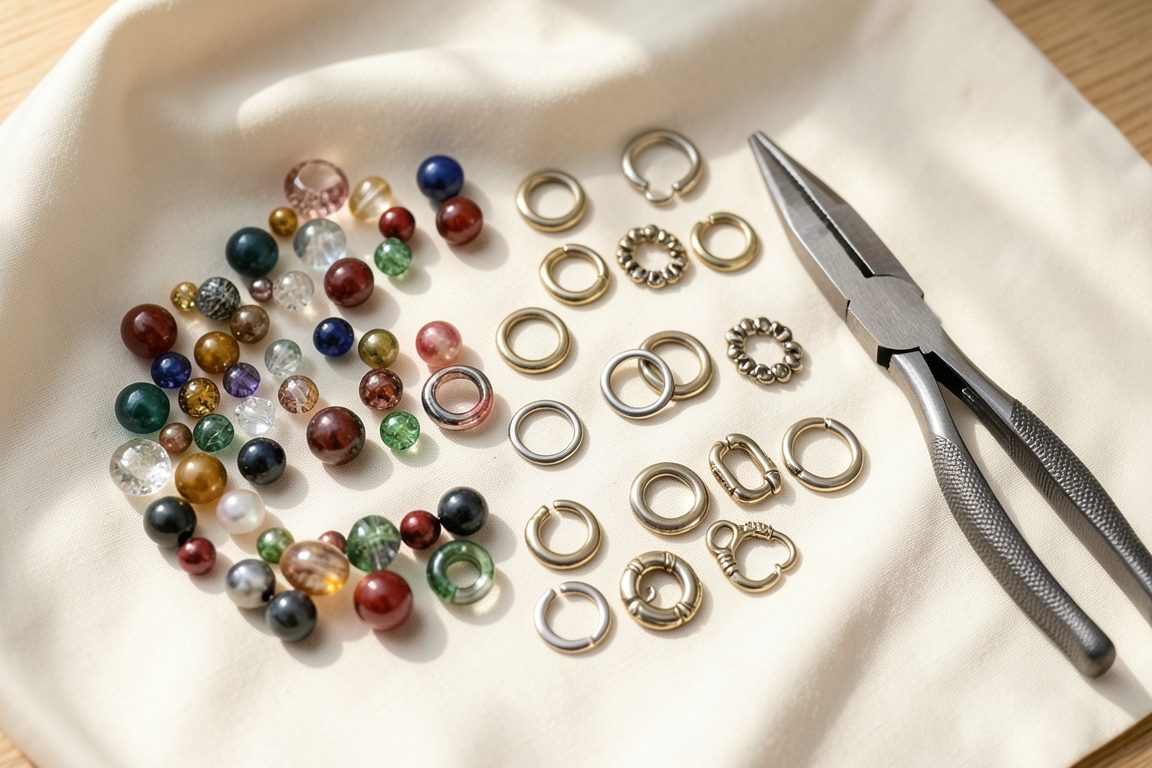
DIY Beaded Bag Charms in 5 Color Combos
Each of these five diy beaded bag charms uses the same build, so only the bead lists and lengths change. Finished length is measured from the top of the clasp to the bottom bead, and the strung beads run about 2.8 to 3.8 in (7 to 10 cm), and the finished length of each design is listed below. Follow the steps in the later sections to assemble any of them.
1. Sunset Stripe
Use 6 mm round beads: 4 coral, 4 orange, 4 yellow, plus one 10 mm gold bead at the bottom. Finished length is about 3.5 in (9 cm).
2. Ocean Glass
Use 8 mm faceted glass beads: 3 navy, 3 teal, 3 pale aqua, separated by eight 3 mm silver spacers. Finished length is about 4 in (10 cm).
3. Berry Pop
Use 6 mm beads: 5 magenta, 5 purple, 5 white, alternating in a repeating pattern. Add a 12 mm flat charm at the bottom if you like. Finished length is about 4 in (10 cm).
4. Garden Mix
Use 4 mm seed-style or small round beads: about 15 in mixed green, pink and cream, plus three 8 mm cream accent beads placed evenly. Finished length is about 3.5 in (9 cm).
5. Black and Gold
Use 8 mm matte black beads, six in total, alternating with six 4 mm gold beads. Finished length is about 3 in (7.5 cm).
How to Open and Close a Jump Ring
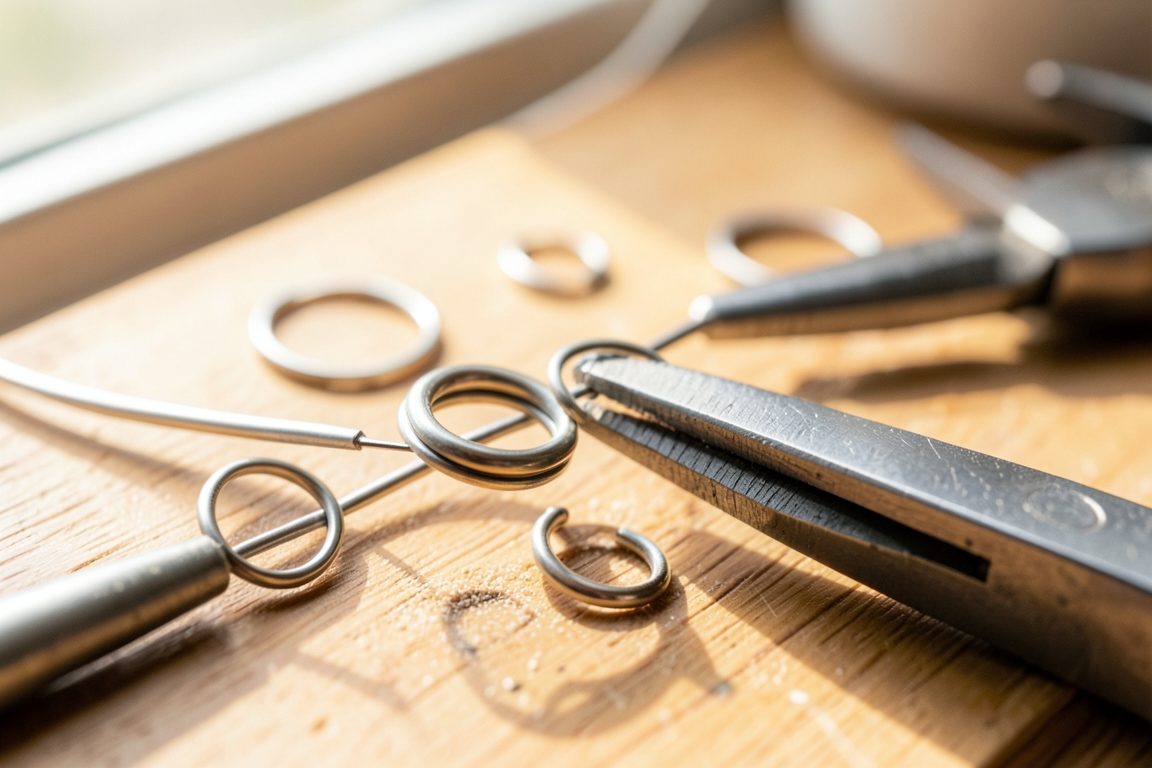
Open a jump ring by twisting the two ends sideways in opposite directions, never by pulling them apart. Pulling stretches the ring into an oval that rarely closes flush, which can leave a gap that may snag.
- Grip the ring. Hold the ring with a pair of pliers on each side of the gap, with the gap facing up. A secure grip stops the ring slipping and scratching.
- Twist sideways. Move one pair of pliers toward you and the other away, about 45 degrees. The ring opens like a door, and its round shape stays intact.
- Add your parts. Slide on the wire loop or clasp. Do this over a mat so nothing drops.
- Close with a slight overlap. Twist back the opposite way until the ends meet, then press very slightly past center and release so they spring together. If the ends do not touch, the ring may open under load.
A short demonstration is available in this video tutorial.
How to Assemble a Secure Clasp on DIY Beaded Bag Charms
A secure clasp comes from a crimped wire loop joined to a closed jump ring, which then holds the lobster clasp. Work in this order for each of the five designs.
- Cut the wire. Cut 8 in (20 cm) of beading wire. The extra length gives you room to handle and trim, and wire that is too short is hard to crimp.
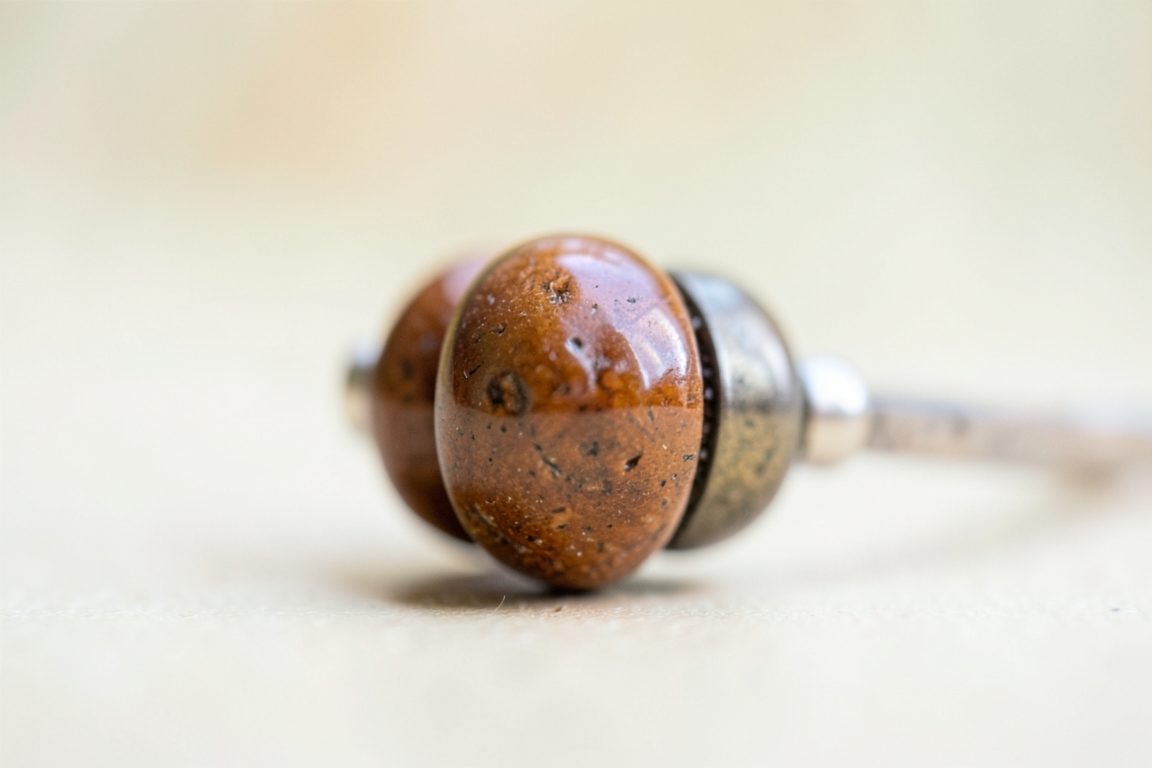
- Attach the first ring. Slide on a crimp tube, then a jump ring, and pass the wire back through the tube, leaving a 1 in (2.5 cm) tail. Keep the loop small but not tight, so the ring can move.
- Crimp the tube. Squeeze the tube flat with pliers, or use a crimping tool, then tug gently on the wire. If it slips, cut off the tube and redo it with a tube that fits your wire.
- Hide the tail. String the first few beads over both the tail and the main wire, then trim the tail flush. This covers the sharp end.
- String the pattern. Add beads in the order for your color combo. Check the length against the measurement before finishing, since you cannot easily adjust it later.
- Close the strand. Add a crimp tube and a second jump ring, pass the wire back through the tube and the last two beads, and pull snug with almost no visible wire. A loose gap lets beads slide and the wire show.
- Crimp and trim. Flatten the tube, trim the wire end, and confirm there is no sharp wire poking out.
- Add the clasp. Open the top jump ring as described above, slide on the lobster clasp, and close it fully. Check that the gap is shut by running a fingertip over it.
Wire and crimp pairing questions are discussed in this expert Q&A. If you have scrap fabric, you can also make a matching pouch from an old outfit, as in this guide to upcycling old outfits.
Time and Cost Comparison
Most charms take 30 to 45 minutes, and materials usually run about $2 to $6 per charm if you already own pliers. That range covers beads, wire, crimps, jump rings and a clasp, and varies with bead material and where you buy.
| Design | Bead count | Time | Cost level |
|---|---|---|---|
| Sunset Stripe | 13 | 30 to 40 min | Low |
| Ocean Glass | 9 plus 8 spacers | 35 to 45 min | Medium (glass beads) |
| Berry Pop | 15 | 35 to 45 min | Low |
| Garden Mix | About 18 | 40 to 50 min | Low |
| Black and Gold | 12 | 30 to 40 min | Low to medium |
A starter set of pliers, cutters and a crimping tool is a one-time purchase and can be shared across many projects. A cutting surface such as the one described in this cutting mat guide can protect your table when you trim wire.
How to Avoid Loose Beads and Snags
Avoid loose beads by crimping both ends firmly, closing every jump ring fully, and checking the charm before each use. These habits make your diy beaded bag charms safer around small parts, but they do not guarantee strength, so treat them as decoration.
- Pull test gently. Tug each end lightly after crimping. Do not use heavy force, and remake anything that moves.
- Check for rough spots. Run the charm along a soft cloth. If it catches, a wire end or ring gap may be exposed.
- Avoid sharp-edged beads. Some cut or rough-holed beads may fray wire, so choose smooth ones or add a spacer.
- Inspect regularly. Look at rings and crimps every few weeks and fix any gaps.
- Keep out of reach. Do not clip charms to items used by babies or toddlers. Supervise older children.
Troubleshooting: If a ring will not close, reopen it sideways and try again, or replace it with a new one. If a crimp slips, the tube may be the wrong size, so cut it off and start the end again. If beads rattle along the wire, add a small spacer bead at one end.
Care and storage: Wipe charms with a dry cloth and avoid soaking them, since water may harm some finishes. Store each charm flat or hung separately in a small pouch so the wire does not kink or tangle. Remove charms before washing a bag.

Frequently Asked Questions
How do you make beaded bag charms?
Cut about 8 inches (20 cm) of beading wire, crimp one end to a jump ring, string your beads, then crimp the other end to a second ring. Attach a lobster clasp to one ring, close all rings fully, and trim any wire ends. Most charms take 30 to 45 minutes.
Which beads suit bag charms?
Smooth round beads of 4 to 8 mm in glass, acrylic, wood or metal work well because they sit neatly and resist snagging. Choose beads with holes large enough for your wire. Avoid sharp-edged or rough-holed beads, which may wear the wire, and skip very heavy beads on light zippers.
How do you attach a bag charm?
Squeeze the lobster clasp open and hook it onto a zipper pull, bag strap loop or key ring, then release it so it snaps shut. Make sure the opening faces away from fabric that could press it open. Check the clasp closes fully before you carry the bag.
Do you need jewelry pliers?
Yes, two pairs are strongly recommended. One pair holds while the other twists, which opens and closes jump rings without stretching them. Flat or chain-nose pliers work best. Household pliers often have grooved jaws that scratch metal and make it harder to close a ring flush.
How do you keep the beads secure?
Use crimp tubes that match your wire thickness, flatten them firmly, and thread the wire tail back through a few beads before trimming. Close every jump ring so the ends meet with no gap. Check the charm periodically, and remake any crimp or ring that moves.
