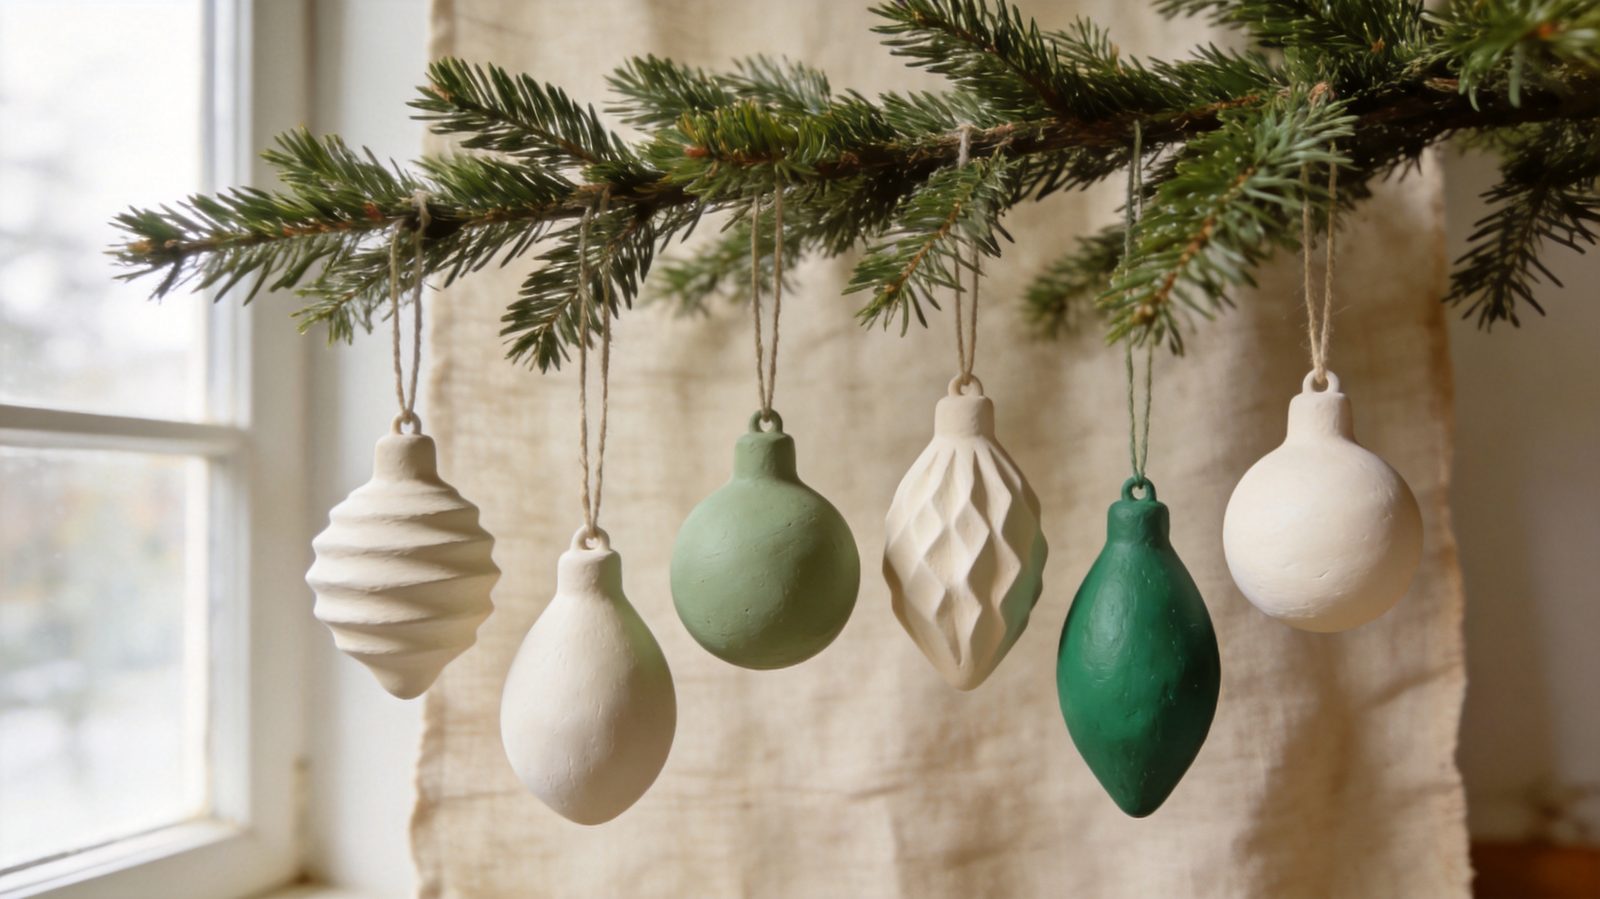
Quick answer: To make air dry clay christmas ornaments, roll clay about 1/4 inch (6 mm) thick, cut shapes, poke a hole, and dry them flat. Crayola indicates roughly 24 hours to touch-dry and 72 hours to fully dry, varying by thickness. Paint only dry clay and keep ornaments indoors.
Air dry clay christmas ornaments are one of the easiest handmade decorations to make, because they need no oven, kiln or special tools. This project makes six small ornaments in about 1 to 1.5 hours of hands-on time, plus several days of drying. Expect to spend roughly $10 to $30 for clay, paint and ribbon, and many people already own part of that.
Why Choose Air Dry Clay for Ornaments?
Air dry clay suits ornaments because it hardens at room temperature, so you can make a whole set at a kitchen table. There is no baking step, which makes these no bake clay ornaments friendly for families and small spaces. Clay is also forgiving: you can reshape, smooth and recut until you like the result.
It has limits. Air dry clay is more brittle than fired ceramic and is not waterproof, so treat it as a light indoor decoration. If you want a ready-made starting point, a boxed set from beginner craft kits can bundle clay and tools.
Materials and Label Safety
You need air dry clay, a rolling pin, cutters, a straw, ribbon and paint, and you should read the clay label before starting. Brands differ in drying time, recommended thickness and paint advice, so the label overrides any general guide, including this one.
Safety note: check the label for age grading and handling advice, keep clay and small tools away from young children and pets, and wash hands after working. Do not put air dry clay in a food oven unless the label says so.
- Air dry clay, about 1 lb (450 g) for six ornaments
- Rolling pin or smooth jar
- Wax paper or baking parchment as a work surface
- Cookie cutters or a craft knife and paper templates
- Plastic drinking straw or skewer for holes
- Small cup of water and a sponge
- Fine sandpaper (220 grit)
- Acrylic paints, brushes and optional sealer
- Ribbon or twine, about 6 in (15 cm) per ornament
Good paint and brushes matter more than people expect, and this painting supplies checklist covers the basics.
| Item | Detail |
|---|---|
| Hands-on time | About 1 to 1.5 hours |
| Drying time | About 24 hours touch-dry, 72 hours fully dry (indicative, varies) |
| Estimated cost | $10 to $30 covering clay, paint and ribbon |
| Yield | Six ornaments, each 3 to 3.5 in (7.5 to 9 cm) |
Air Dry Clay Christmas Ornaments in 6 Designs
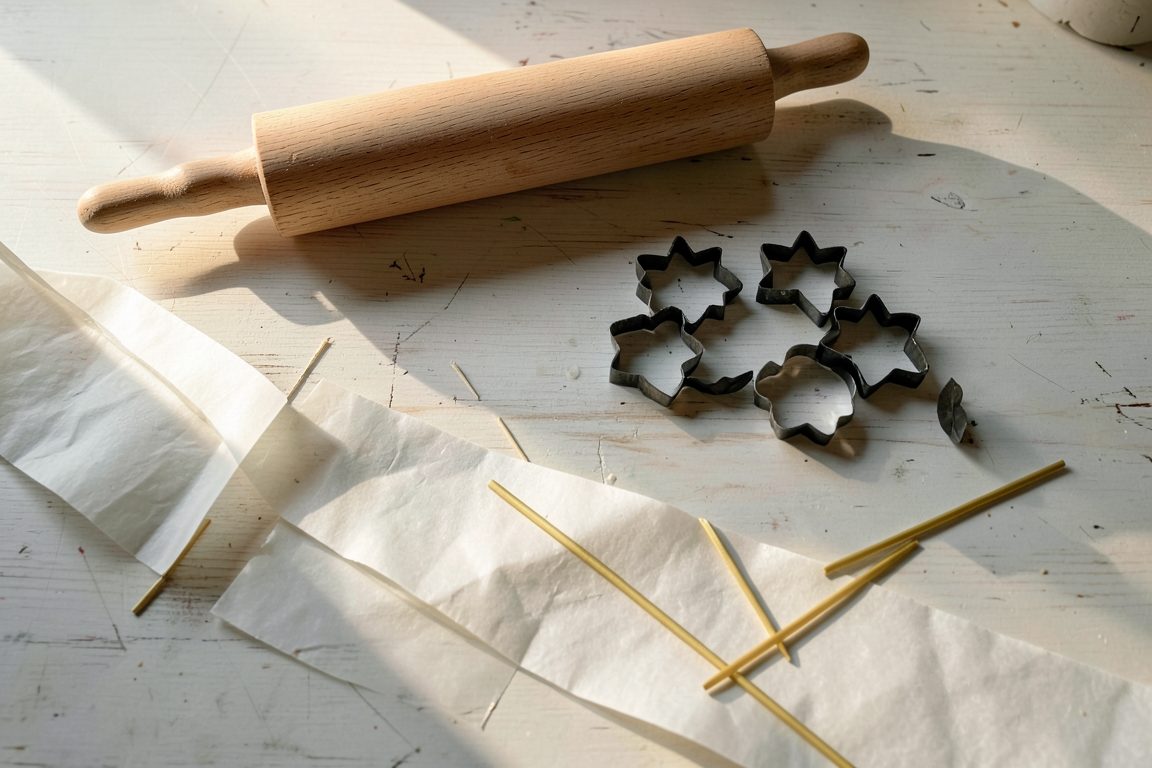
These six designs all start with the same slab and use simple cutters, so you can make the full set in one session. Crayola’s own tutorial, for example, makes an imprinted hat ornament from a slab about 1/2 inch (about 12.7 mm) thick, which you can see on Crayola’s ornament project page. The six shapes below use the same method with a thinner slab, which makes lighter ornaments that hang more easily.
For sturdier clay ornament ideas, aim for 1/4 to 3/8 inch (6 to 9 mm). Thinner pieces snap easily, and much thicker ones dry slowly. Keep each shape within 3 to 3.5 in (7.5 to 9 cm) so it hangs well.
Steps
- Condition the clay. Knead a golf-ball-sized piece for a minute until smooth, because cracks in the lump will show in the finished ornament. Keep the rest wrapped, since exposed clay starts to dry fast.
- Roll an even slab. Roll on wax paper to 1/4 to 3/8 inch (6 to 9 mm). Uneven slabs dry unevenly and warp, so use two stacked rulers or paint stirrers as guides.
- Cut the six shapes. For these air dry clay christmas ornaments, make a star, a round bauble, a tree, a gingerbread-style person, a diamond and a small mitten. Press the cutter straight down without twisting, or the edges will tear.
- Add texture. Press lace, a leaf or a fork into the bauble, tree and diamond for a decorative imprint. Press firmly but not through the slab, and lift straight up to keep the pattern crisp.
- Punch the hole. Push a straw about 3/8 inch (1 cm) from the edge, as described in the next section. Holes too near the edge are the most common cause of broken hangers.
- Smooth the edges. Dab a damp fingertip along the cut edge. Too much water makes the surface gummy and can cause cracking later.
- Dry flat. Place pieces on fresh paper and turn them once or twice as they firm up. Drying on one side only can curl the edges.
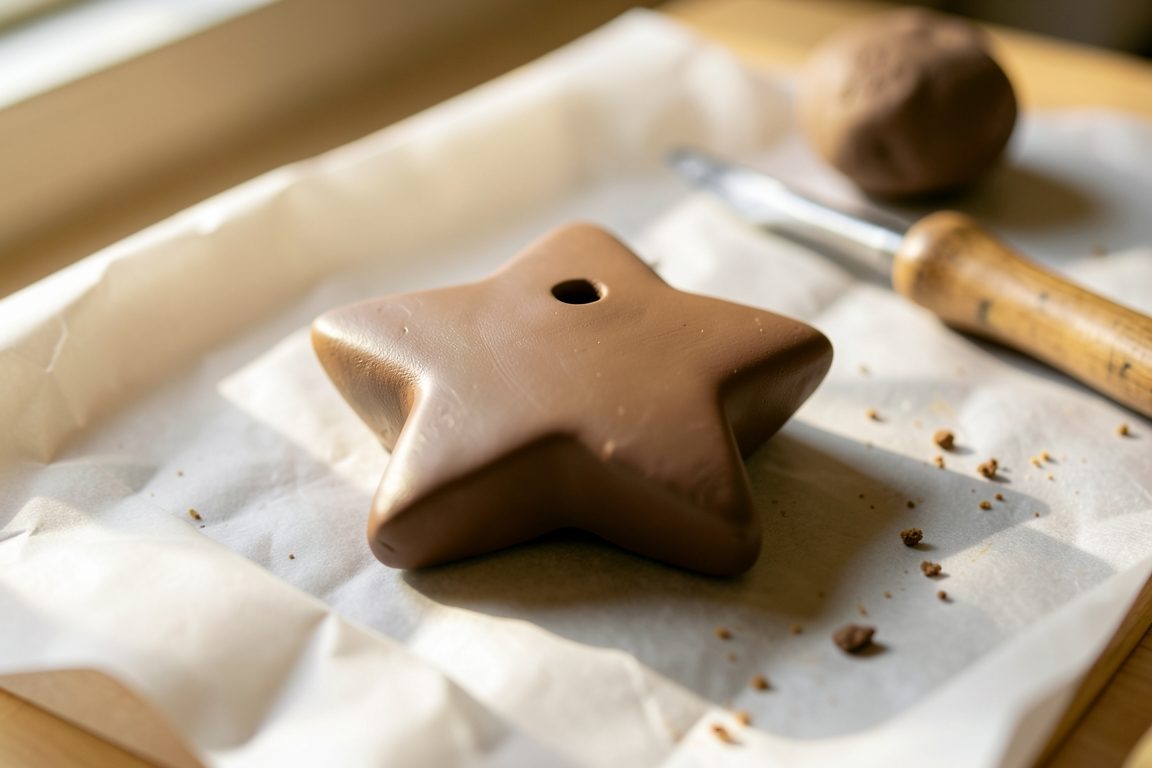
These shapes also make easy clay tree decorations for gift toppers. Tie one to a package for a tag, as in these DIY gift wrap ideas.
How to Make Holes for Ribbon
Make the hole in each of your air dry clay christmas ornaments while the clay is still soft by pushing a straw or skewer straight through about 3/8 inch (1 cm) from the edge. A straw cuts a clean, round opening of about 1/4 inch (6 mm), wide enough for ribbon or twine.
Work on a flat surface and twist the straw slightly as you lift it out, so the clay plug comes with it. If the edge bulges, gently press it back and smooth it. Making the hole after the clay has hardened tends to chip or crack the piece, so do it early.
Place the hole at the top of the shape, centered over the widest part, so the ornament hangs upright. For the mitten and star, put it at the highest point of the design.
How Long Does Clay Actually Need to Dry?
Crayola indicates air dry clay is touch-dry in about 24 hours and fully dry in about 72 hours, but this varies with thickness and room conditions. You can check their timing on Crayola’s drying FAQ. Other brands may differ, so read your label.
Thicker pieces, humid rooms and cool spaces can all take longer. A 1/2 inch (12.7 mm) piece will generally need more time than a 1/4 inch (6 mm) one. Fully dry clay feels lighter and uniform in color, with no cool or damp patches.
Do not speed things up with a hot oven or a radiator, because rapid drying can cause cracks. A dry, room-temperature spot with moving air is safer.
Painting and Finishing Indoor Clay
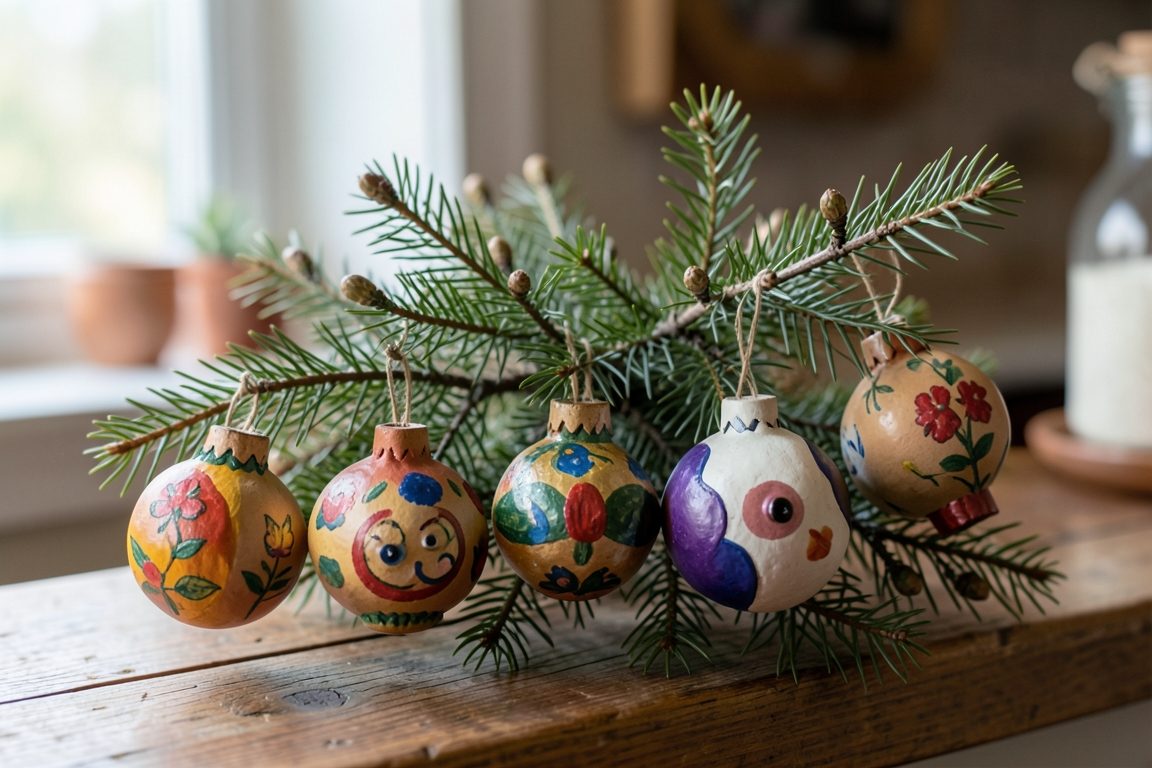
Paint air dry clay christmas ornaments only after they are thoroughly dry, since paint over damp clay can trap moisture. Lightly sand rough edges first, wipe off dust, then apply acrylic paint in thin coats and let each coat dry.
A sealer can add some surface protection, but it does not make clay waterproof. Crayola’s guidance on sealing air dry clay is a good reference. Keep every ornament indoors, away from damp windowsills, bathrooms and outdoor trees.
Safety note: use ventilation with spray sealers, follow the product label, and keep paint away from children who might put things in their mouths. Thread the ribbon only after the paint has fully dried.
How to Avoid Cracks and Broken Hangers in Air Dry Clay Christmas Ornaments
Most cracks come from uneven thickness, fast drying or holes placed too close to the edge. Fix these early and your air dry clay christmas ornaments will last many seasons indoors.
- Hairline cracks: Fill with a little fresh clay mixed with water, smooth, and dry again before painting.
- Curling edges: Flip the pieces during drying and keep them on a flat surface.
- Snapped hole: Use thicker clay and move the hole further from the edge next time.
- Sticky paint: The clay may not have been fully dry. Wait longer before repainting.
For storage, wrap each ornament in tissue and keep them in a rigid box in a dry cupboard. Avoid attics, garages and damp basements, since clay can soften when it absorbs moisture.
Frequently Asked Questions
How long do air dry clay ornaments dry?
Crayola indicates about 24 hours to touch-dry and about 72 hours to fully dry, but this is indicative only. Thickness, humidity and temperature change the timing, and other brands differ. Check your clay label, and let thicker pieces dry longer before painting.
Can you paint air dry clay ornaments?
Yes. Paint only thoroughly dried clay, since painting damp clay can trap moisture. Acrylic paint works well in thin coats. Sand rough edges first, wipe away dust, and let each coat dry fully before adding another or tying on ribbon.
Do you bake air dry clay?
No. Air dry clay hardens at room temperature and does not need an oven. Baking it can cause cracking, so avoid it unless your product label specifically allows it. Follow the manufacturer’s instructions for your brand.
How do you make a hole for ribbon?
Push a plastic straw or skewer through the soft clay about 3/8 inch (1 cm) from the edge, then twist and lift out the plug. Make the hole before drying, because drilling or punching hardened clay often chips or cracks it.
Will sealing make clay waterproof?
No. A sealer may add some surface protection, but it does not make air dry clay waterproof. Keep finished ornaments indoors and away from moisture, including damp windowsills, bathrooms and outdoor trees, to help them last.
