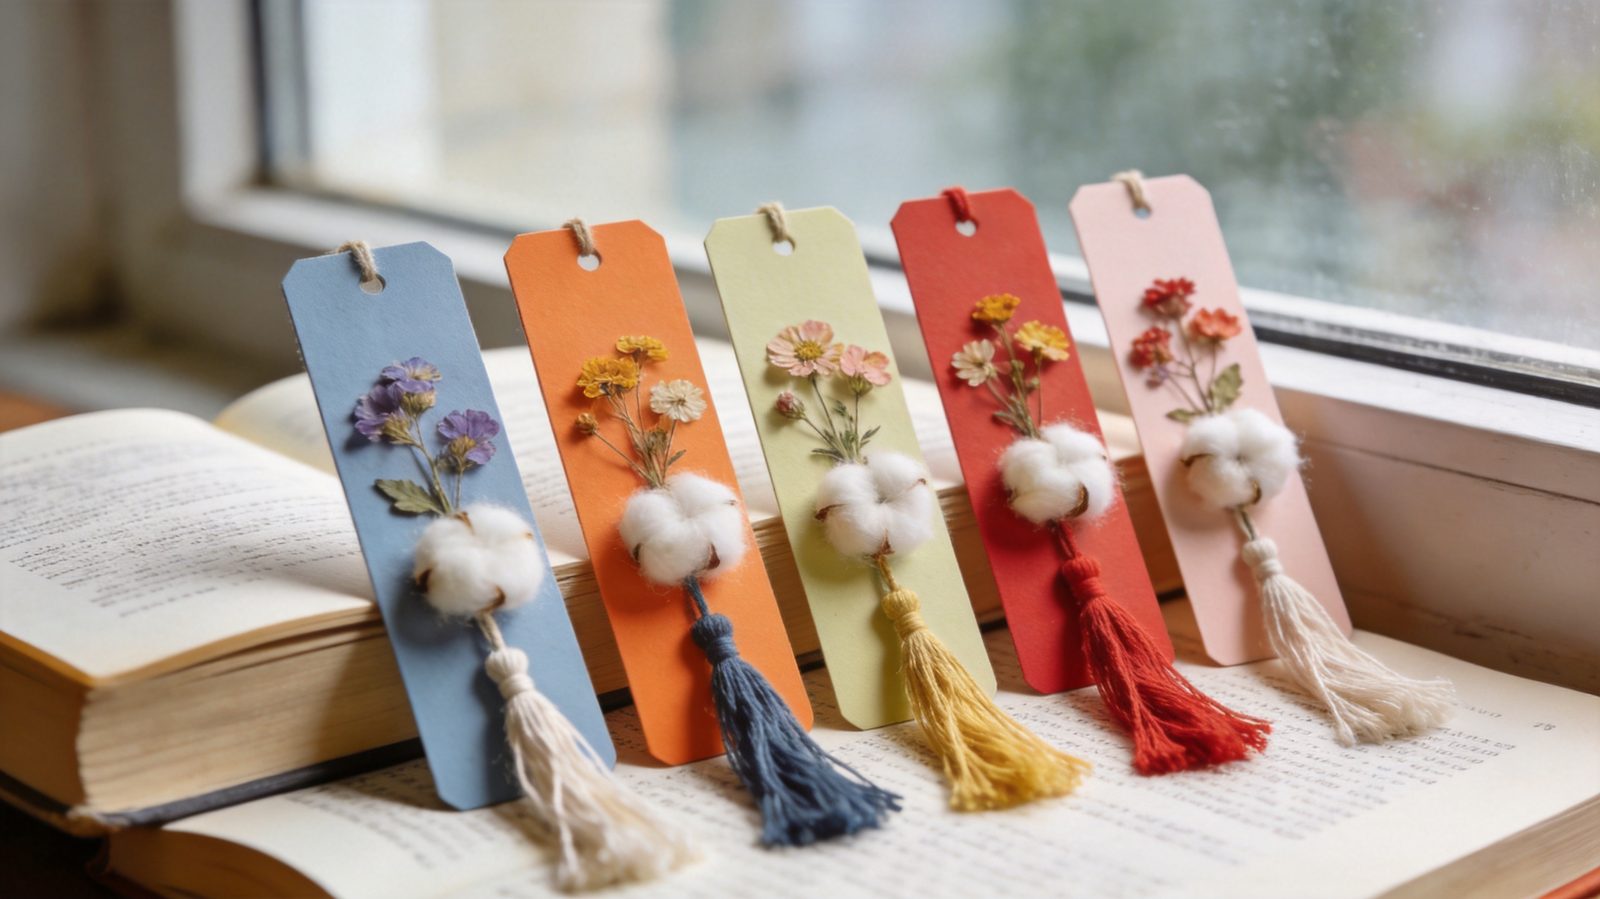
Quick answer: Pressed flower bookmarks diy means drying thin petals flat between absorbent paper under even pressure, often for one to several weeks, until they feel papery. Then glue them sparingly onto matte cardstock strips, trim the edges and store the bookmarks dry. No resin or heat is needed.
Pressed flower bookmarks diy is a calm, low-cost project that rewards patience more than skill. You will press small blooms, then mount them on cardstock in five simple layouts. Plan on about 30 minutes of hands-on work per batch, plus one to several weeks of drying. Supplies usually cost roughly $10 to $25 if you start from scratch, mostly for cardstock and glue.
Which Flowers Work Best for Bookmarks?
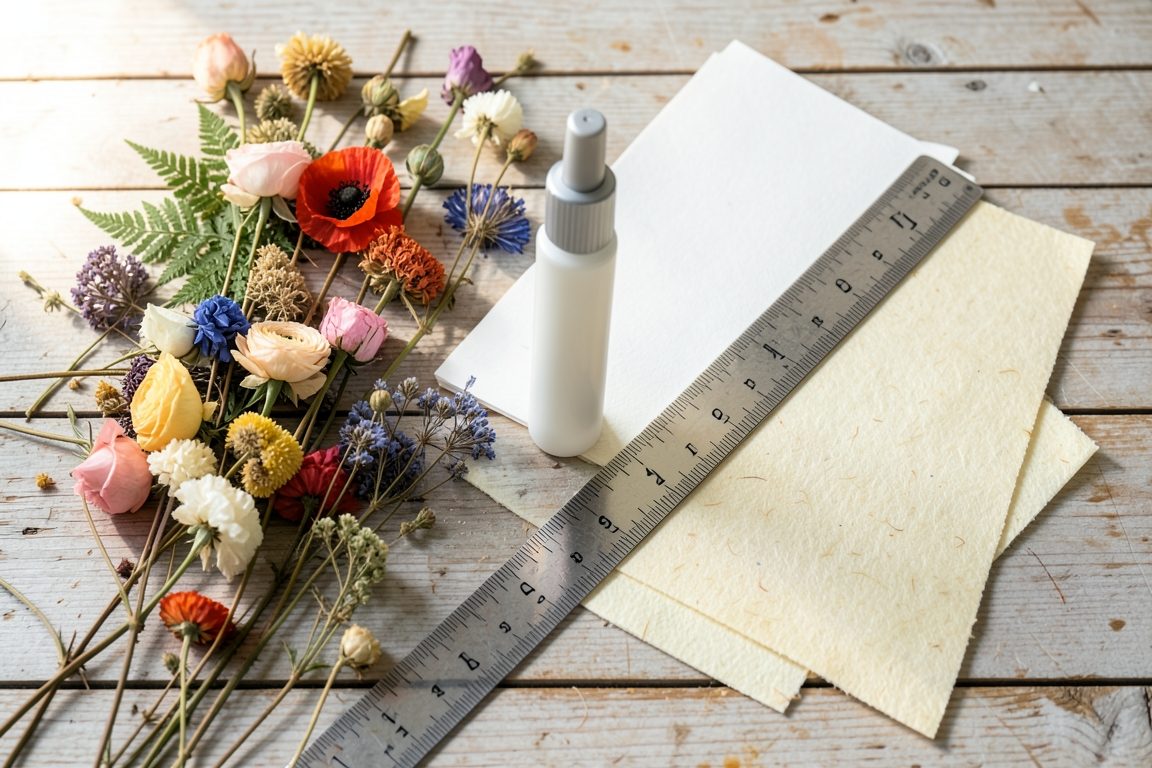
Thin, flat flowers with little moisture work best, such as pansies, violas, larkspur, forget-me-nots, cosmos petals, small ferns and thin leaves. Bulky blooms like roses, whole daisies with thick centers or succulents hold more water and are more likely to mold. Pull them apart into petals or choose naturally flat types.
Pick only where it is permitted, such as your own garden or with the owner’s permission. Skip protected wild plants and anything you cannot identify. Gather flowers on a dry morning after dew has gone, since surface water adds moisture you then have to dry out.
Materials and tools
- Fresh flowers, petals and small leaves, about 15 to 20 pieces
- Absorbent paper, such as plain newsprint, blotting paper or coffee filters
- A heavy book or two, plus extra books for weight
- Matte cardstock, 65 to 100 lb (about 175 to 270 gsm), in cream, kraft or soft color
- Clear-drying craft glue or a glue stick
- Toothpick, fine tweezers, ruler, pencil, scissors or craft knife
- A self-healing cutting mat for trimming
- Optional: hole punch, thin ribbon or embroidery thread
| Item | Detail |
|---|---|
| Drying time | About 1 to 4 weeks, depending on plant and room humidity |
| Hands-on time | About 30 minutes for five bookmarks |
| Cost | Roughly $10 to $25 for cardstock, glue and absorbent paper; flowers from your garden are free |
| Bookmark size | 2 x 6 in (5 x 15 cm) unless noted |
How to Press Petals without Trapping Moisture
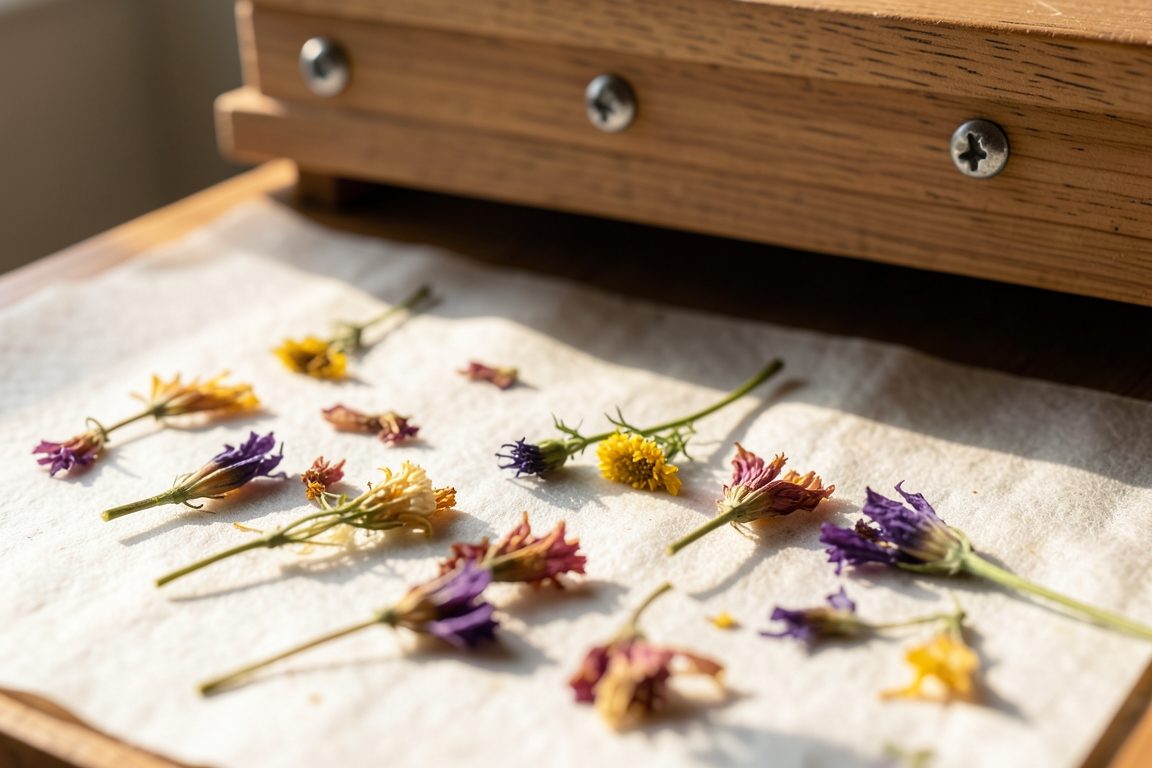
You press petals safely by laying them flat between absorbent sheets inside a heavy book and leaving them until they are completely dry. Drying can take days to weeks, so there is no fixed 24-hour result. This follows the general method described in the Natural History Museum pressing guide.
- Prepare the paper. Open a heavy book and lay a sheet of absorbent paper on a page. Paper pulls moisture away from the petals, and skipping it often leads to brown, damp spots.
- Arrange thin pieces. Space petals about 1 in (2.5 cm) apart so none overlap. Overlapping pieces trap water and stick together.
- Cover and close. Add a second sheet on top, close the book and stack more books on it for even pressure. Uneven weight causes wrinkles.
- Keep it dry. Store the stack somewhere cool and dry, away from damp basements. Humid rooms slow drying.
- Check carefully. After a week, lift the top sheet gently. If petals feel cool, limp or leave a mark on the paper, replace the sheets and press longer. Fully dry petals feel papery and crisp, and they bend little without cracking.
Thick flowers should be split or sliced thin before pressing. Even then, change the paper after a few days to reduce mold risk.
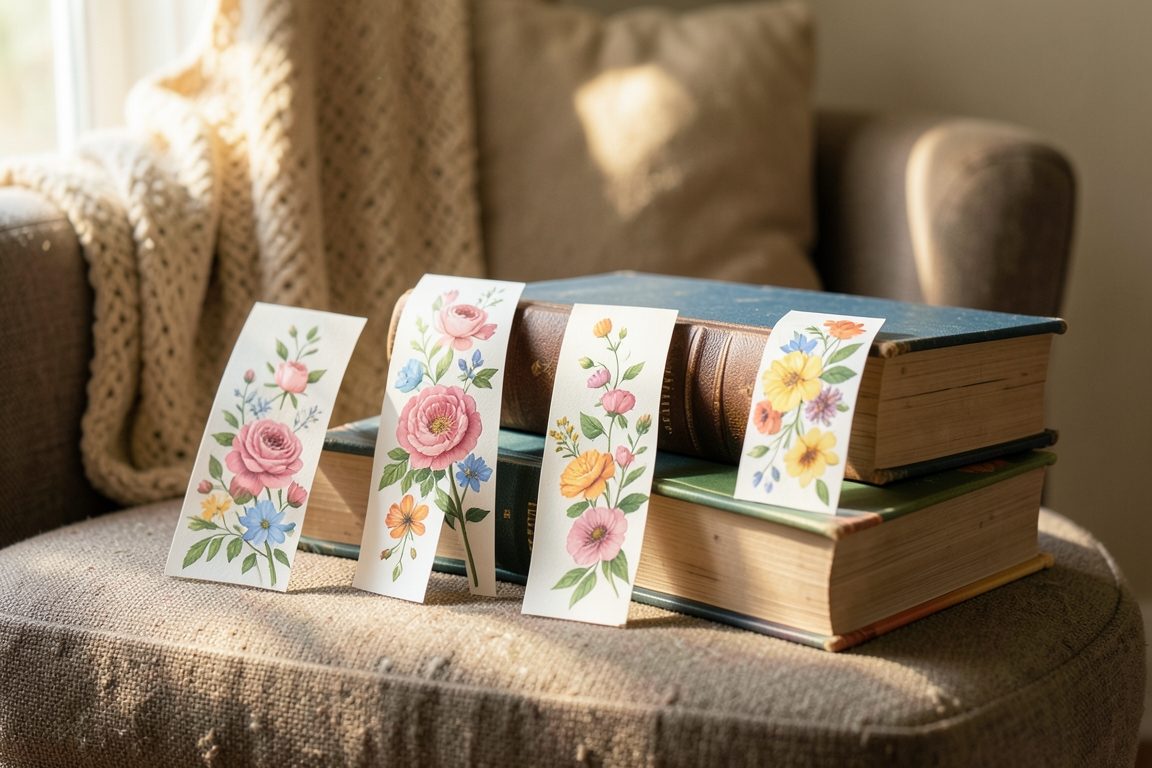
Pressed Flower Bookmarks DIY: Five Designs
These five layouts use simple shapes, small amounts of flowers and standard cardstock. Cut each blank first, then plan the design dry on the card before any glue touches it. Each bookmark below is 2 x 6 in (5 x 15 cm) unless stated, and five blanks need a sheet of about 8.5 x 11 in (21.5 x 28 cm) cut carefully.
1. Single Pansy Corner
Use one pressed pansy or viola on cream cardstock. Place it in the top third, about 0.5 in (1.3 cm) from the edge, and leave the rest bare for a clean look. It suits a quick gift.
2. Forget-Me-Not Trail
Glue five to seven tiny blue blooms in a gentle diagonal line on kraft cardstock. Add two small fern leaves at the lower end. Space the flowers about 0.75 in (2 cm) apart.
3. Larkspur Petal Stripe
Down the center of a white card, line up four larkspur petals in alternating tones, each about 1 in (2.5 cm) apart. Trim the card to 1.75 x 6.5 in (4.5 x 16.5 cm) for a slim, elegant shape.
4. Leaf and Cosmos Frame
Mount a single cosmos petal cluster, with a few thin leaves, on a pale green card. Keep the group within the bottom 2 in (5 cm). Round the corners with scissors for softness.
5. Ribbon Tassel Sprig
Punch a hole 0.5 in (1.3 cm) from the top, tie a 6 in (15 cm) length of thin ribbon through it, and glue a single sprig of fern with one small bloom below the hole. This version looks best on a darker matte card.
For wrapping ideas, see these creative gift wrap ideas.
How to Attach Flowers to Paper
Attach dry petals with a tiny amount of clear-drying glue applied to the card, not the petal, because pressed flowers tear easily. Museum guidance also favors glue mounting on card over tape, which can yellow and lift.
- Test the layout. Arrange pieces with tweezers on the blank. This avoids moving glued petals later.
- Apply glue sparingly. Dab small dots with a toothpick where each piece will sit. Too much glue wets the petal, can cause transparent patches and may wrinkle the paper.
- Press into place. Lay the petal down and tap with a clean fingertip or a dry cotton swab. Work from the largest piece to the smallest.
- Dry flat. Cover with parchment or plain paper and rest a light book on top for about 30 minutes. Lifting too soon causes edges to curl.
Finishing without Resin or Heat
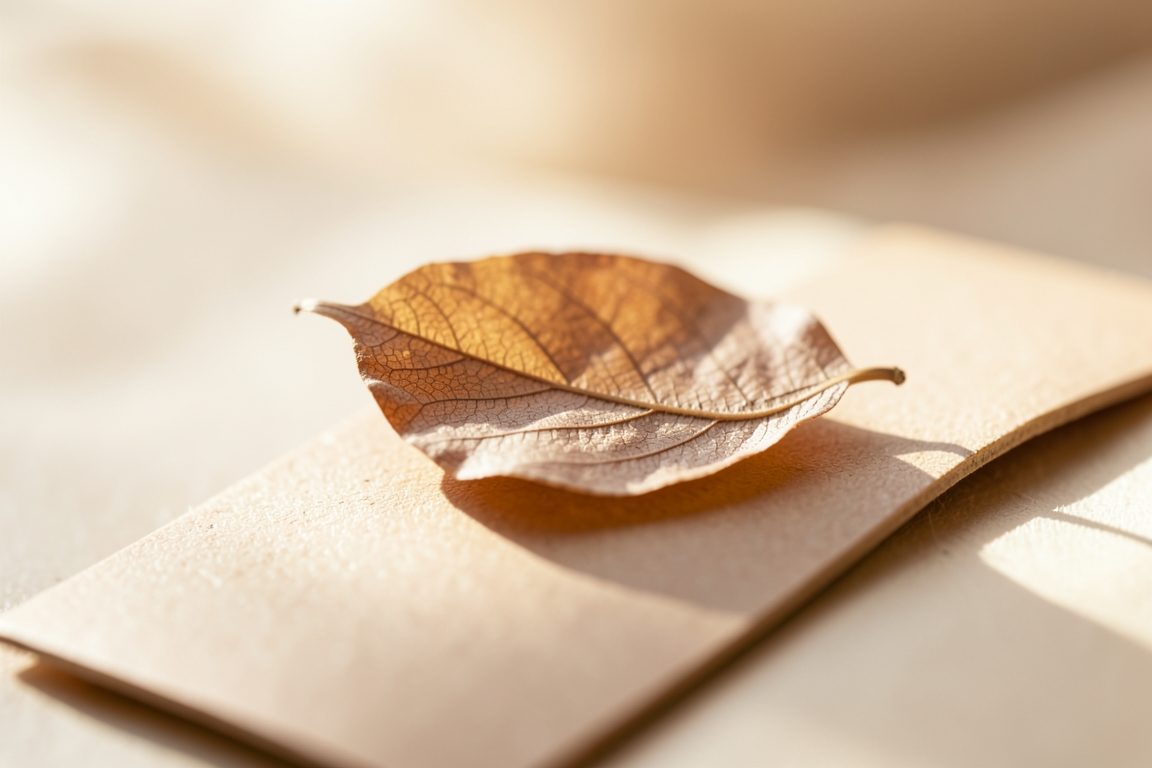
You can finish these bookmarks without resin or heat by trimming neatly, adding a punched hole or ribbon, and leaving them uncoated. Heat, such as laminating, can trap any hidden moisture, and resin is not needed for a paper keepsake.
Round the corners, check the edges for loose glue and, if you like, add a ribbon. These bookmarks are for dry use between pages and are not waterproof, so keep them away from drinks and damp hands. If you enjoy small gift crafts, browse more craft projects.
Safety note: Use a sharp blade with a mat and cut away from your fingers. Keep small ribbon pieces and glue away from young children and pets.
How to Gift and Store Floral Bookmarks
Gift the bookmarks flat in a clean envelope or a small card sleeve so the petals are not crushed. Slide each between two sheets of tissue or plain paper.
Store them in a dry box or inside a book away from direct sun, which may fade colors over time. Add a small note that the bookmark is delicate and best used in dry conditions. If you like handmade extras, a pair of clay bag charms could make a matching gift set.
Avoid Mold Curling and Loose Petals
Most problems come from moisture, so the best fix is more drying time before gluing. If you see fuzzy spots or dark patches, discard the piece and the paper it touched.
- Mold or musty smell: The flower was probably too thick or still damp. Press thinner pieces and swap paper after a few days.
- Curling edges: Too much glue or lifting the weight too early. Use less glue and press flat for longer.
- Loose petals: Add a tiny dot of glue under the lifted edge and press with a dry swab.
- Brown spots: Moisture was trapped. Start with dry-morning picks and fresh absorbent paper.
- Cracked petals: Handle with tweezers and avoid bending. Fully dry pieces are fragile.
With patient drying and a light hand with glue, pressed flower bookmarks diy projects can last as keepsakes when kept dry. Start small, check often and let the petals set the pace.
Frequently Asked Questions
How do you make pressed flower bookmarks?
Press thin petals between absorbent paper under a heavy book until fully dry and papery. Cut matte cardstock to about 2 x 6 inches (5 x 15 cm), arrange the petals, then dab tiny dots of clear-drying glue on the card. Press flat for 30 minutes and trim. This is the core of pressed flower bookmarks diy.
How long do flowers take to press?
Drying usually takes from several days to a few weeks, depending on thickness, plant type and room humidity. Thin petals may be ready in one to two weeks, while bulky flowers take longer or may mold. They are ready when they feel papery and show no cool or damp spots.
Can you make flower bookmarks without resin?
Yes. Real floral bookmarks without resin work well when petals are fully dry and glued to matte cardstock with a small amount of clear-drying glue. Skip laminating and heat. The result is not waterproof, but it is lightweight, simple and suited to pressed flower bookmarks diy gifts used in dry conditions.
How do you keep petals from molding?
Pick flowers when dry, choose thin petals, space them without overlap and use absorbent paper. Change the paper after a few days, keep the press somewhere dry and glue only when petals feel crisp. Discard any piece with fuzzy spots. Careful drying is the key to pressed flower bookmarks diy success.
What flowers are best for pressing?
Flat, thin flowers press best, including pansies, violas, larkspur, forget-me-nots, cosmos petals and small ferns. Thick blooms such as roses or succulents hold more water and often need to be split into petals. Avoid protected wild plants, and pick only where it is permitted.
