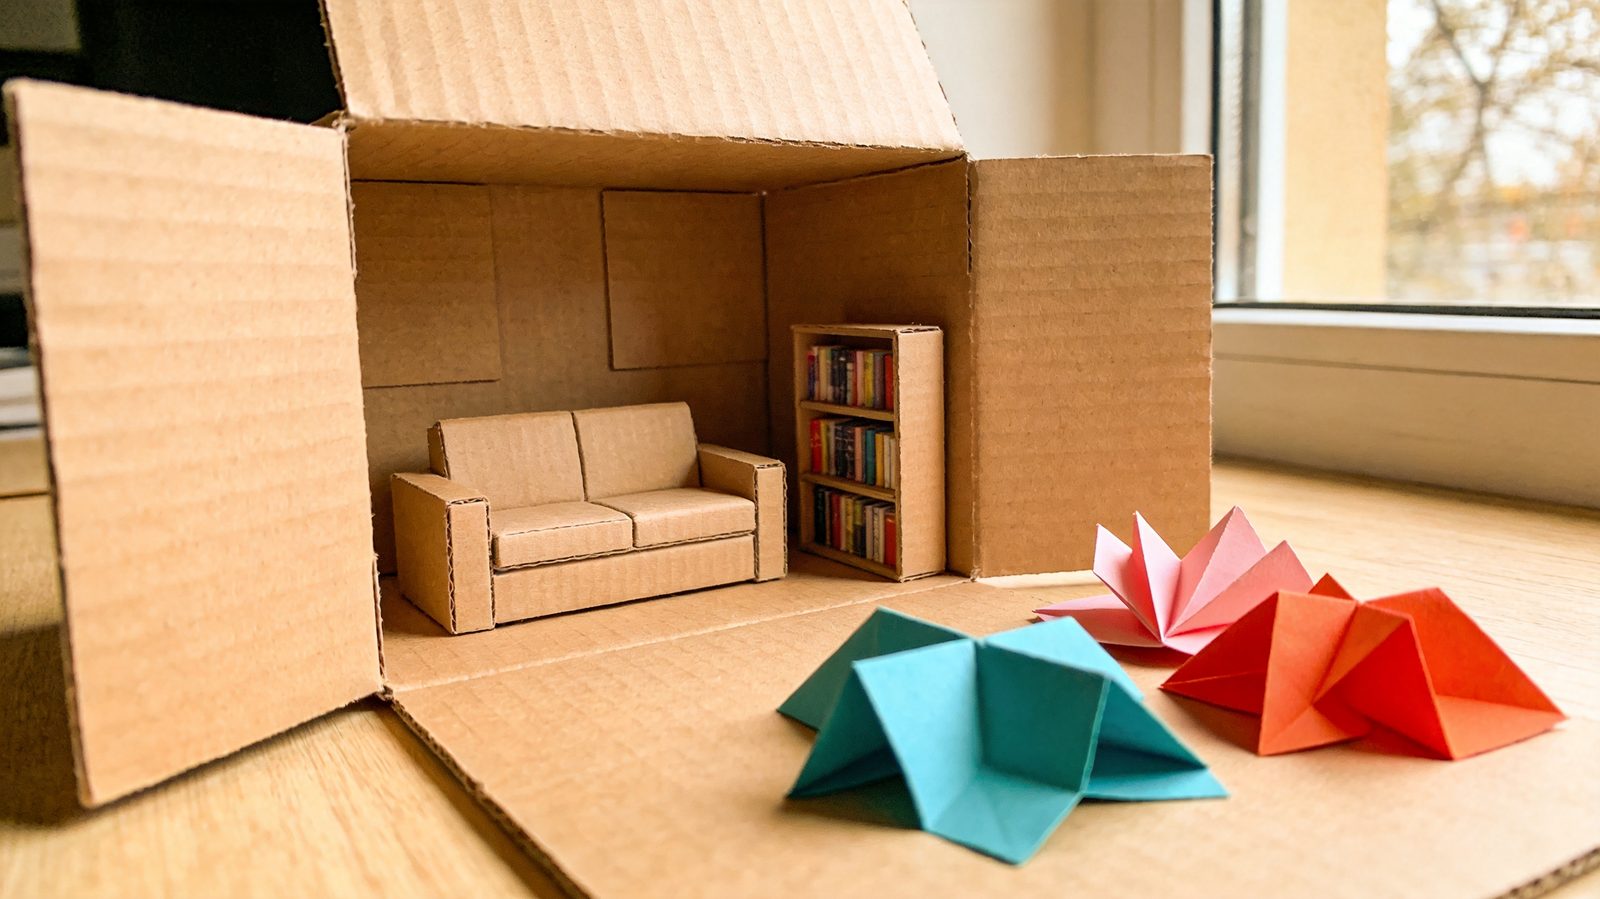
Quick answer: A diy miniature cardboard room is built from a 30 x 24 cm (12 x 9.5 in) base, a 30 x 20 cm back wall and two 24 x 20 cm side walls, all cut from clean boxes. Glue them with tabs, brace the corners, add paper finishes and tiny furniture. Allow about 4 to 6 hours.
A diy miniature cardboard room is a small three-wall box scene you can build from clean packaging, paper and white glue. This project makes one open-front room at 1:12 scale (1 inch equals 1 foot), with a floor, wallpaper, a window, a door and four pieces of furniture. Plan on 4 to 6 hours spread over two sittings (glue needs drying time) and about $3 to $12 if you already own scissors and a ruler; the range covers glue, craft paper and a few sheets of printed or colored paper.
Choose a Miniature Room Scale
For a first project, 1:12 scale is the most practical choice because 1 inch represents 1 foot and common dollhouse furniture ideas translate easily. A real room of 10 x 8 feet becomes 10 x 8 inches, but a cardboard model that small feels cramped, so this tutorial uses a compact room of 12 x 9.5 inches (30 x 24 cm), roughly 12 x 9.5 feet in real life.
Open-front, three-wall rooms are easier to build, stand and photograph than closed boxes. The Rediscover Center shows a similar idea in its miniature room activity, which models part of a room with drawing, cardboard, craft paper, cork, fabric and glue. Keeping the walls low, at 8 inches (20 cm), also makes the model less likely to tip.
| Part | Size (inches) | Size (cm) | Count |
|---|---|---|---|
| Floor base | 12 x 9.5 | 30 x 24 | 1 |
| Back wall | 12 x 8 | 30 x 20 | 1 |
| Side wall | 9.5 x 8 | 24 x 20 | 2 |
| Door opening | 3 x 6.5 | 7.5 x 16.5 | 1 |
| Window opening | 3 x 3 | 7.5 x 7.5 | 1 |
Check the arithmetic before cutting: the back wall (12 in) sits between the two side walls, and each side wall (9.5 in) runs the full depth of the floor. Because the walls are glued to the top of the floor and not butted outside it, the floor stays 12 x 9.5 in and every wall edge lines up with it.
Materials from Clean Recycled Packaging
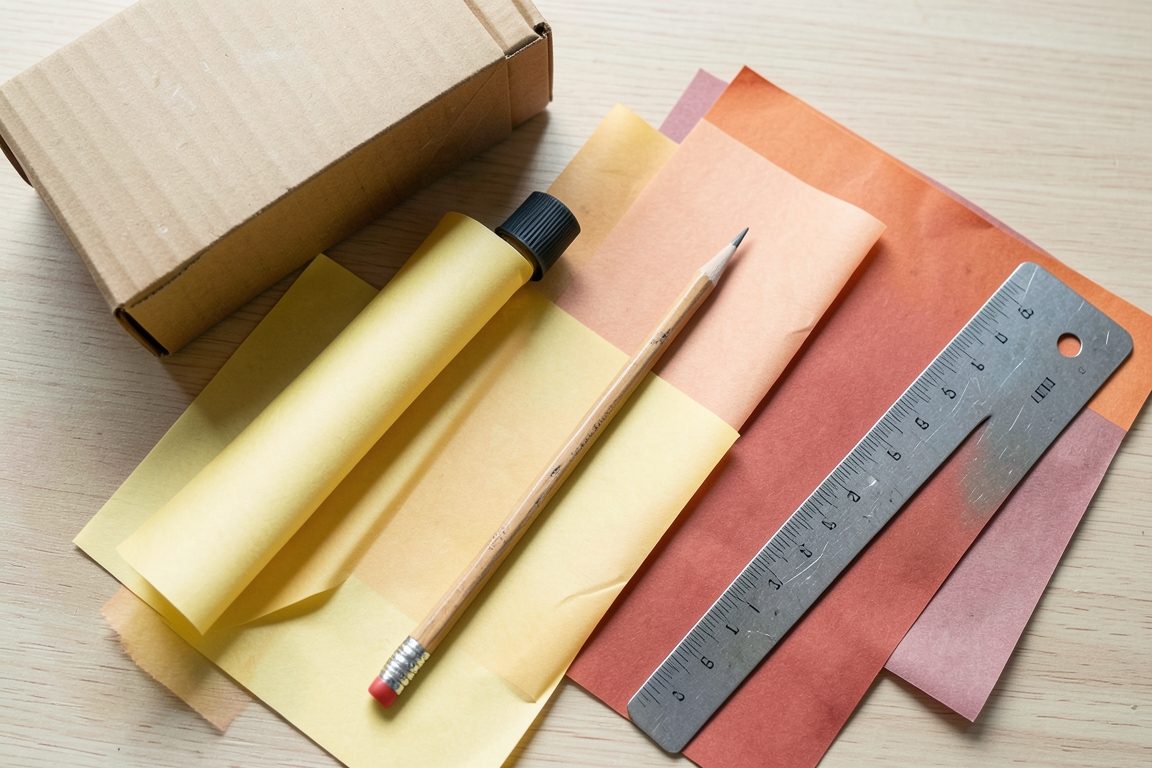
You need flat, clean, dry cardboard from shipping or cereal boxes, plus basic paper and glue. Choose a recycled box dollhouse room base from thicker corrugated board (about 3 mm thick) and use thin cereal-box board for furniture. For more ideas on reducing and reusing materials, see the EPA’s recycling tips; reusing boxes lowers waste but does not erase every environmental cost.
- Corrugated cardboard, at least 30 x 45 cm (12 x 18 in) for floor and walls, plus extra for braces
- Thin cardboard (cereal or tissue box) for furniture and trim
- Craft paper, wrapping paper or printed scrap paper for wallpaper and floor
- White PVA craft glue and a small brush; a glue stick for paper
- Pencil, metal ruler, scissors
- Craft knife and a self-healing cutting mat (adult use)
- Clips or clothespins to hold joints while glue dries
- Optional: fabric scraps, cork, paint or markers
Remove tape, labels and any greasy or food-stained areas. Grease can stop glue and paper from sticking.
DIY Miniature Cardboard Room in 7 Steps
A diy miniature cardboard room comes together in seven steps: mark, cut, open, brace, join, test and finish. Work in this order so that openings are cut while the walls are still flat, which is far easier than cutting an assembled box.
- Mark every part. Draw the floor (30 x 24 cm), back wall (30 x 20 cm) and two side walls (24 x 20 cm) with a ruler and label each on the back. Accurate lines matter because a 3 mm error at each corner leaves visible gaps. A common mistake is measuring from a curved box edge; use a flat, factory-straight edge as your starting corner.
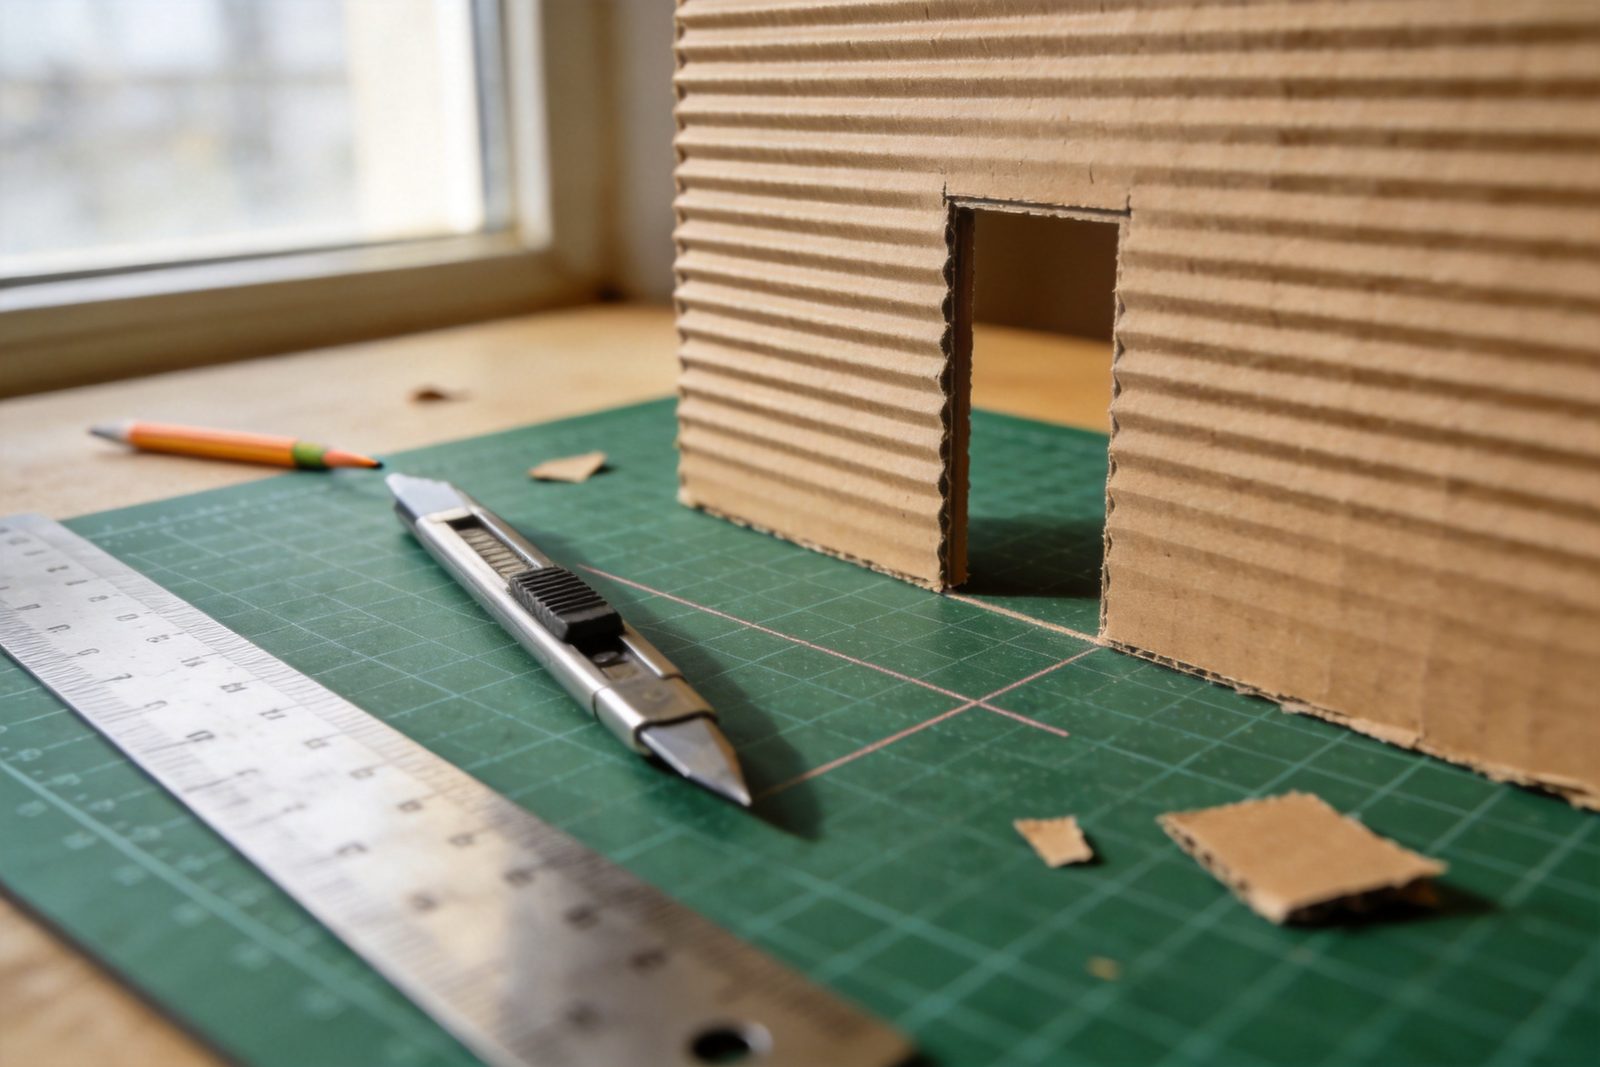
- Cut the pieces. Score and cut along the lines in several light passes, with an adult handling the knife. Light passes keep the board from crushing and give a cleaner edge. Do not force one deep cut, which can slip.
- Cut the openings while flat. Mark a 7.5 x 16.5 cm door on one side wall, starting 3 cm from the front edge, and a 7.5 x 7.5 cm window on the back wall, centered at 11.25 cm from each end and 8 cm up from the bottom. Check: 11.25 + 7.5 + 11.25 = 30 cm. Cutting these now prevents warped walls later.
- Add glue tabs and braces. Cut four strips of thin cardboard, 20 x 2 cm, and fold each lengthwise into an L shape. Glue one inside each wall corner to give 2 cm of bonding surface. Corners with no brace are the usual reason walls lean.
- Join the walls to the floor. Run a thin line of PVA along the floor edge, press the back wall on, then each side wall, and clip them for 20 to 30 minutes. Thick glue soaks cardboard and causes ripples, so use less than you think you need.
- Test stability. After the glue dries for at least 2 hours, press gently on the top of each wall and tilt the room slightly. Walls should not wobble or pull from the floor. If one does, add another brace or a strip of cardboard along its base.
- Finish the shell. Paint or paper the walls (see the wallpaper section), then add trim around the door and window using 5 mm strips. Finishing last keeps wet paper from bending an unsupported wall.
If you want a guided starting point first, beginner craft kits can help you practice cutting and gluing. The wall joints above are meant to be strong enough for gentle handling, not for toy-box play.
Make Tiny Furniture from Scraps
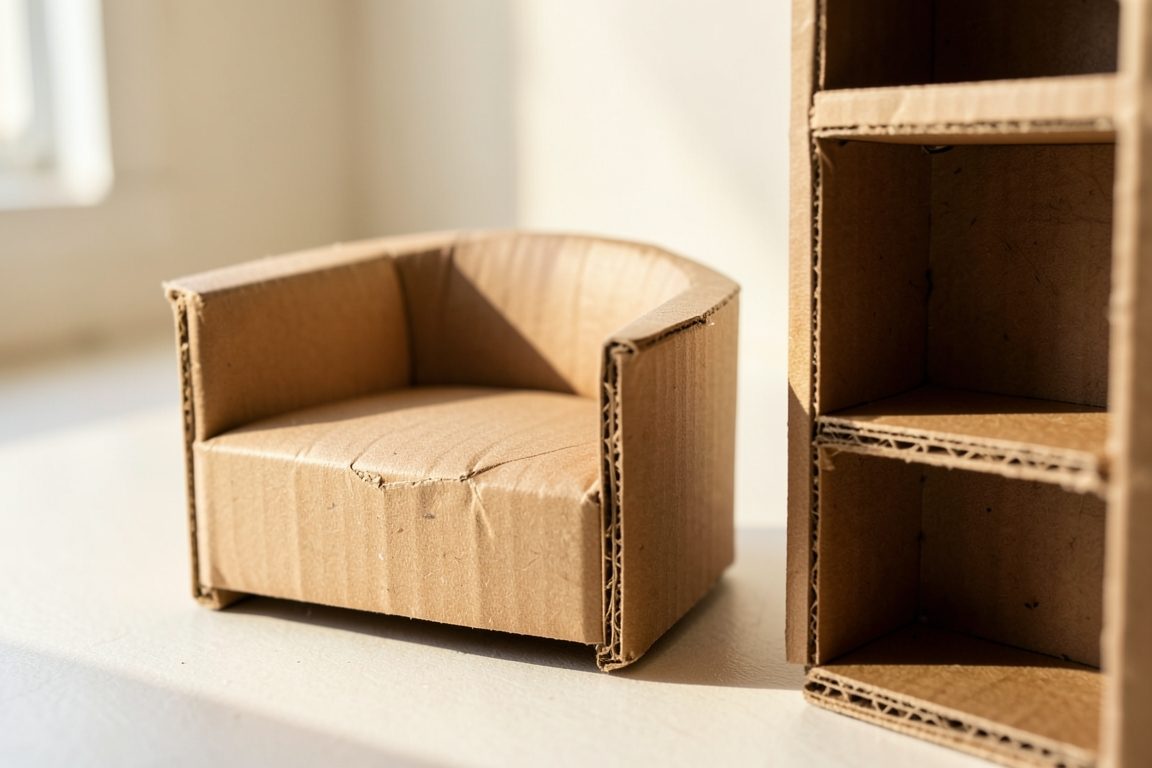
Tiny cardboard furniture ideas work best when each piece is built from simple boxes and flat panels at 1:12 scale. Make four pieces: a couch, a bookshelf, a small table and a rug.
- Couch: Cut a base 7 x 3 cm, a back 7 x 2.5 cm and two arms 3 x 2 cm. Glue them into a U shape and wrap with fabric or paper.
- Bookshelf: Cut two sides 8 x 2 cm, a top and bottom 5 x 2 cm, and two shelves 5 x 2 cm. Total height of 8 cm equals about 3 feet in real size, so make it a low shelf.
- Table: Use a 4 cm circle for the top and a rolled cardboard strip 3 cm tall for the leg.
- Rug: Cut a 8 x 5 cm rectangle from felt or paper and fringe the short ends.
Glue scrap paper strips as books and add pencil lines for wood texture. Weak furniture usually fails at the joints, so let each piece dry fully before adding paper.
Add Paper Wallpaper and Floors
Paper wallpaper and floors give a plain cardboard shell its character, and thin paper bonds best with a glue stick or diluted PVA. Cut each wall covering 3 mm smaller than the wall on every side so edges do not curl past the corners.
For a floor, glue on a sheet of 30 x 24 cm kraft paper, or cut 2 cm strips and lay them like planks. Draw plank lines with a fine marker. If you plan to paint, the checklist in painting supplies for DIY projects can help you choose paper and paint that suit thin board.
Smooth the paper from the center outward to avoid bubbles. If paper wrinkles, it is usually because the glue was too wet; let it dry under a light book before judging the result.
Safe Cutting and Glue Choices
The safest setup uses scissors for thin board, a craft knife only with adult supervision, and water-based white glue instead of hot glue. Always cut away from your body on a cutting mat with a metal ruler and replace dull blades, since a dull blade can slip.
Keep awls and knives out of children’s reach, and avoid hot glue for this project; it is not needed and can burn skin. PVA glue is slow but forgiving, and a glue stick works for paper. Wipe spills right away and keep the work area ventilated if you use spray adhesives or paints.
How to Display and Photograph Your Mini Room
Display your diy miniature cardboard room on a flat shelf away from damp, and photograph it near a window with soft daylight. Place a ruler or a coin at the front for scale and keep the camera at eye level with the room’s floor.
Take photos in this order: empty shell, then rug and table, then couch and bookshelf, then small details. Avoid direct sun, which can fade paper and cause glare. Store the room in a dry place, such as the shelf ideas in craft supply storage ideas, and keep furniture in a small box so it does not crush.
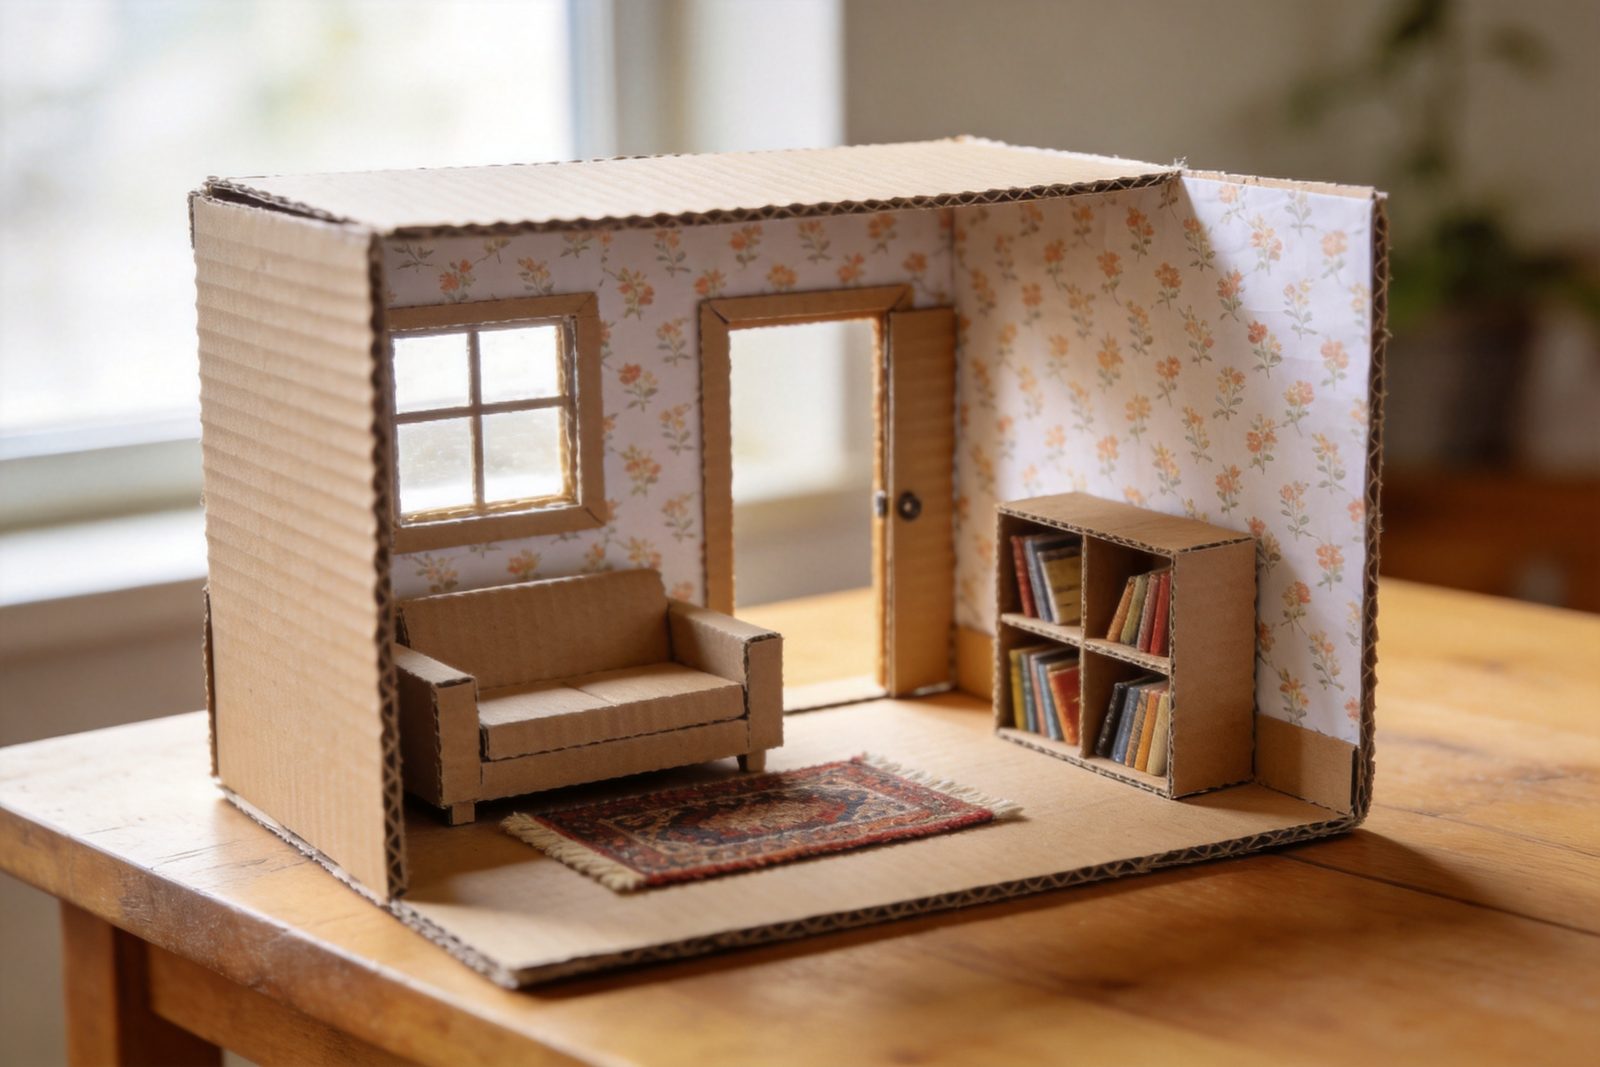
Troubleshooting: if walls lean, add braces; if paper bubbles, let it dry flat; if furniture is too big, reduce all sizes by the same ratio. Dust gently with a soft brush. You can find more craft projects to reuse leftover scraps.
Frequently Asked Questions
How do you make a mini room out of cardboard?
Cut a floor, a back wall and two side walls from clean corrugated cardboard, cut the door and window while the pieces are flat, then glue the walls to the floor with corner braces. Let it dry, then add paper wallpaper, a floor and furniture. A diy miniature cardboard room takes about 4 to 6 hours.
How can you make miniature furniture?
Use thin cardboard cut into small panels and glue them into boxes, U shapes or rolled legs. At 1:12 scale, a couch can be about 7 x 3 cm. Cover pieces with fabric or paper, and let each joint dry before adding the next part to your diy miniature cardboard room.
What glue works on cardboard?
White PVA craft glue is the best all-round choice because it is non-hot, dries clear and bonds board well. Use thin lines and clip joints while they set. A glue stick suits thin paper, and adults should handle hot glue if it is ever used, though this diy miniature cardboard room does not need it.
What scale should a miniature room use?
Use 1:12 scale, where 1 inch represents 1 foot, because it is common and easy to calculate. A room of 30 x 24 cm with 20 cm walls is a manageable size for a diy miniature cardboard room. Use the same ratio for furniture so everything looks consistent.
How can you make miniature walls stand up?
Glue the walls to a rigid floor and add L-shaped corner braces about 20 x 2 cm. Clip the joints until dry, then test by pressing lightly on the top edges. A diy miniature cardboard room stands best when walls are low and corners are reinforced.
