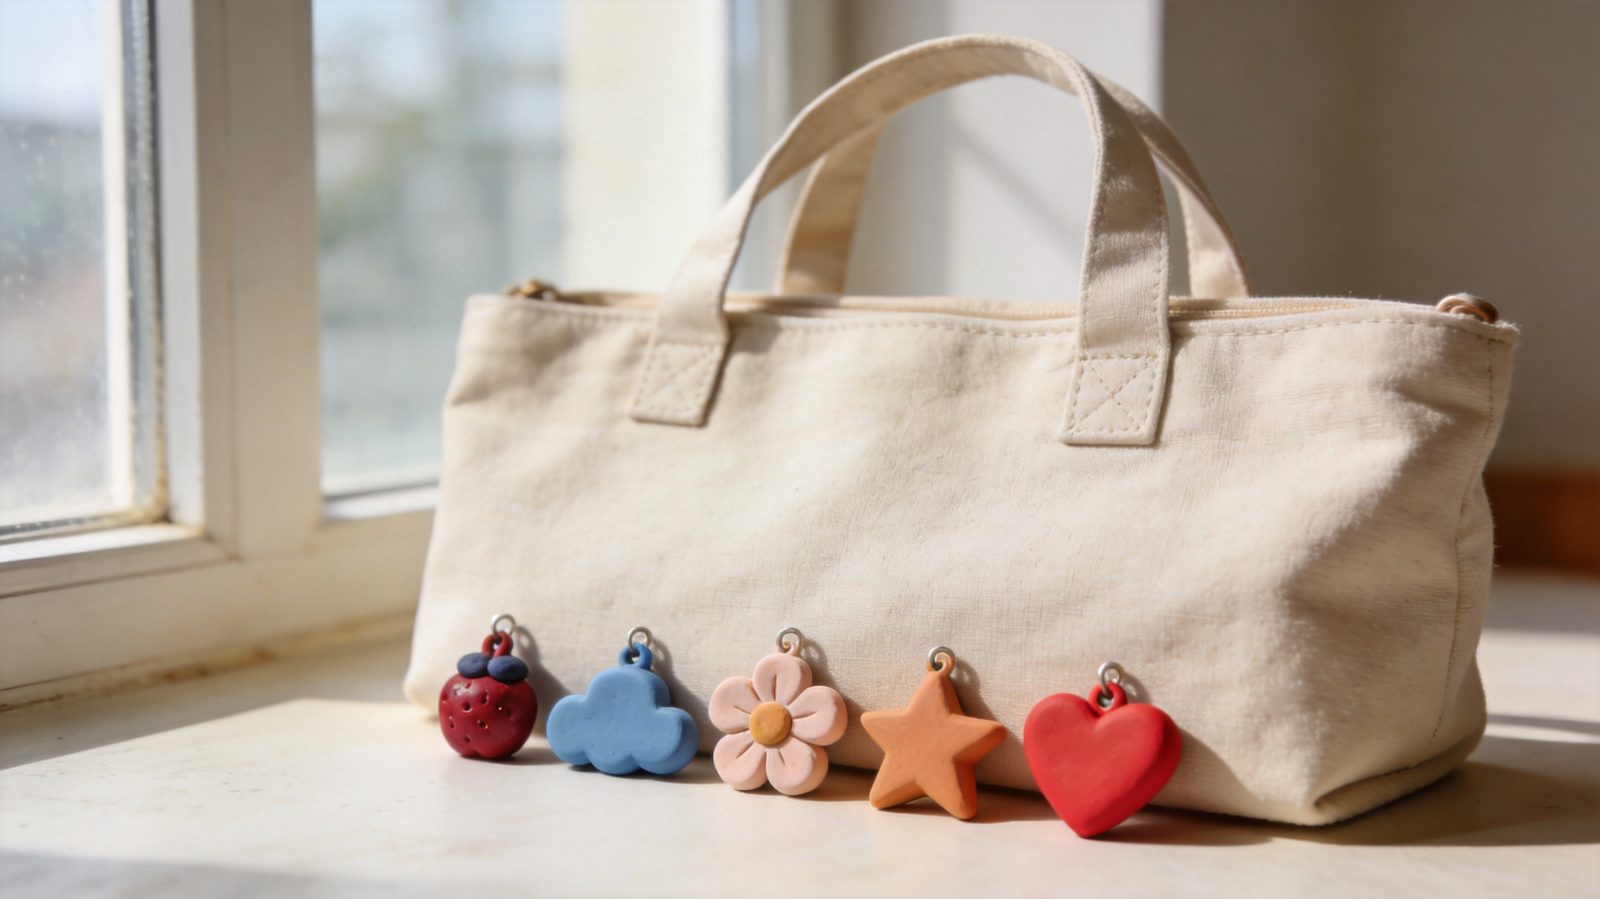
Quick answer: Here is how to make clay bag charms: roll air dry clay to about 6 mm (1/4 inch), shape a small charm, pierce a hanging hole before drying, dry it fully following the package label, paint it, then attach a cord and key ring or clasp.
This guide shows how to make clay bag charms using air dry clay, with no oven, kiln or resin. You will make five small designs in about 1 to 2 hours of hands-on time, plus drying time that depends on your clay. Expect to spend roughly $15 to $35 for clay, paint, cord and rings, which covers enough supplies for many charms.
Quick facts: hands-on time is 1 to 2 hours; drying time follows the product label; skill level is easy; children can help with supervision, but small parts and pointed tools are not for children under 3.
| Item | Typical amount | Estimated cost |
|---|---|---|
| Air dry clay | 1 pack, about 450 g (1 lb) | $5 to $12 |
| Acrylic paints, small set | 6 to 8 colors | $5 to $12 |
| Cord, rings, clasps, beads | Assorted | $5 to $11 |
Choose the Right No-Bake Clay
The best clay for bag charms is a lightweight or standard air dry clay that dries hard without baking and sands smoothly. Check the package for drying guidance, because brand and thickness change how long it takes. A friendly starting point is a white clay, which takes paint cleanly.
Avoid very soft, sponge-like clays for charms, since thin edges can feel fragile once dry. Choose a clay labeled for air drying, and keep it wrapped while you work so it does not crust over. For cute no bake clay charms, a smooth, fine-grained clay gives the cleanest edges.
Gather these materials and tools:
- Air dry clay, about 450 g (1 lb)
- Rolling pin or smooth jar, and two 6 mm (1/4 inch) guides such as paint sticks or stacked cardboard
- Small cookie cutters or a craft knife with a blunt-safe alternative such as a plastic knife
- Straw, toothpick or skewer for holes
- Baking paper or a cutting mat for crafts as a work surface
- Fine sanding sponge, small cup of water
- Acrylic paint, small brushes, and a clear water-based sealer
- Cotton cord or waxed cord, jump rings, key rings, lobster clasps, a few beads
- Small pliers for opening metal rings
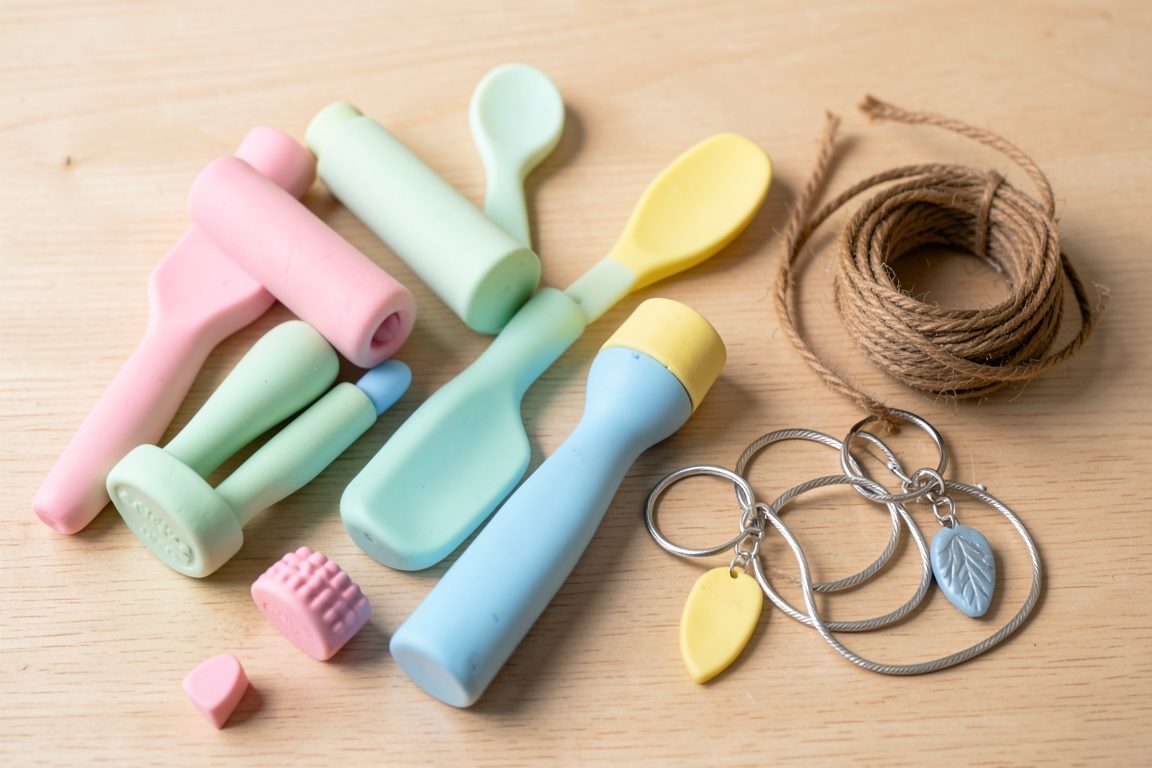
If you need paints and brushes, this painting supplies checklist covers the basics. A starter set from the best craft kits for beginners can also supply clay and tools in one box.
Which Charm Shapes Hold Up Best?
Compact, rounded shapes about 3 to 5 cm (1.2 to 2 inches) across hold up best. Chunky hearts, circles, stars with blunt points, and flat tags are less likely to snap than slim legs, thin tails or long petals.
Keep thickness even, around 6 mm (1/4 inch), and leave at least 8 mm (about 3/8 inch) of clay between the hole and the nearest edge. Thin points are the usual breaking spots, so round every corner with a damp fingertip. Smaller, lighter charms also put less strain on a zipper or bag strap, which makes them good mini clay keychain ideas.
How to Make Clay Bag Charms: 5 Designs
These five designs use the same basic method, so you can make them in one session. Work on one piece at a time, and keep the rest of the clay covered. A name-tag style keychain with shaped clay, a pre-dry hole, string, beads and paint is shown in this name keychain project, and these designs follow the same general idea with their own shapes.
1. Chunky Heart Charm
You need about 20 g of clay (a walnut-sized ball), pink paint and a red cord.
- Roll the clay. Flatten to 6 mm (1/4 inch) between your guides. Uneven clay dries unevenly and may warp.
- Cut the heart. Use a 4 cm (1.5 inch) cutter, or shape by hand. Soften the dip at the top so it does not crack.
- Pierce the hole. Push a straw through the top of one lobe, about 8 mm from the edge. Too close to the edge is the most common cause of breakage.
- Smooth and dry. Rub edges with a damp finger, then dry flat.
- Paint and thread. Paint pink, then loop a 15 cm (6 inch) cord through the hole.
2. Mini Cloud Tag
Use about 15 g of clay, pale blue and white paint, and a white cord.
- Shape three joined bumps. Roll three small balls, press together, and flatten to 6 mm. Joins that are only pressed lightly can split later, so blend seams.
- Flatten evenly. Roll once over the top with your pin.
- Make the hole. Pierce the center bump with a straw, keeping the 8 mm margin.
- Dry, then paint. Paint blue and add a white highlight.
- Add the cord. Use a lark’s head knot on a jump ring.
3. Strawberry Zipper Pull
Use about 18 g of clay, red and green paint, and a small black pen or paint for seeds. This suits clay zipper charms diy projects.
- Form a rounded triangle. Shape a 3.5 cm (1.4 inch) strawberry, 8 mm thick. A thicker body is less fragile.
- Add a leaf cap. Press a small green clay piece on top with a drop of water. Scratch both surfaces first so they bond.
- Pierce through the leaf cap. This is the strongest spot.
- Dry fully. Turn it over partway through drying.
- Paint the seeds. Dot with a toothpick once the red coat is dry.
4. Round Initial Disc
Use about 22 g of clay, a 4 cm (1.5 inch) round cutter, letter stamps or a toothpick, and a gold or navy paint.
- Cut the disc. Roll to 6 mm and cut one circle.
- Press the letter. Press lightly, about 1 to 2 mm deep. Deep letters weaken the disc.
- Pierce the hole. Place it above the letter, 8 mm from the rim.
- Dry and sand. Smooth the rim once fully dry.
- Paint the letter. Brush paint over the surface and wipe the top gently so the letter stays darker.
5. Little Mushroom with Bead
Use about 20 g of clay, red and cream paint, white dots, and one 8 mm bead.
- Shape the cap and stem. Make a dome 3 cm (1.2 inches) wide and a thick stem 1.5 cm wide. Thin stems break.
- Join with a scored seam. Scratch, add a little water, and press together firmly.
- Pierce the cap. Go through the thickest part of the dome.
- Dry, then paint. Paint the cap red, the stem cream, and add dots.
- Thread the bead. Add the bead on the cord above the charm as a cushion.
How to Create a Hanging Hole
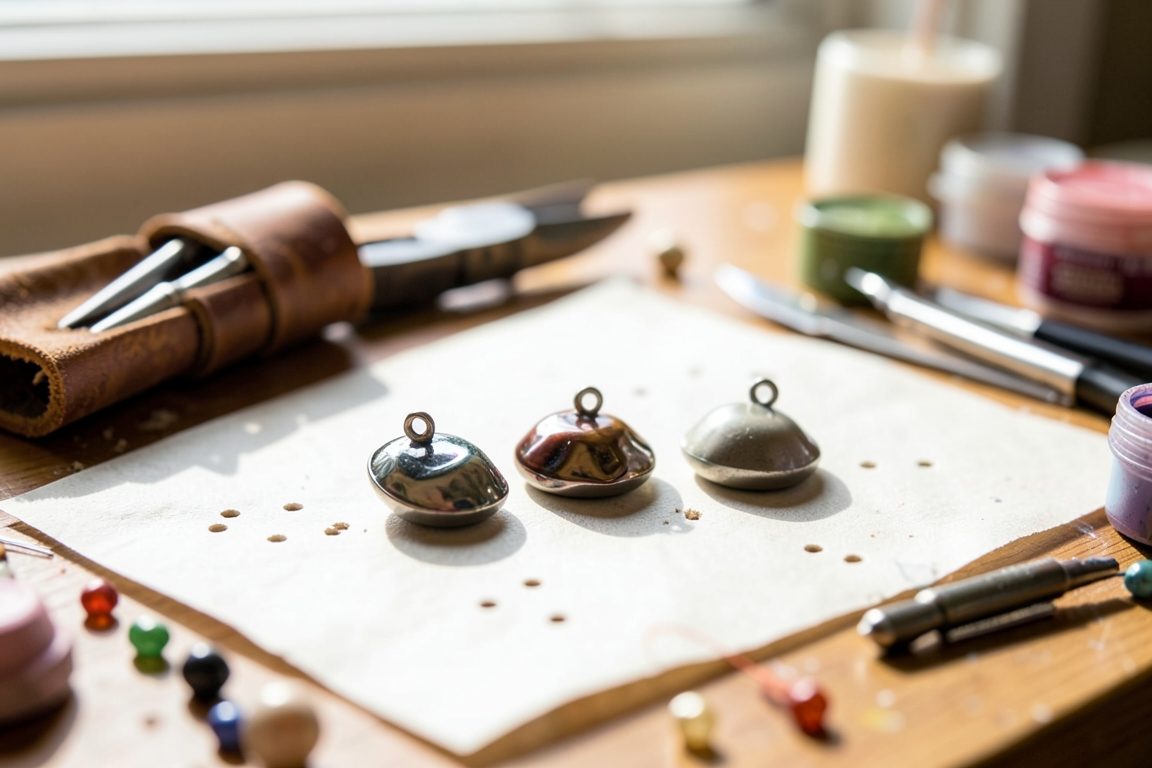
Make the hole while the clay is still soft, using a straw or skewer and a gentle twisting push. Pierce the clay before drying, because drilling dried clay can crack it.
Choose a tool 3 to 4 mm wide so cord and a jump ring fit easily. Push from the front, then turn the piece over and finish from the back to keep the edge from bulging. Smooth any raised rim around the hole with a fingertip. Remember that clay shrinks slightly as it dries, so avoid making the hole too small.
Pointed tools need care. Supervise children, and keep skewers and toothpicks away from anyone under 3.
Drying and Painting Your Charms
Air dry clay needs time that depends on brand and thickness, so follow the product label and the maker’s air dry clay drying guidance. Leaving a charm overnight does not guarantee it is fully cured, especially if it is thicker than 6 mm.
Dry pieces on baking paper in a dry room, away from direct heat, and flip them once. Before painting or attaching anything, check that the clay feels hard, evenly colored and no longer cool or damp in the middle. Dampness trapped inside can lead to cracks or soft spots.
Lightly sand rough edges with a sanding sponge, then wipe off dust. Apply two thin coats of acrylic paint, letting each coat dry. Thin coats prevent drips from filling the hole. Then add a clear sealer in thin coats, following the clay maker’s advice on sealing air dry clay. Sealer adds some protection from scuffs, but the charm should not be treated as waterproof.
Attach Rings and Clips Safely
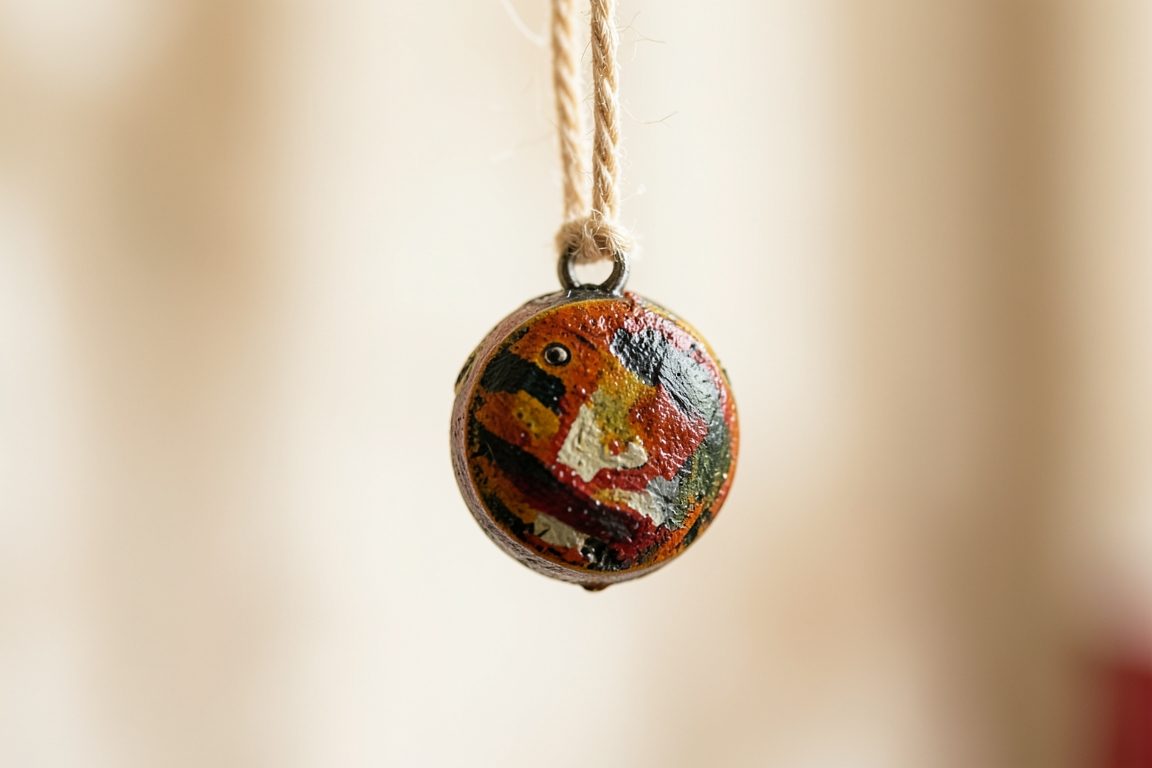
The most reliable setup is clay charm, short cord loop, jump ring, then a lobster clasp or key ring. Using metal hardware at the bag end puts the wear on the metal and not on the clay.
- Cut the cord. Use about 15 cm (6 inches) of cotton or waxed cord.
- Thread it through the hole. Bring both ends together to make a loop.
- Knot it twice. Use a secure double knot, and trim the tails to 1 cm.
- Add a jump ring. Open it sideways with pliers, never outward, then close it fully.
- Finish with a clasp. Attach a lobster clasp or key ring to a zipper pull or bag loop.
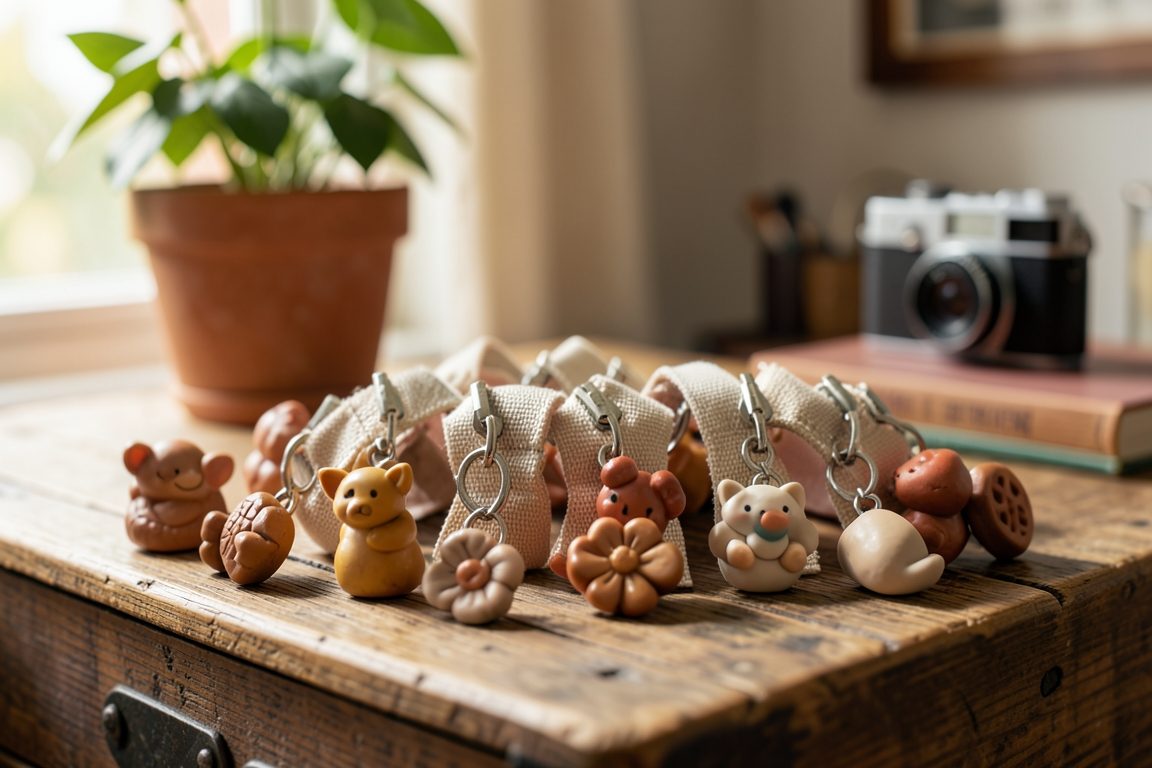
For a zipper, loop the cord through the zipper tab itself, or clip to a fabric tab. A fabric strap from an old garment can serve as a soft attachment; see upcycling old outfits for ideas. Keep charms light, because a heavy piece can swing and knock against hard surfaces. Small parts such as beads are choking hazards for young children.
Avoid Cracking and Broken Edges
Cracks usually come from uneven thickness, fast drying, or thin areas near the hole. Keep every charm about 6 mm thick and dry it slowly at room temperature.
Troubleshooting:
- Hairline cracks: fill with a little fresh clay mixed with water, smooth it, and dry again.
- Warping: dry flat and turn the piece over once.
- Chipped edge: sand lightly, touch up the paint, and reseal.
- Hole tearing: make a new charm with a wider margin, because repairs near holes tend not to last.
- Sticky paint: allow more drying time between coats.
Care and storage: keep charms dry and away from damp pockets. Store them flat in a small box, and unclip them before putting a bag in a crowded space. Clay can chip if dropped, so expect to replace a charm occasionally. Check the cord and ring now and then, and retire any charm that develops a crack near the hole.
Frequently Asked Questions
Can you make bag charms from air dry clay?
Yes. Air dry clay suits bag charms when you keep them small, about 6 mm thick, and pierce the hole before drying. Add a cord and metal ring so the clay does not carry the strain. It can chip if dropped, so expect gentle everyday wear only.
How do you make a hole for a key ring?
Push a straw or skewer through the soft clay about 8 mm from the edge, twisting gently. Finish from the back to avoid a bulge and smooth the rim. Make it 3 to 4 mm wide so cord or a jump ring passes through after the clay shrinks.
How long does air dry clay dry?
It depends on the brand and thickness, so follow the label on your package. Thin charms dry faster than thick ones, and humidity matters. Overnight is not a guarantee of full cure. Make sure the clay is hard and dry all the way through before painting or attaching.
Are air dry clay charms waterproof?
No. Sealer can add some protection against scuffs and light splashes, but air dry clay should not be treated as waterproof. Moisture may soften or damage it over time. Keep charms away from rain, sinks and damp pockets, and wipe them gently with a dry cloth.
How do you attach a charm to a zipper?
Thread a cord loop through the charm’s hole, add a jump ring, then clip on a small lobster clasp. Attach the clasp to the zipper tab’s hole, or loop the cord through the tab directly. Keep the charm light so it does not bang against the bag.
