
Quick answer: To make diy christmas gift tags, cut clean cardboard into shapes about 2 by 3.5 inches (5 by 9 cm), punch a hole near one edge, decorate with pen or paint, and thread twine through. A set of seven takes roughly 60 to 90 minutes.
Making diy christmas gift tags from cereal boxes and other cardboard scraps takes about 60 to 90 minutes for a set of seven. Expect to spend roughly $0 to $8, depending on whether you already own twine and pens. Below are seven distinct shapes with cut sizes you can reuse every year.
Why Turn Scraps into Christmas Tags?
Scrap cardboard is free, sturdy and takes ink and paint well, which makes it a practical base for homemade christmas gift tags. A cereal box panel is stiff enough to stand up to string and handling, yet thin enough to cut with ordinary scissors. Most households throw away enough to make dozens of tags each season.
Reusing also keeps the cost close to zero. Plain cardboard can usually go back into the recycling bin afterward, but glitter, foil and laminated coatings may not be accepted, so check your local rules. The EPA recycling FAQ explains why local programs differ. Keep decoration simple if you want the tag to stay recyclable.
If you like this kind of project, there are more craft projects on the site, and the DIY gift wrap ideas page covers wrapping in general. This article focuses only on the tags themselves.
Tools and Dimensions for Easy Tags
You need only a few basic tools, and one reusable paper template for each shape lets you cut identical tags quickly. Here is the full list.
- Clean, dry cardboard: cereal, cracker or shoebox panels (plain, uncoated side preferred)
- Ruler, pencil and scissors or a craft knife
- Self-healing cutting mat, if using a knife (see how to choose a cutting mat)
- Hole punch (1/8 in or 3 mm to 1/4 in or 6 mm) or a large nail and scrap wood
- Twine, baker’s string, yarn or thin ribbon, about 8 in (20 cm) per tag
- Pens, paint pens, acrylic paint, white gel pen
- Optional: old greeting cards for gift tags from old cards

| Item | Details |
|---|---|
| Time | 60 to 90 minutes for 7 tags |
| Cost | $0 to $8 (twine, pens or paint if not on hand) |
| Skill | Beginner |
| Tag blank size | 2 x 3.5 in (5 x 9 cm) as a standard base |
Draw each shape on thin paper first, cut it out and trace it onto the cardboard. Tracing from a template keeps sizes consistent, and the most common mistake is skipping this and ending up with wobbly, uneven tags.
DIY Christmas Gift Tags: Seven Designs
These seven diy christmas gift tags each use a different silhouette, so a mixed set looks deliberate rather than repetitive. Cut them all from the plain inside of the cardboard where possible. Safety note: use a cutting mat and cut away from your fingers, and keep knives away from children.
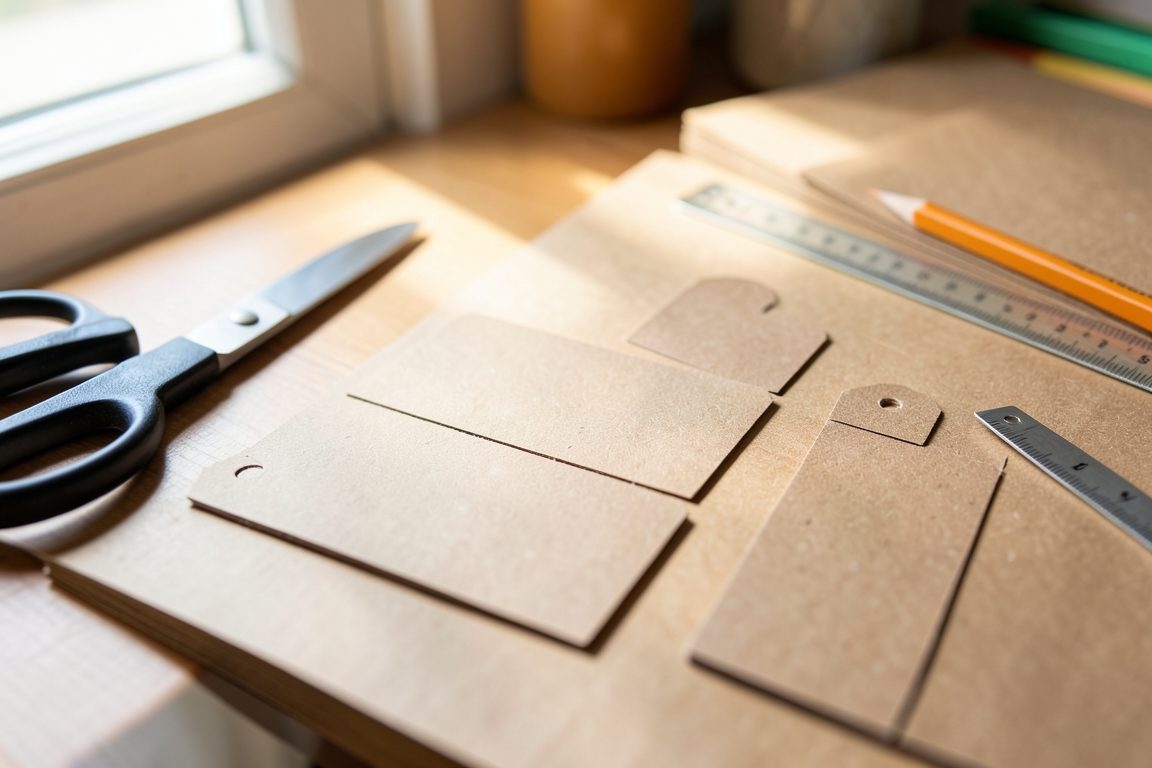
1. Classic Rectangle
Cut a 2 x 3.5 in (5 x 9 cm) rectangle, then snip both top corners at 45 degrees, about 1/2 in (12 mm) each. Punch the hole 3/8 in (10 mm) from the top, centered. Write the name in brown marker on the plain kraft side for a simple kraft christmas tags diy look. Fasten with a looped length of twine.
2. Fir Tree
Cut a triangle 2.5 in (6.5 cm) wide and 3.5 in (9 cm) tall, with a 1/2 in (12 mm) square trunk. Paint the triangle green with acrylic and brush a thin coat so the cardboard does not warp. Punch the hole near the tip. Thread red yarn and tie a small bow.
3. Circle Ornament
Trace a 2.75 in (7 cm) circle, using a jar lid or cup as the guide. Draw a white gel pen border 1/4 in (6 mm) inside the edge, then write the name in the middle. Punch the hole at the top and use a short 6 in (15 cm) loop of thin ribbon so it looks like a hanging ornament.
4. Tall Skinny Bookmark
Cut 1.5 x 5 in (4 x 13 cm). Add a rounded bottom by trimming the corners with scissors. This tag doubles as a bookmark for a book gift. Decorate with vertical stripes in alternating red and black pen, and tie twine through a hole 1/2 in (12 mm) from the top.
5. Star
Draw a five-point star about 3 in (7.5 cm) across. Fold paper in half first to make symmetrical points, then trace. Color it with a metallic-look paint pen or plain yellow marker. Punch through the top point and fasten with baker’s string.
6. Window Tag with Card Scrap
Cut a 2.5 x 3.5 in (6.5 x 9 cm) cardboard rectangle, then cut a 1 x 1.5 in (2.5 x 4 cm) opening. Glue a snippet of an old greeting card behind it, a quick way to reuse gift tags from old cards. Punch the hole in the top border, which should be at least 1/2 in (12 mm) wide to avoid tearing.
7. Folded Pocket Tag
Cut 3 x 6 in (7.5 x 15 cm), score the middle at 3 in (7.5 cm) with a ruler and a dull butter knife, then fold. This gives a 3 x 3 in (7.5 cm) folded card with space for a note inside. Punch through both layers at the fold’s top corner and thread twine. Stiff boxboard may crack, so score firmly but lightly.
How to Make Clean Holes for String
A standard hand punch gives the cleanest hole, set about 3/8 in (10 mm) from the edge so the cardboard does not tear. Follow these steps for every tag.
- Mark the spot. Dot the center with pencil. Skipping this leads to crooked holes that make tags hang sideways.
- Punch from the plain side. Squeeze firmly. A dull punch can crush corrugated board, so use thin cereal-box cardboard for best results.
- Use a nail for thick board. Place the tag on scrap wood and tap a nail through, then twist to widen it to about 1/8 in (3 mm). Wear closed shoes and keep your fingers clear.
- Reinforce if needed. Add a paper sticker or a dab of glue around the hole for extra strength. Weak holes rip when the tag is tied tightly.
- Thread and knot. Fold the 8 in (20 cm) twine in half, push the loop through, pull the ends through the loop and tighten. Trim the ends. A slip knot is faster than tying a bow and stays put.

Safe Decorative Paint and Pen Choices
Water-based acrylic paint, paint pens and ordinary markers are the safest way to decorate cardboard tags indoors. Aerosol spray paint is not needed for these designs. If you do use any spray, follow the product label for ventilation and work outdoors.
Apply paint in thin coats and let each dry for about 15 to 20 minutes, since thick layers can curl cardboard. Pressing finished tags under a heavy book for an hour flattens them. For ideas on materials, see the painting supplies checklist, or try color from old markers turned into watercolor.
A cereal-box approach is also shown in a cereal box gift tag tutorial, which is a useful comparison for finishing methods. Skip glitter and foil if you want tags that can be recycled afterward.
How to Match Tags with Gift Wrap
Match the tag’s color or texture to one element of the wrap, not all of them. Kraft paper pairs well with white gel pen lettering and green yarn, while patterned wrap looks better with plain, unpainted cardboard tags.
Use the tall bookmark on slim books, circles on round tins, and trees on boxes with a simple ribbon. Tie tags where the ribbon crosses, or slide the string under a bow. Adding a small sprig of real or faux greenery gives a finished look. Avoid heavy tags on lightweight paper, which can tear it.

Storage and Reuse after the Holidays
Store leftover tags flat in an envelope or small box, away from damp. Cardboard absorbs moisture and may warp or mold in humid spaces. Keep your paper templates in the same box so next year’s cutting takes minutes.
To reuse a tag, tape a fresh paper label over the old name or flip it over and write on the back. Troubleshooting: if tags curl, press them under books; if paint cracks, use thinner coats next time; if holes tear, reinforce them or move them farther from the edge. At the end of the season, plain cardboard tags may go in recycling according to local rules, but remove string and any glittery or coated pieces first.
Frequently Asked Questions
How do you make Christmas tags from cardboard?
Trace a template onto clean cardboard, such as a cereal box panel, and cut it out. Punch a hole about 3/8 inch (10 mm) from the edge, decorate with pens or acrylic paint, let it dry, then thread 8 inches (20 cm) of twine through. This makes diy christmas gift tags in minutes.
Can you reuse old greeting cards?
Yes. Cut the front of an old card into rectangles or circles, punch a hole, and write on the blank back. You can also glue pieces behind a window cutout. This is a simple way to make homemade christmas gift tags that cost almost nothing.
What size is a homemade gift tag?
A common size is about 2 by 3.5 inches (5 by 9 cm), which fits a name and short message. Smaller tags of 1.5 by 3 inches (4 by 7.5 cm) suit small gifts, while folded tags of 3 by 3 inches (7.5 cm) hold longer notes. Most diy christmas gift tags fall in this range.
What can I use instead of gift tags?
You can write directly on the wrapping with a paint pen, tuck a name card under the ribbon, use a wooden spoon or pinecone with a name on it, or attach a cut piece of kraft paper. Cardboard remains the cheapest option for diy christmas gift tags.
How do you attach a tag to wrapped presents?
Tie the tag to the ribbon or bow with twine, or slip the string under the ribbon where it crosses. For ribbonless gifts, loop twine around the box and knot it. Double-sided tape works for flat packages, though it can mark delicate paper.
