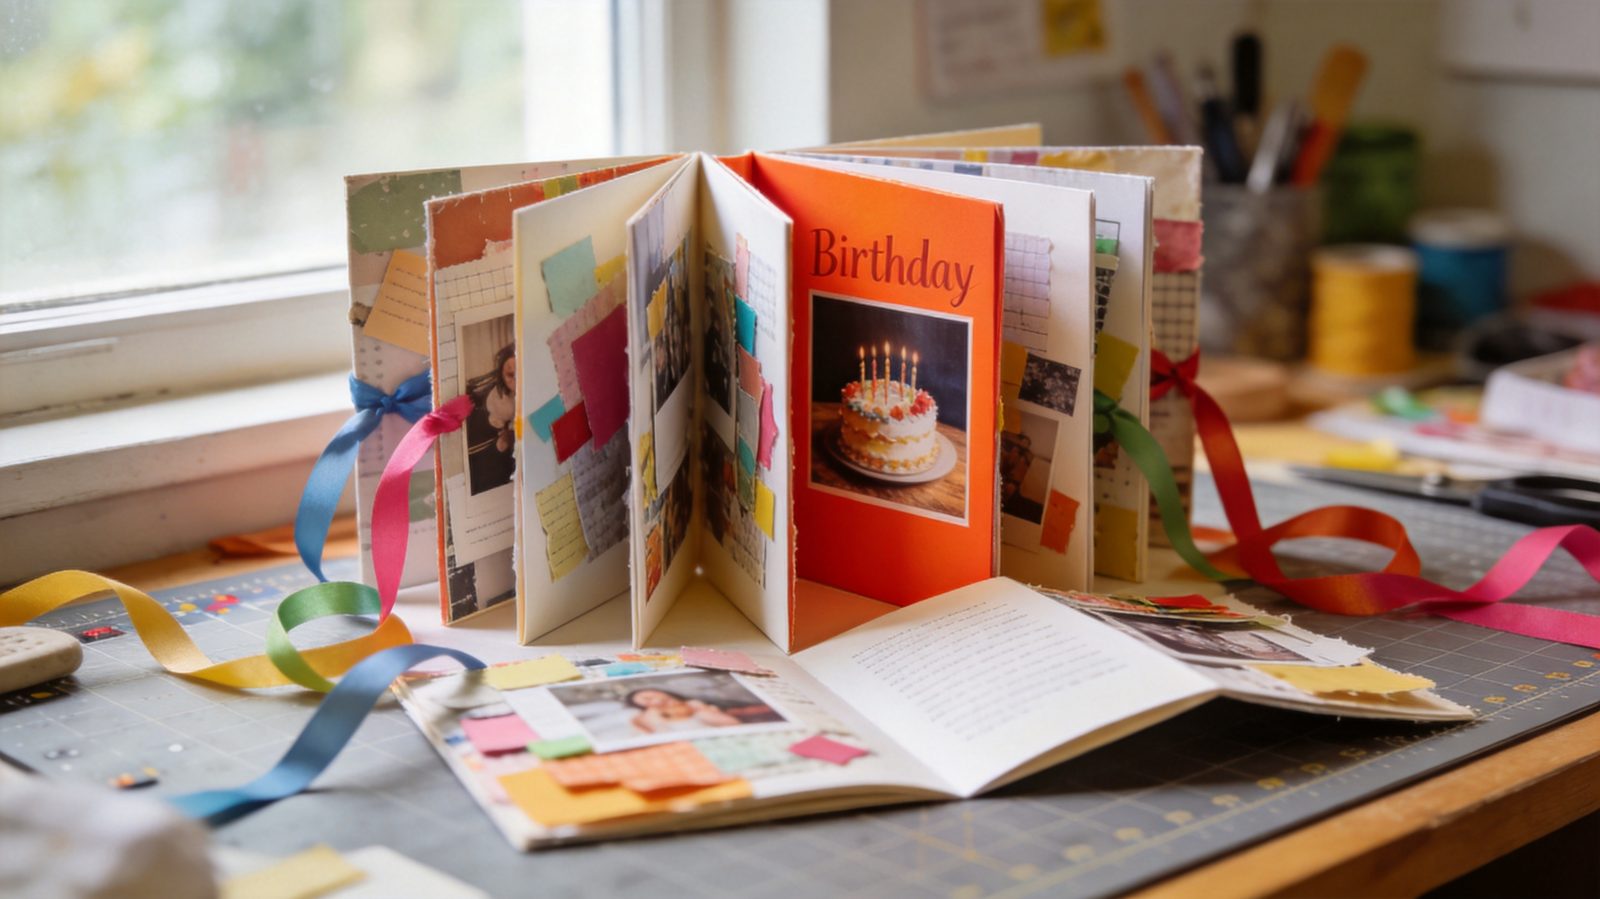
Quick answer: A diy birthday magazine gift is a small eight-page booklet you design around one person. Plan a cover, a letter, photos, favorites, a quiz, a poster and a back cover. Print on one letter or A4 sheet, fold into eighths, cut one center slit, and refold.
A diy birthday magazine gift is a small, magazine-style booklet filled with photos, jokes, lists and messages about one person. The easiest version uses a single sheet of paper folded into eight pages, so you need no stapler and no bookbinding skill. This guide gives you the page order, sample copy, print checks and folding steps.
Why Make a Personalized Birthday Magazine?
A personalized birthday magazine works because it holds many small memories in one object that is quick to read and easy to keep. It is also cheap, since the main material is paper you may already own. For a diy magazine for best friend, the format lets inside jokes, photos and short lists sit together in a way a card cannot.
The zine form is an old, flexible tradition of small self-published booklets, and the Library of Congress zine guide describes it well. A birthday version simply points that form at one reader. If you like this kind of project, you will find more personalized gift ideas that use the same approach.
A diy birthday magazine gift suits friends, partners, parents and teachers. Choose a tone before you start: warm, silly or nostalgic. Keeping one tone makes the pages feel like a single publication.
Plan the Eight Pages Before Designing
Plan by writing eight short page titles on scrap paper before you open any design program. Doing so stops you from running out of room or repeating the same photo. A simple plan also makes your birthday magazine template ideas easy to adapt for any recipient.
Gather materials and set a realistic schedule first. The table below covers a single copy.
| Item | Option | Estimated time | Approx. cost |
|---|---|---|---|
| Paper | 1 sheet letter (8.5 x 11 in) or A4 (210 x 297 mm), 24 lb / 90 gsm or similar | Few minutes | Under $1 for the sheet |
| Photos | 4 to 6 pictures you own or have permission to use | 20 to 30 min to choose | $0 digital; a few dollars if printed at a shop |
| Writing and layout | Pen, or free software on a computer | 1 to 2 hours | $0 |
| Printing | Home printer or copy shop | 10 to 20 min | About $0.10 to $1.50 per sheet |
| Cutting and folding | Scissors or craft knife, bone folder or ruler | 10 min | $0 if tools are on hand |
| Finishing | Ribbon, envelope or wrap | 10 to 15 min | $1 to $6 |
Total time is roughly 2 to 3.5 hours, most of it spent writing. Cutting tools need care: use a ruler, cut away from your fingers, and work on a proper cutting mat if you use a blade.
Photo consent matters. Ask before using pictures of other people, especially children, and skip anyone who would not want to appear. Use your own photos or licensed images, and avoid copying real magazine covers, logos or pictures.
DIY Birthday Magazine Gift Page by Page
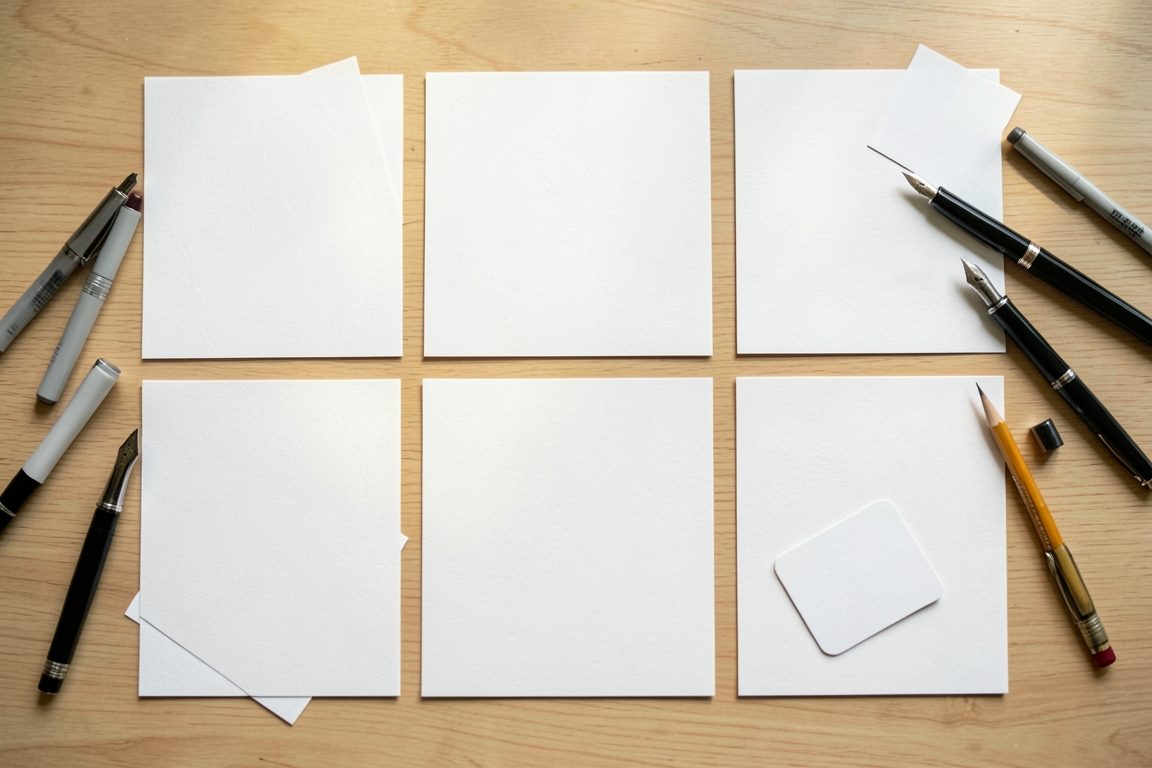
The best order for an eight-page mini zine is: front cover, welcome letter, story, favorites, quiz, poster, wishes and back cover. Each page below has a job and a sample line you can rewrite. Page size is one quarter of a letter sheet turned sideways, about 2.75 x 4.25 in (70 x 108 mm) per page.
Page 1: Front Cover
Give the magazine an original title such as “The Maya Monthly: Turning 30 Issue.” Add one large photo, the date and a funny cover line like “Exclusive: She still owns that jacket.” Use your own title design, not a real magazine masthead.
Page 2: Editor’s Letter
Write 40 to 60 words explaining why you made it. Sample: “Welcome to your issue. Inside you will find proof that you are loved, a little overdue for a nap, and very good at karaoke.” Sign it with your name.
Page 3: The Cover Story
Tell one real memory in 3 or 4 short sentences, with one photo. Pick a moment with a clear beginning and end, such as a road trip gone wrong. Add a pull quote in larger type.
Page 4: Favorites List
List 6 to 8 favorites: snack, song, show, coffee order, comfort movie, and so on. A top-five format reads fast. Sample: “Most likely to say: ‘One more episode.'”
Page 5: Quiz
Write 4 multiple-choice questions about the birthday person, with a scoring key at the bottom. Keep it kind and playful. Sample: “Your ideal Saturday is (a) hiking, (b) brunch, (c) nap, (d) all three.”
Page 6: Poster or Photo Collage
This page can be pulled out and displayed. Use one strong photo or a collage of three small ones with a short slogan. Leave a clear border so nothing is trimmed.
Page 7: Birthday Wishes
Collect 3 to 5 short messages from friends or family, with names. Ask each person for a maximum of 20 words. Leave a small blank box for handwritten notes.
Page 8: Back Cover
Add a closing line, such as “Next issue: age 31, now with more snacks,” plus a small photo or drawing. Back covers often hold a fake ad or a promise, which is a fun detail.
Write Memorable Personal Captions
A memorable caption names a specific detail instead of a general feeling. “The night we missed the last train and ate fries on the platform” beats “Great times together.” Keep captions to one or two lines so they fit beside photos.
- Use real names, places and years when you know them.
- Add one inside joke per page, not more, so outsiders can still follow.
- Read the text aloud to catch awkward phrasing.
- Check dates and spellings, especially names.
- Keep body text at 9 to 11 pt and headlines at 18 pt or larger.
For a personalized birthday mini zine, handwriting can replace typed text on one or two pages. Use dark ink and leave margins, since thin or pale pens can disappear after copying.
Prepare Print Margins and Page Order
Set your document to landscape letter or A4, with a 4-column by 2-row grid, so each panel is one page. Keep all text and faces at least 0.25 in (6 mm) inside each panel edge, because home printers often cannot print to the sheet edge and folds can nick details. Use 300 dpi photos for sharp results.
The key is that the top row is printed upside down. Arrange the panels like this when looking at the sheet in landscape:
- Top row, left to right, each rotated 180 degrees: page 5, page 4, page 3, page 2.
- Bottom row, left to right, upright: page 6, page 7, page 8, page 1.
When folded, this puts the front cover on the outside and page 8 behind it. Test by folding a blank sheet, numbering the panels with a pencil, and comparing against your plan before you design. Check this with your actual printer, since layouts can differ.
Print settings: choose 100 percent or “actual size,” not “fit to page,” which can shrink the grid. Select single-sided printing, standard or high quality, and run one draft on plain paper first. Check that faces are not in the fold lines and that text is not cut off.
Home printing works for one gift. For several copies, a copy shop can print and trim a stack. Printing guidance from library zine makers can help, and the Cornell zine-making guide covers paper, folds and binding supplies.
Fold or Bind the Magazine Safely
Fold the printed sheet in half, then in half again, then once more so it forms eight small panels, and cut one slit to turn it into a booklet. This is the classic one-sheet method and needs no staples. Work on a clean flat surface.
- Lay the printed sheet face up in landscape orientation.
- Fold it in half along the long dimension, top edge to bottom edge, and crease firmly. Open it again.
- Fold it in half the other way, left edge to right edge, and crease. Open again.
- Fold each outer edge in to the center crease and crease. Open the sheet flat.
- Fold the sheet in half with the short side, so the printed side faces out, then cut along the center fold only between the two middle creases. The slit should cover the middle two panels, about half the sheet width.
- Open the sheet and fold it lengthwise, top to bottom, with the slit facing up. Push the ends toward each other until the slit opens into a diamond shape.
- Bring the ends together to form a cross, then fold the pages around like a book. Press the spine flat.
- Check that the pages run 1 through 8, with the front cover outside.
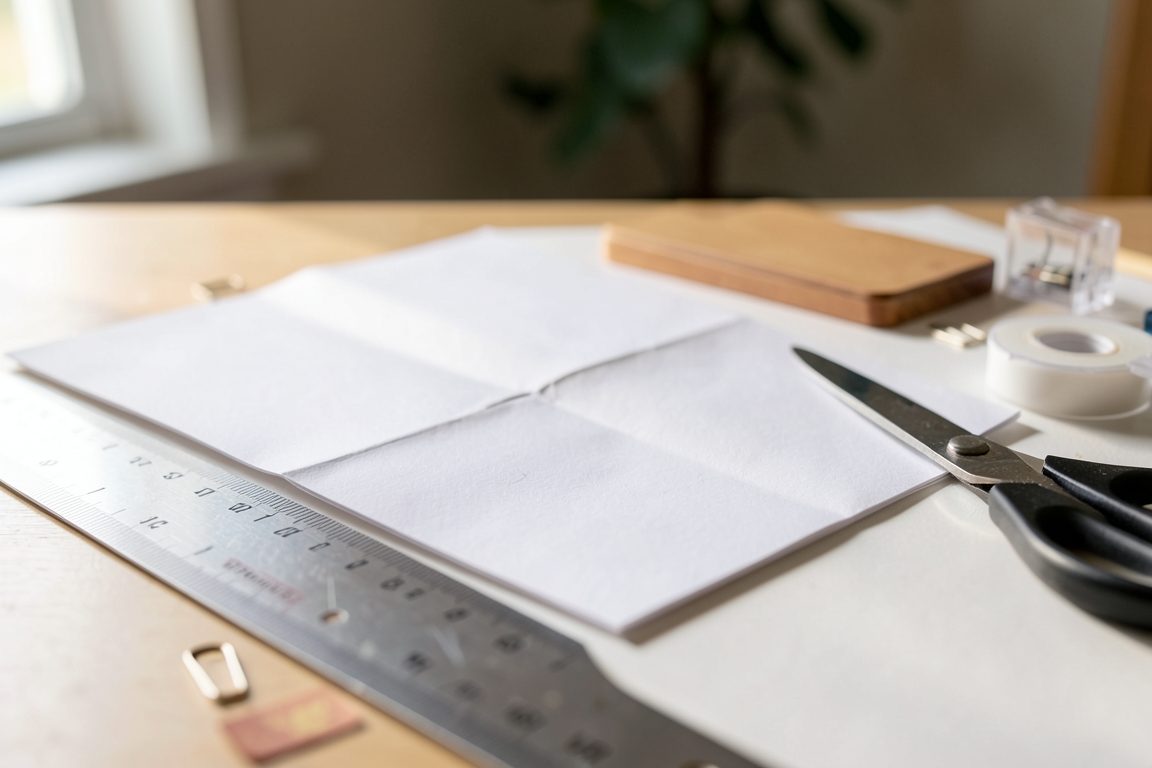
Use a ruler edge or bone folder for sharp creases. If you cut with a craft knife, keep the blade moving away from your body and store it closed. Keep scissors and blades out of children’s reach.
If you want a sturdier magazine, print on two sheets and bind with a stitch or staple along the spine, which gives you more pages. That changes your page count, so replan your layout first. Rubber bands, thread or staples are all options discussed in the Cornell zines overview.
Wrap and Present the Finished Gift
Present the magazine flat or tied, protected from bending, with a small note on how to read it. Tie a cotton ribbon around the middle or slide it into a kraft envelope. A card is unnecessary, since the editor’s letter already works as one.
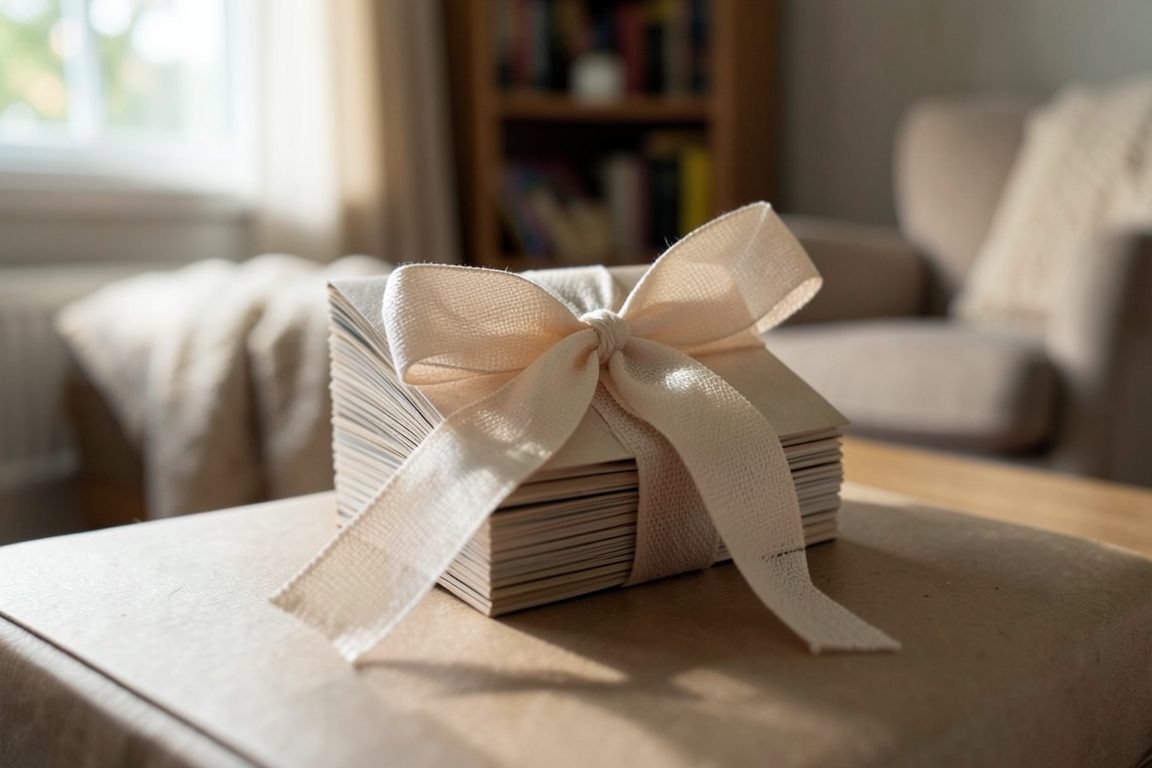
For wrapping, tissue paper and twine are enough, and you can find creative wrapping ideas to match the theme. Pair the zine with a small item mentioned inside, such as the favorite snack from page 4. Budget about $1 to $6 for ribbon, envelope or tissue.
- Check for typos one last time.
- Confirm the pages are in order.
- Remove any photos you lack permission to share.
- Keep a digital copy of the layout for reprints.
If you enjoy projects like this, browse more craft projects for your next gift. A well-planned diy birthday magazine gift takes an afternoon, and it tends to be kept long after the party ends.
Frequently Asked Questions
How do you make a birthday magazine for a friend?
Plan eight pages: cover, letter, story, favorites, quiz, poster, wishes and back cover. Write short captions, choose photos you have permission to use, print the layout on one sheet, and fold it into a booklet. A diy birthday magazine gift like this takes about two to three hours.
What goes in a birthday magazine?
Include a cover with a playful headline, a personal letter, one shared memory, a favorites list, a short quiz, a poster page, messages from friends and a back cover. Use real names, dates and inside jokes in moderation. Every page in a diy birthday magazine gift should have one clear purpose.
How do you fold an eight page zine?
Fold a sheet in half both ways, then fold the edges to the center, and open it flat. Fold it once more in half, cut a slit along the middle two panels, and push the ends together into a cross. Fold the pages around like a book.
Can you print a magazine at home?
Yes. A home inkjet or laser printer can print a one-sheet eight-page zine on letter or A4 paper. Print at 100 percent, not fit to page, keep text about 0.25 inch from the edges, and test on plain paper first. A copy shop is better for many copies.
How do you design a mini magazine?
Start with a grid of eight equal panels and write the content for each page. Use one headline font, one body font, large photos and generous margins. Rotate the top four panels 180 degrees for one-sheet folding, then print a draft and check the order.
