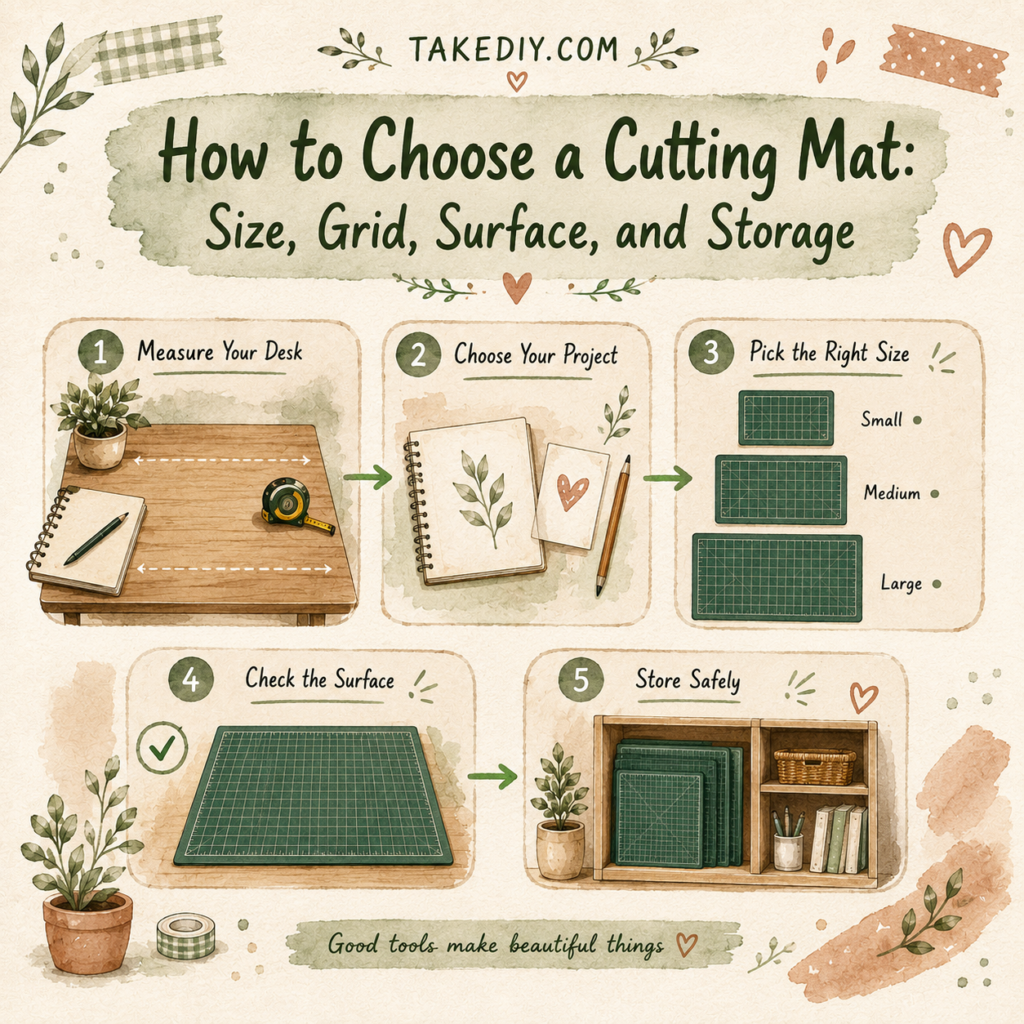
How to choose a cutting mat is easier when you know what to look for. A cutting mat can look like a simple rectangle, yet the wrong one quickly becomes annoying. It may be too large to store flat, too small for your common projects, difficult to read, or unstable on the table. A useful mat should fit your space before it fits a product photo.
This guide focuses only on choosing, protecting, cleaning, and storing the mat. It does not recommend blades, rotary cutters, craft knives, or other cutting tools. A mat protects a work surface; it does not make a cutting activity automatically safe.
Quick Answer: Measure your table and storage space first. Choose a mat large enough for your typical project but small enough to lie fully supported and store flat. Then compare grid readability, metric and imperial markings, surface stability, material information, thickness, double-sided use, and care instructions.
What a Cutting Mat Actually Does
A craft mat creates a defined working area and protects the table beneath it. A gridded surface can also help with visual alignment, spacing, paper layouts, photography scale, and other low-risk planning tasks.
Some products are described as self-healing. This generally refers to a layered surface designed to show fewer marks from intended use than a basic protective sheet. It does not mean the surface remains new forever or can recover from every type of damage.
Treat the mat as a consumable work-surface accessory. Its useful life depends on its materials, the manufacturer’s intended uses, storage, care, and the activities performed on it.
For the larger beginner setup, see 15 essential DIY tools for beginners and the complete guide to DIY tools and craft supplies.
Step 1: Measure the Work Surface
Measure the usable width and depth of the table, not the room. Subtract any area occupied by a lamp, laptop stand, sewing machine, storage caddy, or other permanent object.
The mat should lie fully supported. Do not choose a size that hangs over the edge, bows across an uneven joint, or blocks an ordinary walkway. A large surface is not an advantage if it must be moved every time someone needs the table.
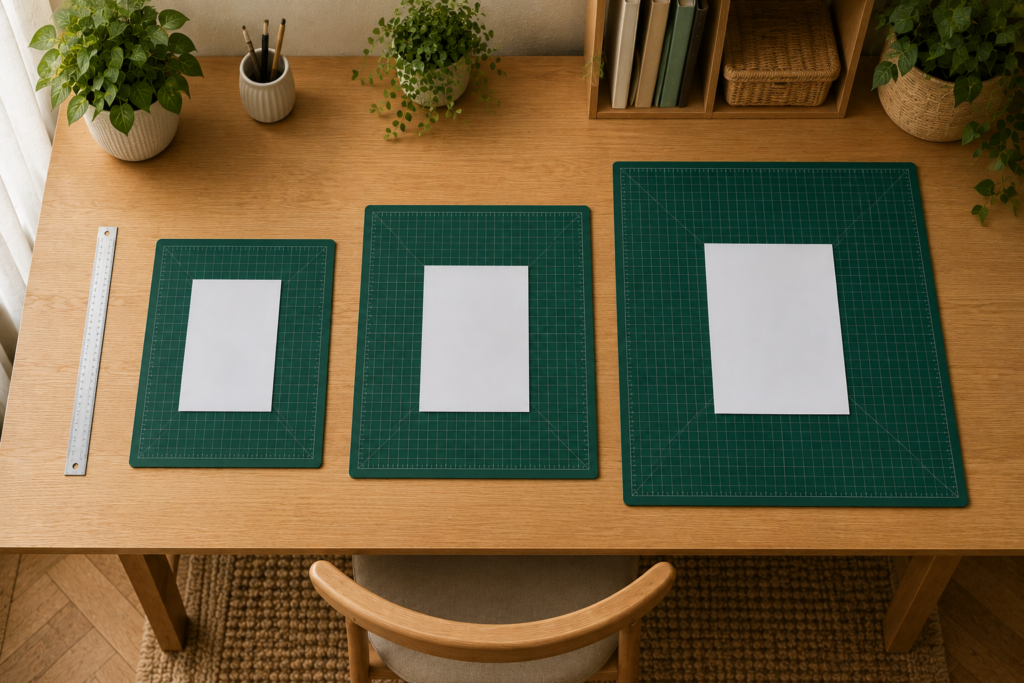
Record three dimensions:
- Maximum table width available for the mat
- Maximum table depth available for the mat
- Maximum flat storage space available after the project
The smallest of these practical limits is your real size ceiling.
Step 2: Match the Mat to the Project, Not the Fantasy Studio
Think about the largest piece you regularly handle, not the largest project you might attempt one day. A compact card, small fabric panel, label sheet, or embroidery layout can work on a smaller mat. Large paper sheets or garment pieces may require more surface area.
A useful mat allows most of the current piece to rest on the work area without constant repositioning. However, buying an oversized mat for one rare project may create a daily storage problem.
Ask:
- What are the usual dimensions of my materials?
- Do I work on one small piece or several pieces at once?
- Is the mat permanent or brought out for each session?
- Will it need to travel between rooms?
- Does the chosen size fit the storage location without bending?
If you are between sizes, make a paper template of each option and place it on your table. This simple preview is more reliable than trying to imagine product dimensions from a listing.
A4, A3, and Larger Mats: A Practical Comparison
A4-size mats
An A4-format mat is compact and easy to store. It can suit paper details, labels, small cards, compact planning, and a portable kit. The limitation is obvious: larger pieces extend beyond the protected area.
Best for:
- Very small desks
- Portable creative kits
- Detail work and small paper projects
- A second mat for quick tasks
A3-size mats
An A3-format mat offers more room while remaining manageable in many homes. It can support a wider range of paper, fabric-detail, painting, and layout tasks without dominating a standard desk.
Best for:
- A flexible first mat
- Shared or temporary workspaces
- Medium paper and fabric pieces
- Makers who store the mat after each session
Larger rectangular mats
Larger formats can reduce repositioning for broad materials, but they need a genuinely large, flat support and storage area. Check the exact dimensions rather than relying on terms such as large, extra-large, or desktop size.
Best for:
- A dedicated table
- Repeated large-format projects
- Users who can store the mat flat
The correct choice is the smallest mat that comfortably supports your regular work. This keeps the workspace usable and the product easier to store.
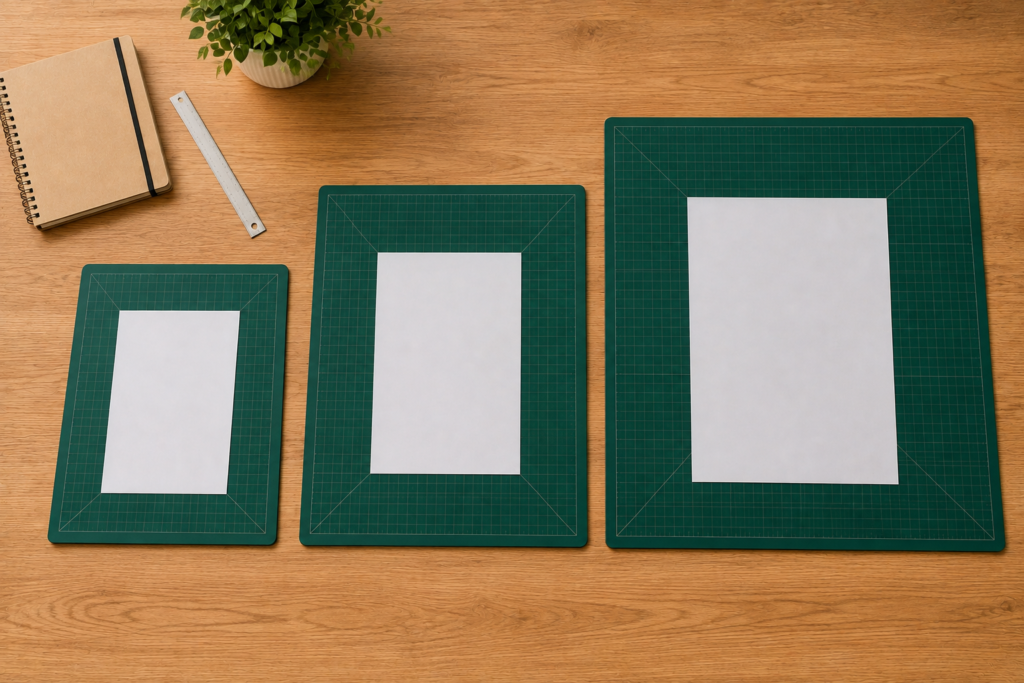
Step 3: Decide Which Grid You Can Read Fast
Grid quality is not about how many lines the manufacturer can print. It is about whether the markings help rather than distract you.
Compare:
- Centimeters, inches, or both
- Number size and contrast
- Major and minor grid lines
- Angle guides if relevant to your layouts
- Whether the zero point and outer margins are clear
- Whether the grid is printed on one or both sides
- Whether light and dark materials remain visible against the mat color
If you follow international tutorials, dual metric and imperial markings can be convenient. Check product images closely: some mats place different systems on different sides, while others combine them on one face.
A crowded grid is not automatically more precise. If the smallest markings are hard to distinguish in normal room lighting, you may ignore them.
Step 4: Compare Surface Type and Material Information
Product listings may describe a mat as basic, protective, self-healing, multi-layer, non-slip, double-sided, or professional. Focus on information you can compare.
Useful details include:
- Intended crafts and surfaces
- Material composition stated by the manufacturer
- Total thickness
- Number of usable sides
- Whether both sides are gridded
- Care and temperature guidance
- Flatness and edge finish
- Warranty or replacement information
A basic washable mat can be enough for painting, paper layout, and table protection. A self-healing model may be more suitable when its intended use matches your project, but the label is not a promise of unlimited durability.
Do not use the mat for activities the manufacturer excludes. Materials can react differently to heat, direct sunlight, cleaning products, adhesives, or paint, so the product’s care instructions take priority over generic advice.
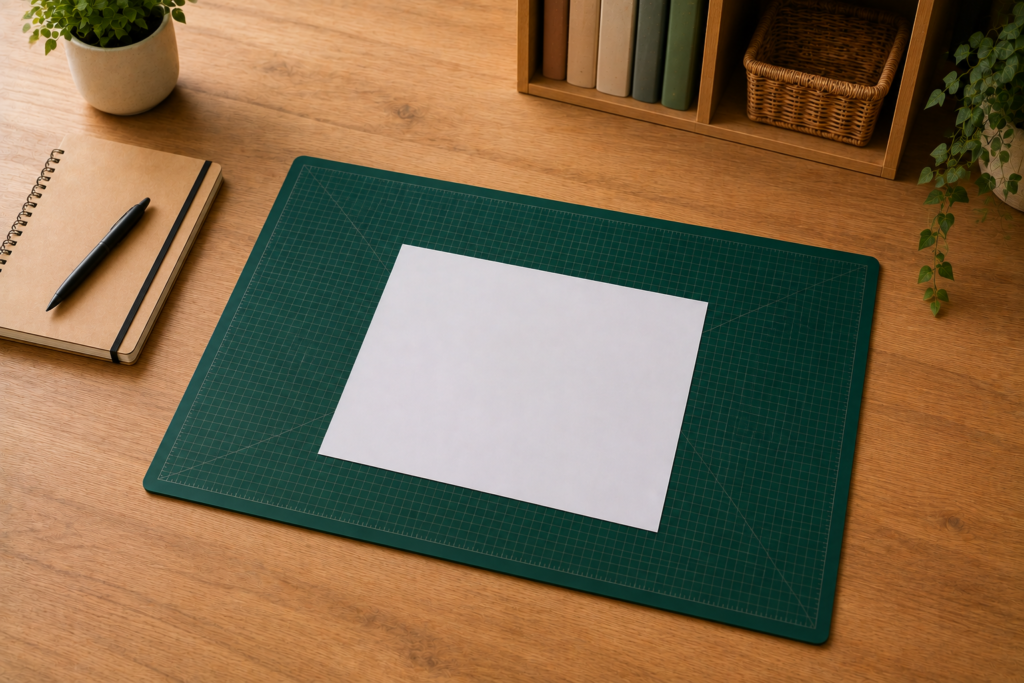
Step 5: Check Stability and Flatness
A mat should sit flat on a clean, stable table. Curling corners, a warped center, or a slippery underside can make measuring and layout less reliable.
When evaluating a listing, look for:
- Photos showing the mat lying flat
- Packaging information, especially whether it ships rolled or flat
- Recent review patterns mentioning warping, odor, fading grids, or sliding
- A return policy that covers a product arriving damaged or permanently curled
- Clear instructions for unpacking and flattening
Do not improvise heating methods to flatten a mat. Heat can damage some materials. Follow only the manufacturer’s instructions or return a product that does not become usable as described.
Step 6: Plan Storage Before Purchase
Storage is one of the biggest differences between a mat you enjoy and one you avoid using. Most mats are best stored flat unless the manufacturer specifically states otherwise.
Good storage options include:
- A flat shelf with full support
- A wide portfolio-style compartment
- A dedicated horizontal space under a light stack of compatible flat materials
- A manufacturer-approved hanging system, when the mat includes suitable holes and instructions
Avoid folding the mat, forcing it into a narrow bin, placing heavy uneven objects on it, or leaving part of it unsupported. Keep it away from direct heat and follow the product’s sunlight and temperature guidance.
If storage is already difficult, improve the system with craft supply storage ideas for small spaces before buying the largest format.
Step 7: Check Care and Cleanup
The safest cleaning method is the one specified by the manufacturer. For many washable craft surfaces, a soft damp cloth may be sufficient for ordinary dust or compatible water-based residue, but materials differ.
Before cleaning:
- Identify what is on the mat
- Read the mat’s care instructions
- Read the creative material’s cleanup instructions
- Test only an approved method in a small area if the manufacturer recommends it
- Let the mat dry flat before storage
Avoid strong cleaners, solvents, abrasive pads, and unapproved heat. A stained mat can still be functional; aggressive cleaning can cause more damage than the mark itself.
The Five-Minute Fit Test
Before ordering, give the candidate one point for each “yes”:
- It fits fully on my real work surface.
- It fits flat in my real storage space.
- Its grid uses the measurements I follow.
- Its color and markings are easy for me to see.
- Its material, thickness, care, and intended use are clearly described.
A product scoring four or five points is a better candidate than a visually attractive mat that fails the first two questions.
How to Compare Three Amazon Candidates
Use three genuinely different options rather than three near-identical listings:
- Compact: easy to store and suitable for small projects
- Versatile: a medium format with readable dual measurements
- Large-workspace: a bigger option for a dedicated flat table
For each one, record:
- Exact dimensions and thickness
- Metric and imperial grid availability
- One- or two-sided use
- Stated material and intended use
- Shipping format
- Seller and return information
- Review patterns about flatness, grid durability, odor, or damage
- Date checked and current availability
Do not claim that a mat was tested unless someone actually used it and the article explains the testing method.
Common Buying Mistakes
Buying by label instead of dimensions
“Large” and “desktop” are not measurements. Compare the listed length and width with your paper template.
Choosing the busiest grid
Extra lines are useful only if you can interpret them quickly. Readability is a feature.
Ignoring the stored size
A mat that fits the table but not the home will be bent, left out, or rarely used.
Assuming self-healing means damage-proof
Every surface has intended uses and care limits. Read the manufacturer’s instructions.
Buying a bundled cutting tool
This TakeDIY guide compares mats only. Do not choose a bundle merely because it adds an exposed cutting tool. Select the mat on its own dimensions, surface, grid, stability, and storage qualities.
Frequently Asked Questions
What size cutting mat is best for beginners?
A medium format such as A3 can be a flexible first choice when it fits both the table and flat storage space. A4 may be better for a very small desk or portable kit. The best size is based on your usual material, not a universal rule.
Is a self-healing mat necessary?
Not for every project. A basic washable surface can protect a table during painting, layout, or paper crafts. Choose a self-healing product only when its intended use, material, size, and care requirements match your projects.
Should I choose inches or centimeters?
Choose the system used by the tutorials and patterns you follow. A dual-grid mat can reduce conversions if you use both systems, but check whether the markings are combined or placed on separate sides.
Can I store a cutting mat rolled?
Only if the manufacturer says the specific mat can be stored that way. Many products are intended to remain flat. Improper storage can cause curling or warping.
How do I stop a mat from sliding?
First place it on a clean, flat, stable surface and confirm that the product is designed for that table material. If it continues to move, follow the manufacturer’s recommendations rather than adding an unapproved adhesive or backing.
Choose the Mat That Fits Real Life
The most useful cutting mat is not the one that fills the entire table in a product photo. It is the one that fits your actual projects, remains readable, lies flat, cleans as directed, and disappears safely into storage when the session ends.
Measure first, preview the size with paper, compare the grid and surface, and plan storage before purchase. Those steps turn a simple accessory into a work surface you will genuinely use.
