Thinking of upgrading your home office? A DIY floating desk is a smart choice. It’s sleek and modern, perfect for a minimalist workspace. You can build one to fit your space, making it ideal for a functional home office.
A DIY floating desk keeps your office tidy and focused. It looks good and works well. It’s great for working from home or studying quietly.
A DIY floating desk adds style to your office and saves space. It helps keep your area clean and organized. Building one lets you create a modern, efficient home office that suits you.
What is a DIY Floating Desk?
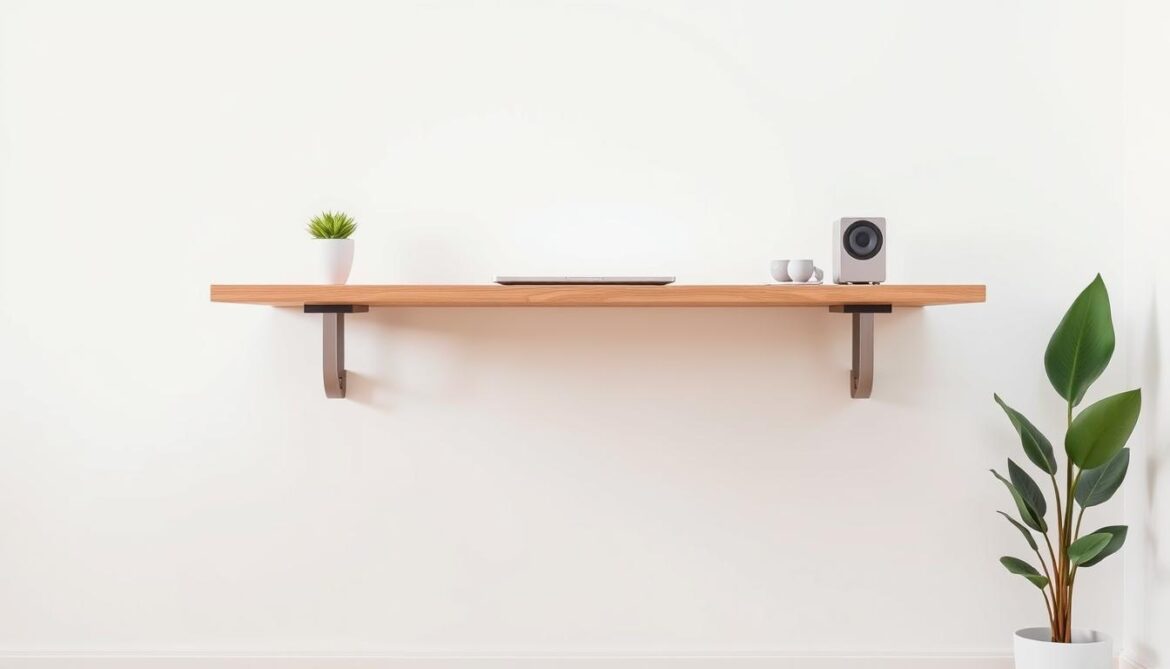
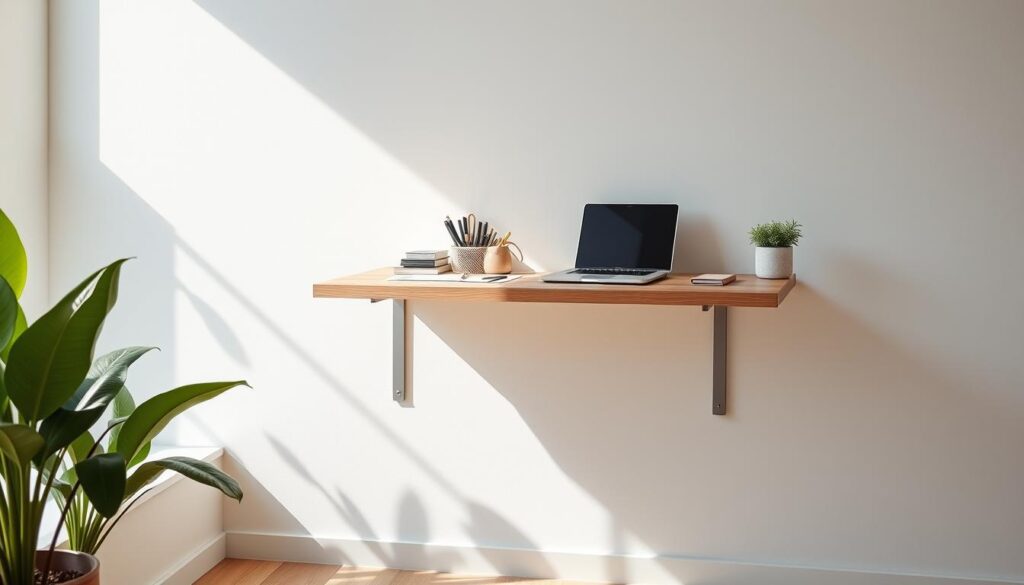
A DIY floating desk is a desk that sticks to the wall. It makes rooms look bigger and saves floor space. You can make it your own, which is why DIY fans love it.
DIY floating desks are perfect for small spaces. They make rooms feel bigger and look better. You can pick from many materials and designs to make your desk special.
Definition and Features
A DIY floating desk has a flat top and is held up by brackets. You can use wood, metal, or glass to make it. You can also add drawers or shelves for more storage.
Benefits of a Floating Desk
DIY floating desks save space and make rooms look open. They can be tailored to your style and needs. Plus, they’re a budget-friendly way to set up a workspace.
Choosing a DIY floating desk lets you create something unique and useful. Its design and look make it perfect for any workspace.
Why Choose a Floating Desk?
Choosing the right desk is key for a productive home office. A floating desk is a smart choice. It saves space and makes your room feel bigger. This design also boosts your work efficiency.
A floating desk is not just practical; it’s also stylish. You can find desks that match your decor. Whether you want something modern or classic, there’s a desk for you.
Space-Saving Advantages
Here are the main benefits of a floating desk:
- It takes up less space, perfect for small home offices.
- Mounting it to the wall keeps your floor open.
- You can customize it to fit your space and needs.
Aesthetically Pleasing Designs
Floating desks come in many styles and materials. You can find:
- Glass and steel for a sleek, modern look.
- Wood and metal for a warm, classic feel.
- Recycled materials for an eco-friendly option.
Tools and Materials Needed
Building a DIY desk requires the right tools and materials. This ensures your desk is sturdy and lasts long. You’ll need a drill, saw, and sandpaper to finish the job.
First, decide on the type of desk you want. Think about how durable it should be. This will guide you in choosing materials like wood, screws, and wall anchors.
Essential Tools for Building
- Drill
- Saw
- Sandpaper
Recommended Materials for Durability
- Wood (e.g., oak, pine, or maple)
- Screws
- Wall anchors
Choose high-quality materials for a sturdy desk. With the right tools and materials, you can make a beautiful desk for your home or office.
Planning Your Floating Desk Design
Creating a great home office starts with planning. A well-designed floating desk is a smart space-saving choice. But, you need to think about a few things first.
Start by deciding where your desk will go. Think about how it will look in the room.
Here are some things to consider when planning your desk:
- Measure the space for your desk, keeping in mind any obstacles.
- Match the desk’s style with your home office design.
- Think about how much space-saving you need. Will a floating desk have enough room for your work and storage?
A floating desk can make your home office look sleek and modern. It also saves space. By planning well, you can make a workspace that’s both beautiful and functional.
Take your time and think about your design carefully. Consider everything that will make your desk work well and look good. With some planning and creativity, you can make a great space-saving desk for your home office.
Step-by-Step Guide to Building Your Floating Desk
Building a DIY floating desk is a fun project. First, cut and prepare the wood for your desk. Measure and cut the wood to fit the space where your desk will go. Think about the design and functionality you want for your desk.
After cutting the wood, start assembling the desk frame. Attach the legs and shelves to the main frame. Make sure everything is level and secure. Consider how your desk will look with your other floating furniture.
Cutting and Preparing the Wood
- Measure the space where your desk will go
- Cut the wood to the required size
- Sand the wood to smooth out any rough edges
Assembling the Desk Frame
- Attach the legs to the main frame
- Add shelves or storage compartments
- Make sure everything is level and secure
Installing Floating Desk Brackets
Next, install the floating desk brackets. These brackets support and stabilize your desk. Follow the manufacturer’s instructions for installation. Make sure the brackets are securely attached to the wall.
| Tool | Description |
|---|---|
| Drill | Used to drill holes for screws |
| Saw | Used to cut wood to the required size |
| Screwdriver | Used to drive screws and secure the desk frame |
Customizing Your Floating Desk
Now that you’re almost done with your DIY floating desk, it’s time to think about making it your own. You can add personal touches to make your home office stand out. Think about what you need to stay productive and organized.
For example, if you have lots of books or office supplies, adding shelves is a smart move. It helps keep your desk clean and organized.
A well-designed DIY desk can change your home office for the better. You can add decorative finishes and paint to match your room’s style. A fresh coat of paint or a new finish can give your desk a whole new look.
Don’t forget about cable management solutions. They help keep your workspace tidy and prevent cords from getting tangled.
- Adding a keyboard tray to keep your workspace comfortable and ergonomic
- Incorporating a built-in USB hub for easy device charging
- Using a decorative wall anchor to add visual interest to your floating desk
By adding these features, you can make a functional and beautiful home office. Remember, have fun and be creative with your DIY desk design.
| Customization Idea | Benefits |
|---|---|
| Shelving Options | Additional storage space, keeps clutter at bay |
| Decorative Finishes | Enhances aesthetic appeal, matches room’s decor |
| Cable Management Solutions | Keeps workspace organized, prevents cord tangles |
Installation Techniques for Stability
Installing a DIY floating desk requires stability. You need to make sure it’s securely attached to the wall. This prevents it from tipping over. The right installation techniques are key, including choosing the right wall anchoring methods.
For a DIY desk, pick a wall anchoring method that can handle the desk’s weight and any items you’ll add. Popular choices include screws or brackets made for floating furniture. Always follow the manufacturer’s instructions for the method you choose.
Wall Anchoring Methods
- Use screws or brackets designed for floating furniture
- Follow the manufacturer’s instructions for installation
- Ensure the wall anchoring method can support the weight of the desk and additional items
It’s also important to check if your DIY floating desk is level. This ensures it’s stable and aligned properly. By using these techniques, you can make a sturdy DIY floating desk that fits your needs.
Checking for Levelness
Use a level tool to ensure the desk is properly aligned
Make any necessary adjustments to the wall anchoring method to achieve levelness
By following these steps, you can create a stable and functional DIY floating desk. It will enhance your workspace. Always prioritize stability when installing floating furniture for a safe and productive work area.
Tips for Maintaining Your Floating Desk
Enjoying your new DIY floating desk in your home office? It’s key to keep it in top shape. Regular cleaning and fixing scratches and dents will keep it looking great.
Start by dusting your desk with a soft cloth. For deeper cleaning, use a mild cleaner. Avoid harsh chemicals that can harm the desk. A mix of water and white vinegar works well, but test it first.
Regular Cleaning Practices
- Dust the desk regularly with a soft cloth
- Use a gentle cleaning product to clean the desk
- Avoid using harsh chemicals that can damage the desk’s surface
Repairing Scratches and Dents
Got scratches or dents? No worries. Fixing them is easy. For small scratches, a scratch remover or touch-up pen works. For bigger damage, sand and refinish the area.
Follow these tips to keep your DIY desk in top condition. Always choose gentle cleaners to protect the desk’s surface.
| Cleaning Product | Recommended Use |
|---|---|
| Soft cloth | Dusting the desk |
| Gentle cleaning product | Cleaning the desk’s surface |
| White vinegar and water | Cleaning the desk’s surface (test on a small area first) |
Popular Floating Desk Styles
Choosing a floating desk style is important. It can change how your room looks. You can pick from minimalist, industrial, or modern farmhouse styles. Each style gives your space a unique feel.
A minimalist design is great for small spaces. It makes rooms feel open and simple. It’s perfect for those who like a clean look.
Industrial flair adds sophistication. It’s great for those who like a rugged, edgy look.
Some popular styles include:
- Modern farmhouse aesthetics, which create a cozy and inviting atmosphere
- Industrial chic, which combines metal and wood to create a unique look
- Scandinavian design, which emphasizes simplicity and functionality
Think about what you want your room to look like when picking a style. You can also use floating furniture to match your desk. Building a DIY desk is fun and lets you customize it.
Finding the right floating desk style is about your taste and room size. Choose a style that fits your needs and preferences. This way, you’ll have a beautiful and functional space that shows your personality.
| Style | Description |
|---|---|
| Modern Farmhouse | Cozy and inviting atmosphere |
| Industrial Chic | Combines metal and wood for a unique look |
| Scandinavian | Emphasizes simplicity and functionality |
Budget-Friendly Floating Desk Options
Creating a DIY desk for your home office doesn’t have to be expensive. You can make a beautiful and useful floating desk without spending a lot. Using materials like plywood, MDF, or pine is a smart choice. They are affordable, durable, and easy to work with.
Adding a unique touch to your desk is easy. Use reclaimed wood to give it a special character. You can find this wood at salvage yards, online, or even in your backyard. With some creativity, old pallets, crates, or fencing can become a stunning desk.
Cost-Effective Materials
- Plywood: A versatile and affordable option for building your DIY desk
- MDF: A cost-effective alternative to solid wood, ideal for creating a smooth and durable surface
- Pine: A budget-friendly wood option that can add a touch of rustic charm to your home office
Sourcing Reclaimed Wood
To find the perfect reclaimed wood for your DIY desk, consider the following options:
| Source | Description |
|---|---|
| Local Salvage Yards | A great place to find reclaimed wood, salvaged from old buildings, bridges, or other structures |
| Online Marketplaces | Websites like Craigslist, Facebook Marketplace, or local online classifieds, where you can find people giving away or selling reclaimed wood |
| Your Own Backyard | Old wooden pallets, crates, or fencing can be repurposed to create a unique and functional DIY desk |
By choosing affordable materials and using reclaimed wood, you can make a beautiful DIY floating desk. It won’t cost a lot. With a bit of creativity, your DIY project can become a stunning piece of furniture that shows off your style and adds value to your home.
Incorporating Technology into Your Floating Desk
When making a DIY desk for your home office, think about adding technology. This can make your desk more useful and look better. A smartly made DIY desk can boost your work efficiency and make your job more enjoyable.
A DIY desk with built-in cable and charger spots can keep your area tidy. You can set this up by putting cable ties or a cable management system under your desk.
Cable and Charger Management
- Install cable ties or a cable management system to keep cables organized
- Use a desk grommet to manage cords and keep them hidden from view
- Consider a wireless charging pad for your devices
Adding Built-In Lighting
Adding lights to your DIY desk can brighten up your home office. You can put in LED strips or a desk lamp. This will make your workspace cozy and welcoming.
By adding tech to your DIY floating desk, you make a space that’s both useful and nice to look at. It will meet your needs and help you work better.
Inspiring DIY Floating Desk Ideas
Creating a functional and stylish workspace with a DIY floating desk is a great idea. You can design a desk that saves space and shows off your style. Here are some inspiring DIY floating desk ideas to consider:
Kid-Friendly Study Desks
A DIY floating desk is perfect for a kid-friendly study space. You can add fun features like built-in shelving, a chalkboard surface, or a colorful finish. This makes the space engaging and interactive. Some ideas for kid-friendly study desks include:
- Using a floating shelf as a desk surface
- Adding a storage bin for toys and supplies
- Incorporating a fun and colorful lighting fixture
Minimalist Home Office Solutions
A minimalist home office is great for a peaceful and productive workspace. A DIY floating desk is a key part of this design, providing a sleek surface for working. Some ideas for minimalist home office solutions include:
- Using a simple and elegant floating desk design
- Adding a comfortable and stylish office chair
- Incorporating a few well-placed decorative items, such as a plant or a piece of art
Multi-Functional Designs
A DIY floating desk can also be multi-functional. It can provide a space for working, relaxing, and socializing. Some ideas for multi-functional designs include:
| Design Element | Description |
|---|---|
| Built-in shelving | Provides storage for books, decorative items, and office supplies |
| Integrated lighting | Provides task lighting for working and ambient lighting for relaxation |
| Comfortable seating | Provides a comfortable space for relaxing and socializing |
By incorporating these design elements, you can create a DIY floating desk that is both functional and stylish. It meets your unique needs and preferences.
Safety Precautions While Building
Building a DIY desk for your home office requires safety first. Always put safety above all else as you work. This ensures a safe and successful project.
First, proper tool usage is key. Always follow the manufacturer’s instructions and use the right tools. For example, when cutting wood, use a sharp saw and wear gloves and safety glasses.
Precautions for Working with Heavy Materials
Handling heavy materials like wood and metal needs care. Here are some tips to stay safe:
- Always lift heavy objects with a partner, if possible
- Use proper lifting techniques to avoid straining your back
- Keep your work area clean and clear of clutter to avoid tripping hazards
By following these safety tips, you can build a safe and functional DIY desk. Stay focused and take breaks to avoid getting tired.
With these safety tips, you’re ready to make a beautiful DIY desk. You’ll also keep yourself safe and well while working.
| Safety Precaution | Importance Level |
|---|---|
| Proper tool usage | High |
| Working with heavy materials | High |
| Wearing protective gear | High |
Common Mistakes to Avoid
Building a DIY floating desk can be fun, but it’s important to avoid common mistakes. One big error is not measuring the space correctly. This can make your desk too big or too small, ruining the look and use of the room.
Before you start, measure the area where your desk will go. Think about the room’s size, where doors and windows are, and how much space you need to move around. This way, your desk will fit just right, making your workspace both beautiful and useful.
Miscalculating Space
Getting the space wrong can cause big problems. Your desk might be too tight or too big for the room. To avoid this, make a detailed plan of your space. Include the room’s dimensions and any things that might get in the way. This will help you pick the perfect size and shape for your desk.
Using Inappropriate Materials
Another mistake is picking the wrong materials for your desk. This can make your desk unstable or weak, leading to problems like sagging shelves or a broken frame. To avoid this, pick materials that are strong and last a long time, like solid wood or top-notch composite materials.
By avoiding these mistakes, you can make a DIY floating desk that’s both useful and looks great. Always measure carefully, choose the right materials, and plan your space well. With these tips, you’ll have a beautiful and practical DIY desk that meets your needs and improves your workspace.
| Mistake | Consequence | Solution |
|---|---|---|
| Miscalculating space | Desk is too large or too small | Take precise measurements |
| Using inappropriate materials | Desk is unstable or fragile | Choose sturdy and durable materials |
Feedback and Improvement
After finishing your DIY floating desk, it’s key to ask for feedback and keep improving. This ensures your home office is both useful and looks great. Start by asking family or coworkers about your desk’s design and how it works.
To get feedback, you can do surveys, focus groups, or interviews. You can also use online tools to hear from more people. Listen to all comments, good and bad, and be ready to change your design. This way, you’ll make your desk both useful and beautiful.
- Keep an open mind and be willing to make changes
- Prioritize feedback that aligns with your goals and vision
- Test and refine your design until you achieve the desired outcome
By asking for feedback and tweaking your design, you can make a desk that fits your needs perfectly. This approach will help you create a space that’s not just useful but also shows off your style. It will make your home office better overall.
| Design Element | Feedback | Iteration |
|---|---|---|
| Desk height | Too low | Adjust leg height |
| Shelving | Insufficient storage | Add additional shelves |
| Lighting | Insufficient lighting | Install under-cabinet lighting |
Conclusion: Your Perfect DIY Floating Desk Awaits
Building a DIY floating desk can be a fun and rewarding project for your home office. This guide has given you the knowledge to make a functional and stylish workspace. You can now create a desk that fits your needs perfectly.
Recap of Key Points
When designing your DIY floating desk, remember a few important things. Choose durable materials, ensure safety and stability, and add personal touches. With careful planning, your desk will fit right into your home office decor.
Get Started on Your Project Today!
Now that you know what’s possible with a DIY floating desk, it’s time to start. Get your tools and materials ready. Then, follow the steps to build your dream workspace. Enjoy the process of creating a space that’s both functional and reflects your style. Let’s begin your DIY floating desk project today!
FAQ
Q: What is a DIY Floating Desk?
A: A DIY floating desk is a desk that sticks to the wall. It makes rooms look bigger and saves space. It’s perfect for small homes, apartments, or rooms with little space.
Q: What are the benefits of a Floating Desk?
A: Floating desks make rooms feel bigger and more open. They can be made to fit your style and needs. This makes them a favorite among DIY fans.
Q: Why should I choose a Floating Desk?
A: Floating desks save space and look good. They make rooms feel bigger and can be used in many places. They’re great for home offices, living rooms, and bedrooms.
Q: What tools and materials are needed to build a DIY Floating Desk?
A: You’ll need a drill, saw, and sandpaper to build a DIY desk. You’ll also need wood, screws, and wall anchors. The materials depend on the desk’s design and how durable it needs to be.
Q: How do I plan the design of my Floating Desk?
A: Planning your desk’s design is key. Pick the right spot for it. Measure the space and think about the room’s layout to find the perfect size and shape.
Q: What are the steps to build a Floating Desk?
A: Building a DIY desk involves several steps. Cut and prepare the wood, build the frame, and attach the brackets. Always follow the bracket’s instructions for a stable desk.
Q: How can I customize my Floating Desk?
A: You can make your desk unique by adding shelves or decorative finishes. Think about what you need and want when customizing. Cable management is also a good idea.
Q: How do I ensure my Floating Desk is installed properly?
A: Installing your desk right is important for its stability. Use wall anchors and check it’s level. Always follow the manufacturer’s guide for a secure and level desk.
Q: How do I maintain my Floating Desk?
A: Keeping your desk in good shape is key. Clean it regularly and fix any damage. Use gentle cleaners to avoid harming the desk’s surface.
Q: What are some popular Floating Desk styles?
A: There are many desk styles to choose from. You can go for minimalist, industrial, or modern farmhouse looks. Pick one that fits your style and home office.
Q: Are there budget-friendly Floating Desk options?
A: Yes, you can make a desk on a budget. Use materials like plywood, MDF, or pine. Look for reclaimed wood too. Choose materials that fit your budget and style.
Q: How can I incorporate technology into my Floating Desk?
A: Adding tech to your desk can make it more useful and look better. Think about cable management and built-in lights. Choose features that meet your needs and preferences.
Q: What safety precautions should I take while building a Floating Desk?
A: Safety is important when building a desk. Use tools correctly and be careful with heavy materials. Always wear protective gear and follow instructions to avoid accidents.
Q: What common mistakes should I avoid when building a Floating Desk?
A: Avoid mistakes like miscalculating space and using the wrong materials. Measure carefully and choose durable materials for a stable desk.
Q: How can I get feedback and improve my Floating Desk design?
A: Getting feedback and improving your design is important. Ask users for their thoughts and be open to making changes. This will help create a desk that’s both functional and looks great.
